How To Make A Sourdough Starter- Free Guide
Last Updated on May 3, 2025 by Autumn Ballard
Learn how to make your own sourdough starter with my free guide! This step-by-step process will help you cultivate a healthy starter, ensuring delicious, homemade sourdough bread. Perfect for beginners and seasoned bakers alike!
Making a sourdough starter is fairly simple but nurturing flour and water into an active culture can be confusing. That’s why I’ve made an illustrated graphic that will take you through the process day by day. In this post, I’m also addressing common issues as well as how to begin incorporating your starter in beginner-friendly recipes.
What Is A Sourdough Starter
You may be wondering “What is a sourdough starter?” and “Why would I need one?” A sourdough starter is a living culture of flour and water that captures natural wild yeast from the environment. As the mixure ferments overtime, natural leveaning agents develop and cause bread to rise.
Sounds crazy right? Crazy cool! Once you have a sourdough starter, it can take the place of commercial yeast in all of your baking recipes.
What You Need to Get Started
It’s incredibly easy to make your own sourdough starter! You literally only need 2 ingredients and 2 tools which you probably already have in your kitchen and my free guide.
Key Ingredients:
- Flour: For best results, I recommend you start with a high quality all-purpose flour like King Arthur brand. My personal prefeance is organic flour. It’s slightly more expensive but it’s grown without the pesticides and artificial fertalizers.
- Water: Filtered or distilled water is best with making a new starter. Just grab a bottled water when you’re out.
Tools:
- A wide-mouth glass jar or container for fermentation. Personally, I love my weck jar but any large jar will do.
- A spoon for mixing.
Just a note, many breadbakers will suggest using a kitchen scale when making a sourdough starter. However, I’ve found that measuring using a scale just isn’t necessary. I prefer to keep baking simple by using the US standard measurement of cups. I’m a firm believer in keeping things as simple as possible, especially when just getting started.
This post may contain affiliate links. By clicking and making a purchase, I may earn a small commission. Please know that I only share products I use and love. My family thanks you for your support.
Just a note, many breadbakers will suggest using a kitchen scale when making a sourdough starter. However, I’ve found that measuring using a scale just isn’t necessary. I prefer to keep baking simple by using the US standard measurement of cups.
This post may contain affiliate links. By clicking and making a purchase, I may earn a small commission. Please know that I only share products I use and love. My family thanks you for your support.

Step-by-Step Guide to Making a Sourdough Starter
Once you’ve downloaded your free guide and gathered your ingredients and tools you are ready to make your very own sourdough starter!
Once you’ve downloaded your free guide and gathered your ingredients and tools, you are ready to make your very own sourdough starter! Simply follow the steps below and you will be baking in no time.
Day 1: Creating the Starter
- Gather Your Ingredients: You’ll need quality all-purpose flour and filtered water.
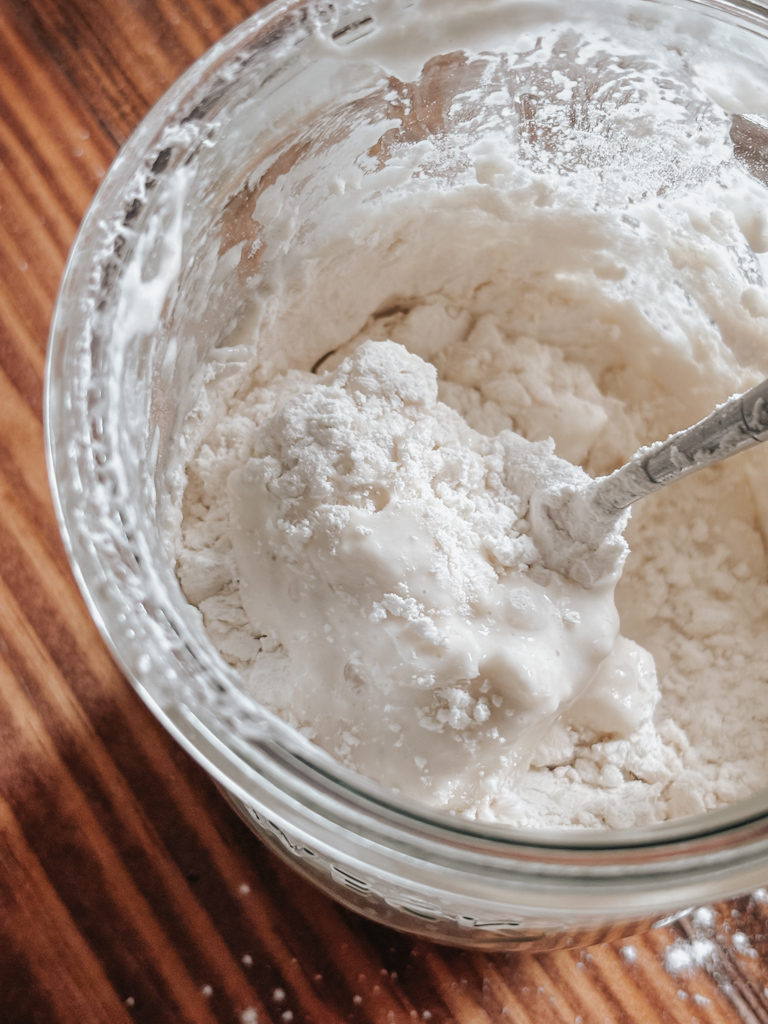
- Combine Ingredients: In a clean jar, add 1 cup of flour and 1 cup of water.
- Mix Well: Stir vigorously until the mixture is smooth and free of lumps.
- Cover Loosely: Cover the jar loosely with a lid or cloth to allow airflow while preventing debris from entering. If you’re using a weck jar, cover using the lid but don’t add the clamps.
- Let It Rest: Leave the jar on your countertop for 24 hours. Aim for a temperature that’s not too cool or too warm. 70-75°F is considered the “Goldie Locks” temperature -not too hot, not too cold.
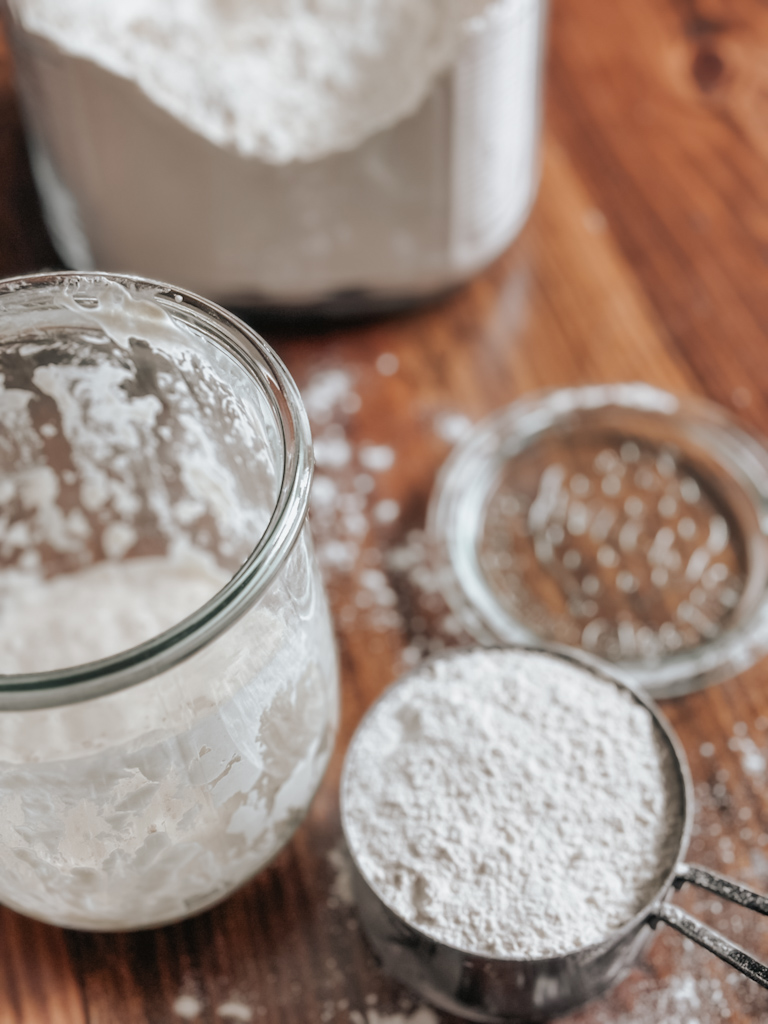
Days 2-5: Feeding Your Starter
Every 24 hours, repeat the process:
- Dispose of Half: Remove and discard half of the starter (about 1 cup). Just toss the discarded portion into the trash.
- Feed the Starter: Add another 1 cup of flour and 1 cup of water to what remains in the jar. Stir well and cover loosely again.
- Let It Sit: Allow it to rest for another 24 hours out on your kitchen counter.
Consitancy is key when establishing a starter as is patience. You will need to trust the process and whatever you do, DO NOT GIVE UP!
Days 6-8: Twice Daily Feedings
Every 12 hours, repeat the process:
- Dispose of half of the starter.
- Add 1 cup of flour and 1 cup of water. Stir and cover loosely.
- Let it sit at room temperature.

Days 8 and Beyond: Testing for Readiness
After the last feeding on Day 8, wait 24 hours and then it’s time to test your starter!
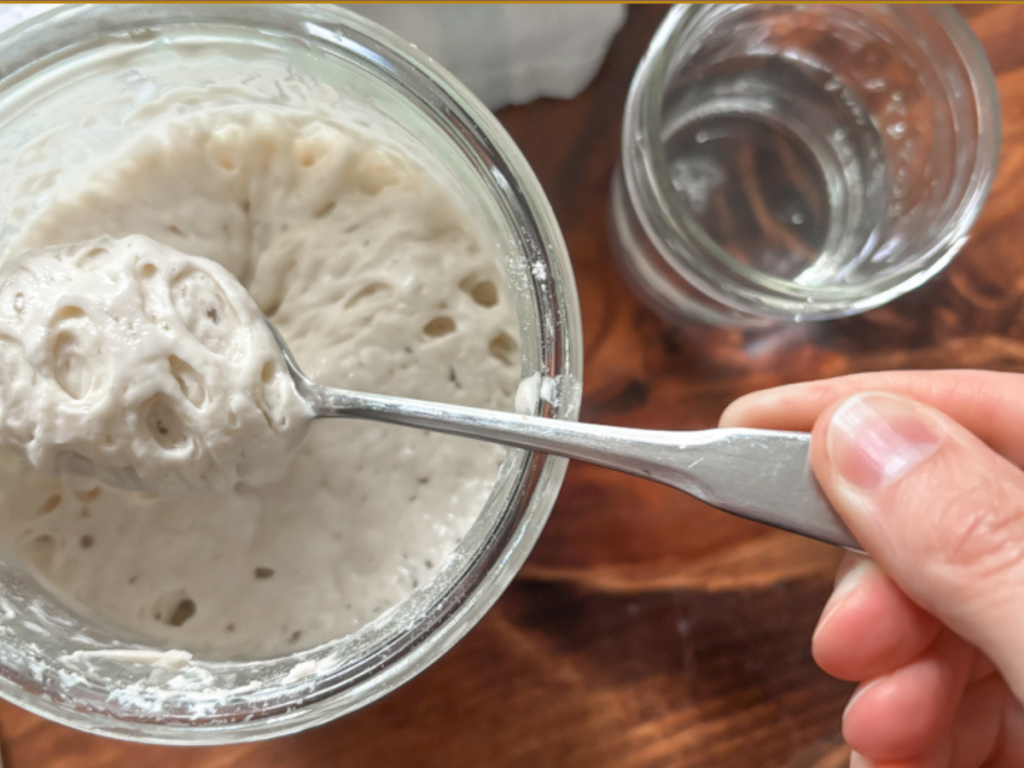
Perform the Float Test: Take a tablespoon of your starter and gently drop it into a glass of water.
- Ready?: If it floats, congrats, you have an active starter and it’s ready to use for baking!
- Not Ready?: If it sinks, continue the feeding process every 12 hours until it becomes bubbly and active.
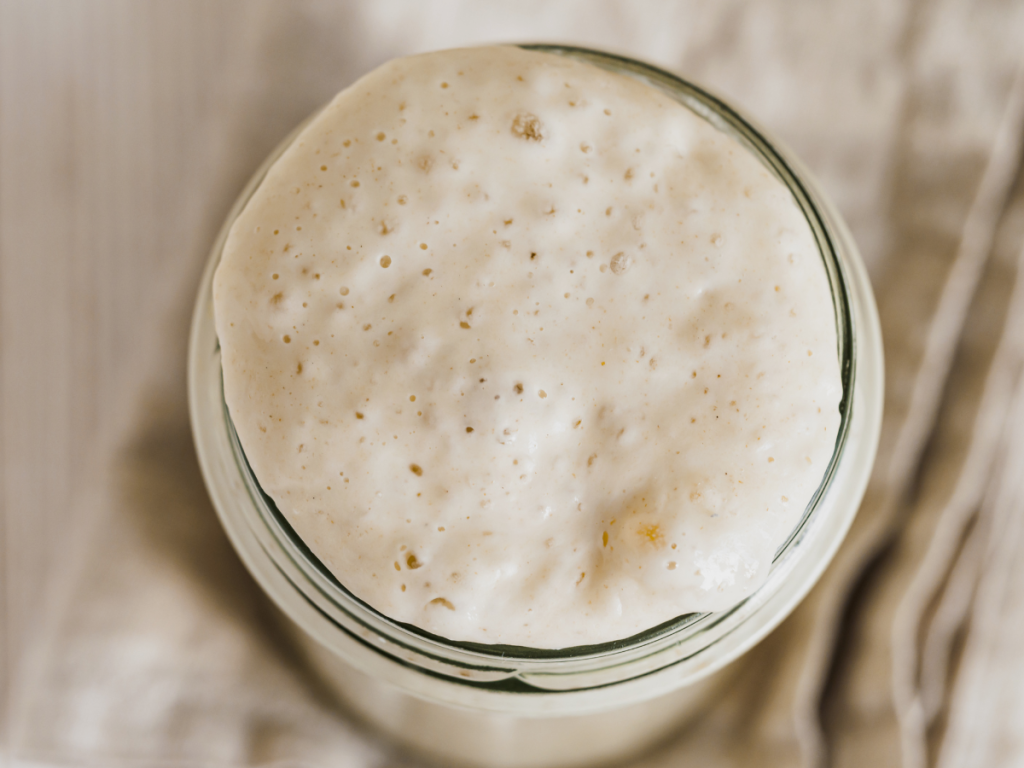
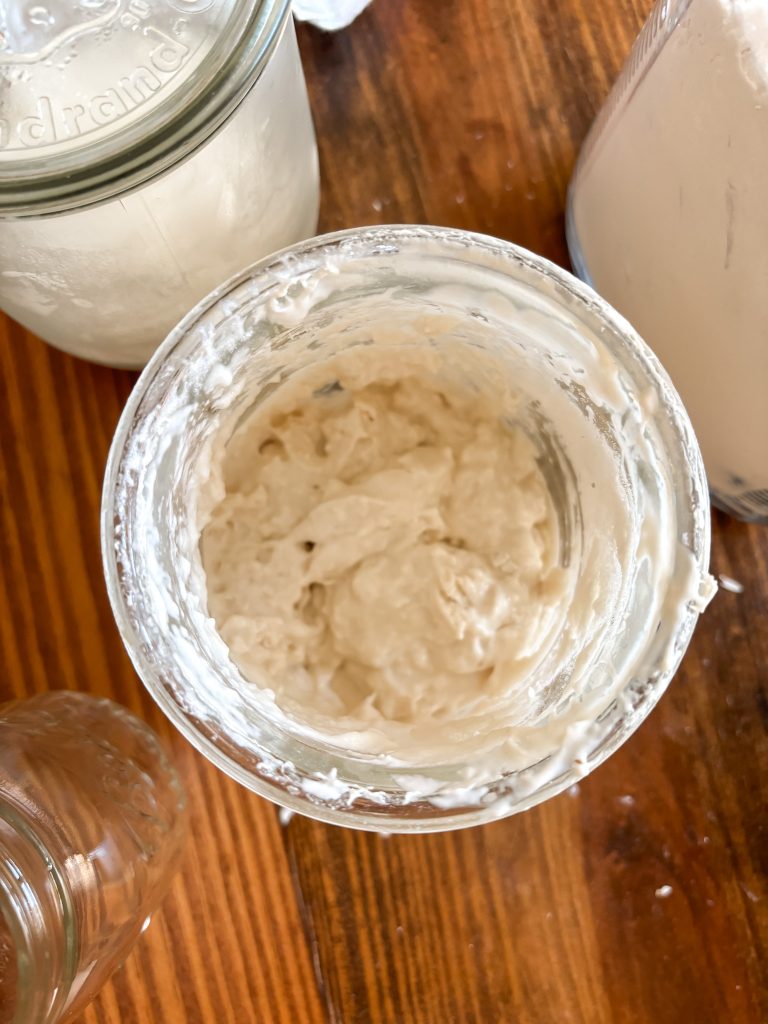
Signs of A Healthy Sourdough Starter
When establishing your sourdough starter, there are a few key things to look out for: bubbles, rise, and smell.
Would you like to save this?
- Bubbles: These tiny bubbles are a sign that the wild yeast and bacteria are actively working. As your starter ferments, it will begin to show signs of bubbling after each feed, signaling that the yeast is consuming the flour and producing gas. This is a great indication that your starter is growing and becoming active.
- Rise: Your starter should double in size a few hours after feeding. A good, healthy starter will rise, expand, and then eventually start to fall back down. This rise and fall pattern is a great indicator of a well-fed and active starter.
- Smell: In the early stages, the smell may be tangy or slightly sour—this is normal and is a sign that the natural bacteria and yeast are doing their job. Over time, the smell will become more complex. If your starter has an unpleasant or rotten odor, it could indicate that something went wrong, and you may need to start over but this is not likely. A healthy starter typically has a yeasty, slightly sweet or slightly sour smell depending on the stage.
By keeping an eye on these three things—bubbles, rise, and smell—you can track the progress of your sourdough starter and make sure it’s on its way to becoming strong and ready for baking!
Tips for Success
- Use Quality Ingredients: Fresh flour and filtered water will give your starter the best chance to thrive.
- Temperature Matters: Keep your starter in a warm place, ideally between 70°F and 75°F, to encourage fermentation.
- Mark Your Jar: After day 5 begin noticing how much your starter grows by marking your jar with a dry erasemarker or rubber band. Ideally, you want your starter to double in size within 8 hours of feeding by the time your starter is ready to use.
- Patience is Key: Each starter develops at its own pace, so don’t worry if it takes a bit longer to get bubbly and active!
- DO NOT GIVE UP! My starter took 14 days of feedings until it was doubling and floating.
Sourdough Starter Maintainance
Maintaining a sourdough starter is key to ensuring it stays healthy and active. Regular feedings— every day if you prefer to keep your starter at room temperature or at least once a week if you plan on storing your starter in the fridge—are essential, as they provide the necessary nutrients for the natural yeast and bacteria to thrive.
For detailed tips and techniques on how to keep your starter in top shape, check out my free guide to maintaining a sourdough starter, which offers everything you need to know for successful sourdough baking!
FAQ’s
These are commonly asked questions I receive through email, instagram, and post replies. You’ll probably ask yourself some of the same questions throught the sourdough making process. You are not alone! Feel free to reach out and I will do my best to help.
Yes, you can, but it’s more practical to focus on establishing just one thriving and healthy starter. Once you have an active sourdough starter, it’s a good idea to keep any discarded portion in a separate jar labeled “discard.” This way, you can use it in various recipes and keep it as a backup starter if needed.
A sourdough starter may have a tangy or slightly sour smell, which is perfectly normal and indicates that the fermentation process is working. However, if your starter has a strong, unpleasant odor reminiscent of rotten or spoiled food, it may be a sign that it has gone bad. In that case, it’s best to discard it and start fresh. Regular feedings and proper care can help maintain a healthy starter with a pleasant aroma, so be sure to keep it well-fed!
The liquid you’re seeing is called “hooch,” and it indicates that your starter is hungry and needs to be fed. Since your starter is a living thing or culture, it requires regular feedings of flour and water to thrive. You can simply pour off the hooch and then feed your starter as needed.
I doubt it! Sourdough starters are quite resilient and can often bounce back from periods of neglect. If your starter has been sitting for a while without being fed, it might look and smell a bit different, but that doesn’t mean it’s beyond saving. To revive it, simply discard half of the starter, feed it with equal parts flour and water, and give it some time in a warm spot. If you see bubbles forming and it starts to rise again, your starter is alive and well! Just keep an eye on it and ensure it receives regular feedings to maintain its health.
Troubleshooting Your Sourdough Starter
Starter Not Bubbling?
If your sourdough starter isn’t bubbling, it could be due to a few factors:
- Too Cold: Sourdough thrives in warmer temperatures. If your kitchen is too cold, it can slow down the activity of the wild yeast.
Tip: Move your starter to a warmer spot in your kitchen or place it near a heat source (like the oven with the light on) to encourage more bubbles. - Not Enough Feedings: If your starter is hungry, it might not produce bubbles. Sourdough needs regular feedings to stay active.
Tip: Make sure you’re feeding your starter daily if it’s at room temperature or every few days if it’s in the fridge. - Poor Flour Quality: Not all flours are equal! If you’re using old or low-quality flour, it might not be providing enough nutrients for the starter to grow.
Tip: Use fresh, high-quality flour, like organic all-purpose flour or whole wheat, to ensure your starter is getting what it needs.
Starter Smells Off (e.g., Rotten or Overly Sour)?
It’s normal for a sourdough starter to develop a tangy smell, but if it smells rotten or unpleasant, something might be wrong.
- Contaminated Starter: While sourdough can have a range of smells, an off-putting odor might mean it’s gone bad.
Tip: Clean your jar thoroughly, discard a good portion of the starter, and try feeding it with fresh flour and water. If the smell persists, try adjusting your feeding schedule, or consider starting over with a new batch of flour.
Starter Too Runny or Thick?
Your starter should be thick but easily stirred—if it’s too runny or too thick, it can affect your bread’s rise.
- Too Runny: If your starter is too thin, it may be a sign that you’ve added too much water.
Tip: Add a bit more flour to balance it out and reach a pancake-batter consistency. - Too Thick: If it’s too thick and not moving when you stir it, it may be too flour-heavy.
Tip: Gradually add a bit more water until you achieve the right texture—a thick, but pourable consistency is ideal for sourdough.
By keeping an eye on these issues and adjusting accordingly, you’ll be on your way to a healthy, bubbling starter in no time!

Using Your Sourdough Starter
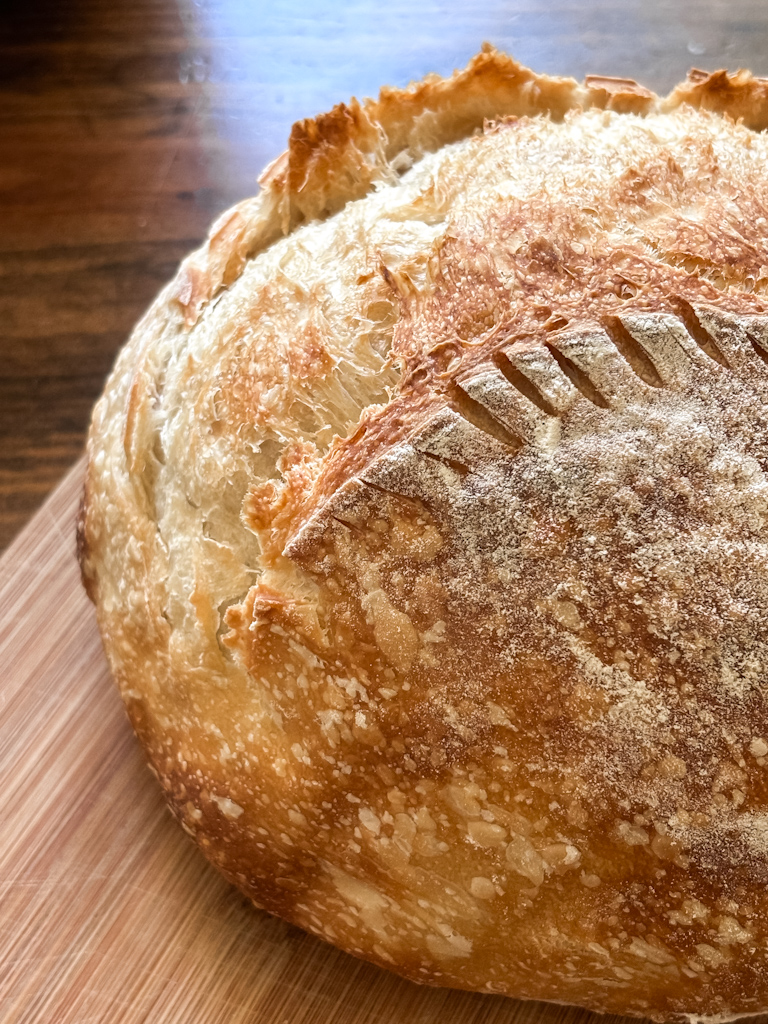
Once your starter doubles withing 8 hours of being fed and floats in water, you’re ready to make your first loaf of sourdough bread! There are so many recipes availabe but I recommend beginning with my favorite overnight sourdough bread recipe or this classic King Arthur sourdough bread recipe. Both recipes will guide you through the whole process of incorporating your healthy sourdough starter into baking bread and are beginner friendly.
How to Maintain your Sourdough Starter
Maintaining your sourdough starter is a simple but essential part of successful baking. It’s all about regular feedings and ensuring it’s kept at the right temperature. A well-fed starter will stay active and strong, ready for all your baking projects.
You’ll need to feed your starter with fresh flour and water at regular intervals, typically once a day if it’s kept at room temperature, or once a week if it’s refrigerated. Don’t forget to discard some of the starter before each feeding to keep it from growing too large.
Discarding is also an opportunity to use it in recipes, like pancakes, muffins, and crackers, so nothing goes to waste. If you’re unsure of how to maintain your starter, my free guide to maintaining a starter can help, walking you through everything from feeding and discarding to using your starter in recipes.
Free Guide and Resources
Don’t forget to download your free step-by-step guide for establishing a sourdough starter! This guide is a fantastic resource to help you navigate the process and ensure you get off to a great start with your sourdough journey.
If you’re looking to dive even deeper into the world of sourdough baking, I highly recommend checking out my Sourdough Basics Course. It’s packed with tips, techniques, and recipes that will help you master sourdough baking and bring delicious, homemade bread to your table. Get started today and enjoy the wonderful world of sourdough!

Establishing a good sourdough starter is the foundation for delicious bread. Don’t be nervous. Just get started. Know that you will bake some not so great looking loaves along the way but actually getting in the kitchen is the best way to learn.
Experiment with different recipes and when you’re ready, dive into the world of sourdough discard. When you’re ready, check out check out this blog post on unlocking the full potential of your sourdough starter.
Once you’ve established your starter I have several recipes that you will want to try and I’d love for you to share your starter-making experinces in the comments.
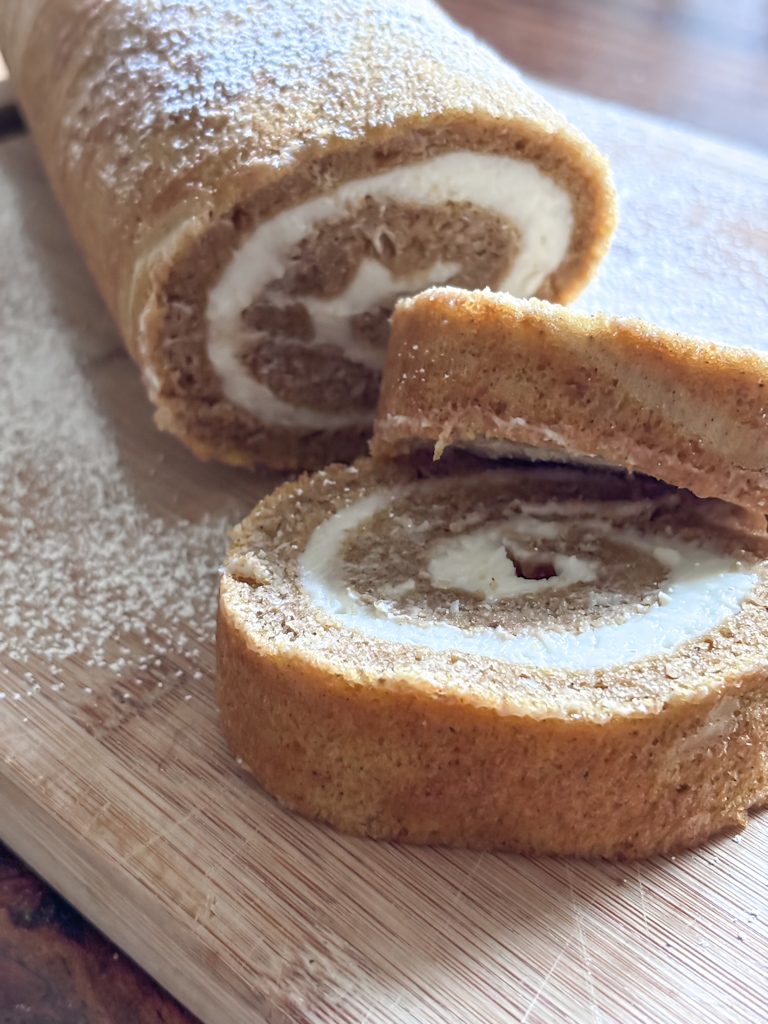
Sourdough Recipes for Beginners
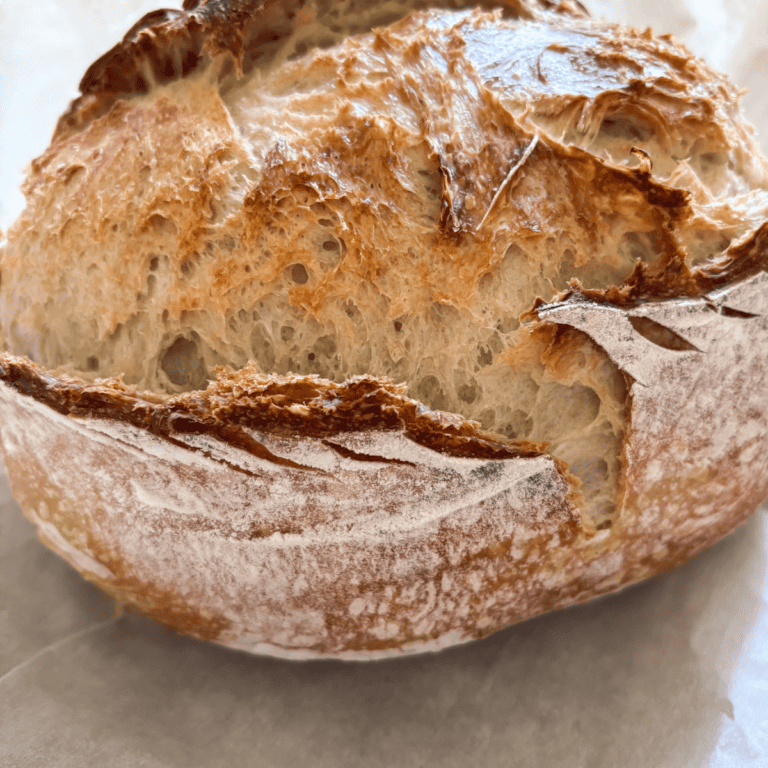
Best Sourdough Bread
Sourdough Brownies
Sourdough Focaccia
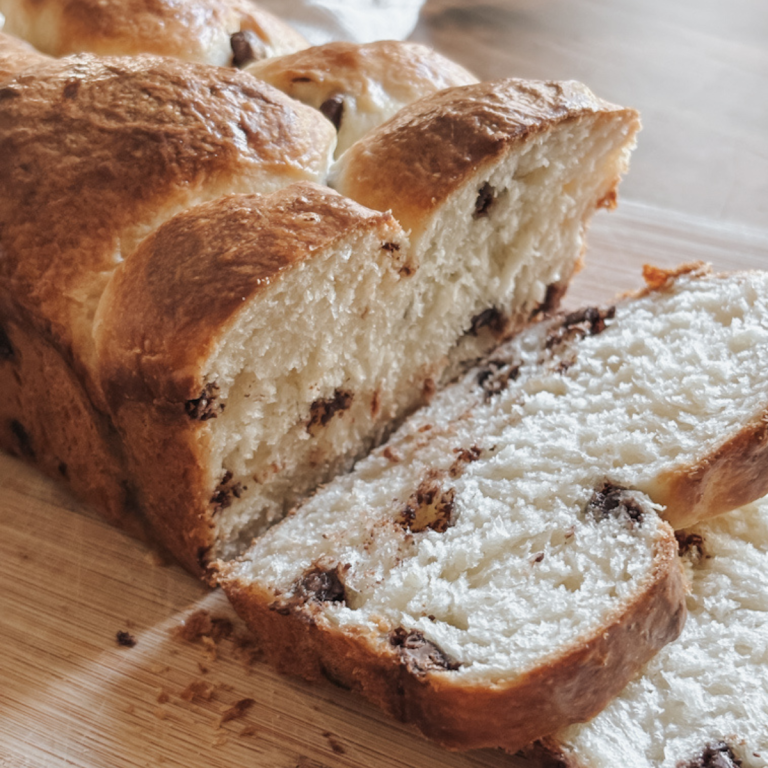
Sourdough Sandwich Bread
If you make your own starter using my free guide, I’d love for you to tag me @autumn.chasingoursimple on Instagram!