Sourdough Discard Brownies

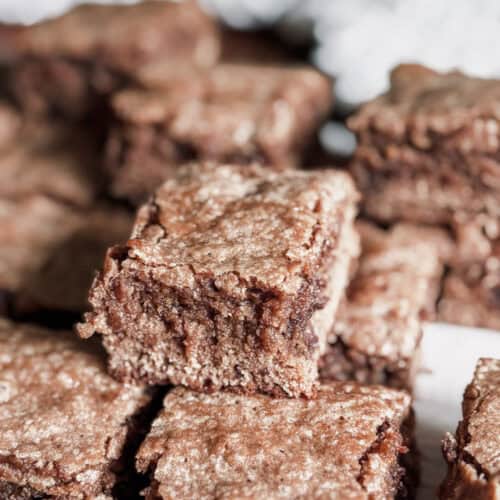
These sourdough discard brownies are rich, chocolatey, and perfectly cakey. A delicious and simple way to use up extra sourdough starter—no one will guess they’re made from discard!
Do you have a jar of sourdough discard sitting in your kitchen like I do? Do you often times walk by and wonder what to do with it? Why not turn it into a batch of homemade delicious brownies?
These Sourdough Discard Brownies with Chocolate Chips are the perfect way to use up your sourdough starter leftovers while satisfying your sweet tooth! I also can guarantee that your kids will love you for it, especially if any of them are a chocolate lover.
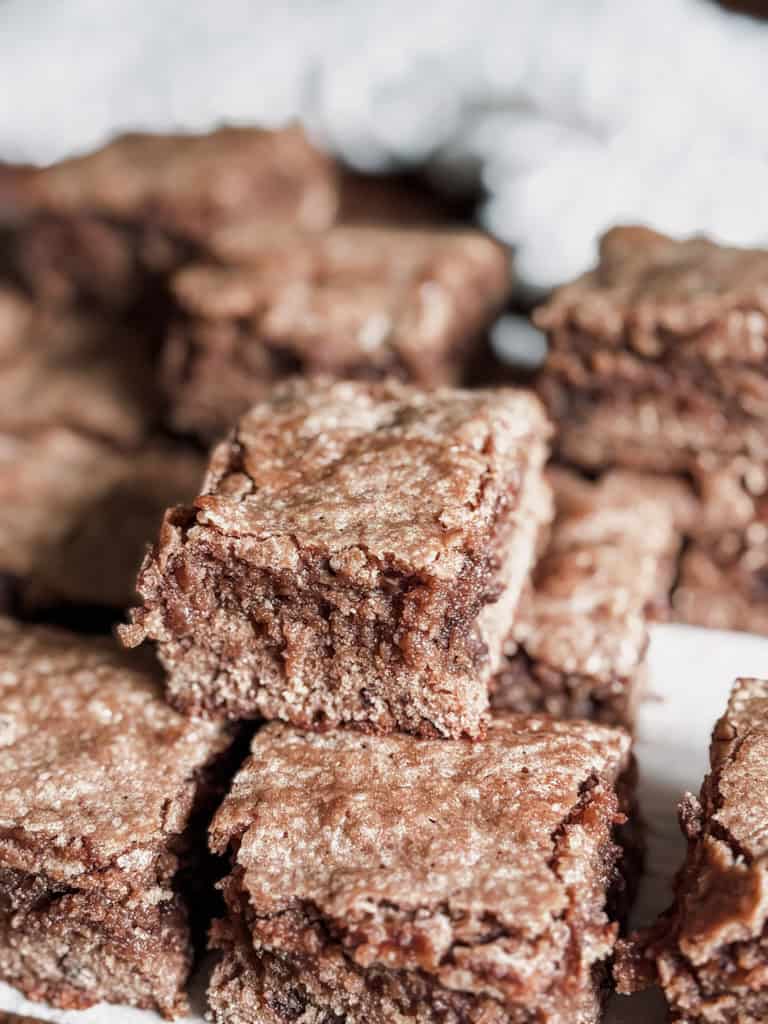
Rich, fudgy, and with just a hint of tang from the sourdough discard, this recipe is sure to become a favorite in your baking rotation. Plus, you’ll get to use your excess sourdough starter!
What You’ll Love About This Sourdough Brownie Recipe
- Waste-Free Baking: If you’re already making sourdough bread at home, this recipe gives you the perfect way to use up your sourdough discard rather than tossing it out.
- Cake-Like and Moist: The sourdough discard helps make these brownies extra moist and rich, adding to their fluffy texture, plus adding a slight tang.
- Easy to Make: This simple recipe requires minimal prep and only a few ingredients you probably already have in your pantry.
- Chocolatey Goodness: With two cups of chocolate chips folded into the batter, you get the perfect chocolate mixture.
Variations
While this recipe is perfect as is, there are plenty of ways to mix it up! Here are some ideas!
- Nuts: Add a handful of chopped nuts like walnuts, pecans, or almonds for a crunchy contrast.
- Caramel: Swirl in some caramel sauce or caramel chunks for an extra layer of sweetness.
- Mint: For a mint-chocolate twist, add a few drops of mint extract and swap some of the chocolate chips for mint chocolate chips.
- Dairy-Free: Use dairy-free butter and chocolate chips to make this recipe suitable for a dairy-free diet.
Key Ingredients
You can find a full list of ingredients in the recipe card located at the bottom of this post, but here’s a quick look at what you’ll need.
- Butter: Two sticks of melted butter create that rich, smooth texture.
- Sugar: The brownies get their sweetness from 3 cups of sugar.
- Sourdough Starter Discard: This is the star of the recipe, adding much moisture and a slight tanginess.
- Eggs: Six large eggs make the brownies light and fluffy while contributing to the fudgy texture.
- Vanilla Extract: A tablespoon of vanilla enhances the flavor and balances the sweetness.
- Flour: All-purpose flour gives the brownies structure and helps achieve that perfect texture.
- Baking Powder & Salt: These help the brownies rise and balance the sweetness.
- Regular Cocoa Powder: Unsweetened cocoa powder gives these brownies a rich chocolate flavor.
- Chocolate Chips: Two cups of chocolate chips provide pockets of melty goodness throughout the brownies.
How to Make Sourdough Discard Brownies
Making these brownies is incredibly straightforward. The easy recipe is a great one to satisfy your chocolate cravings! Here’s how you do it:
Mix the Wet Ingredients: In the large bowl of a stand mixer, combine the melted butter and sugar. Mix them together until fully combined.
Add the SourDough Discard: Add the sourdough discard, eggs, and vanilla extract. Mix well until everything is smooth and incorporated.
Prepare the Dry Ingredients: In a separate bowl, whisk together the flour, baking powder, salt, and cocoa powder.

Combine Wet and Dry Ingredients: Slowly mix the dry ingredients into the wet ingredients until just combined. Be careful not to overmix, or the brownies may become tough.
Would you like to save this?
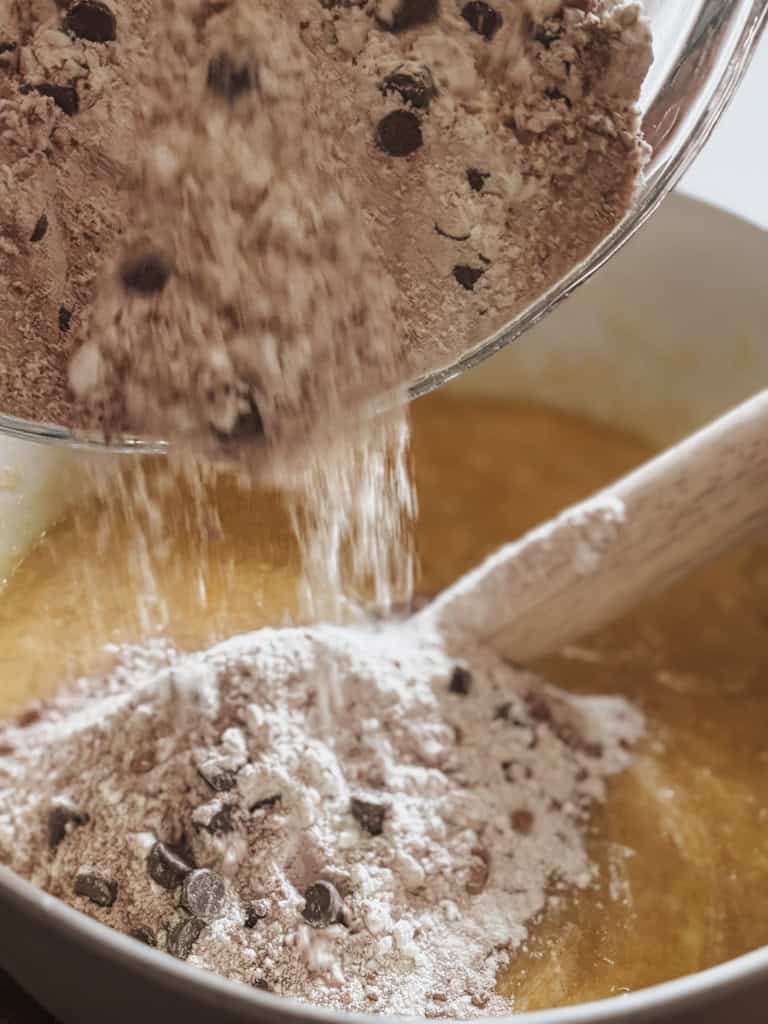
Add the Chocolate Chips: Gently fold in the chocolate chips to distribute them evenly throughout the batter.

Prepare the Pan: Grease a 13×9 inch baking pan or line it with parchment paper, leaving a little hanging over the edges for easy removal.

Bake: Pour the batter into the prepared pan and spread it out evenly. Bake at 350°F for about 35 minutes or until a toothpick inserted into the center comes out with only a few moist crumbs.
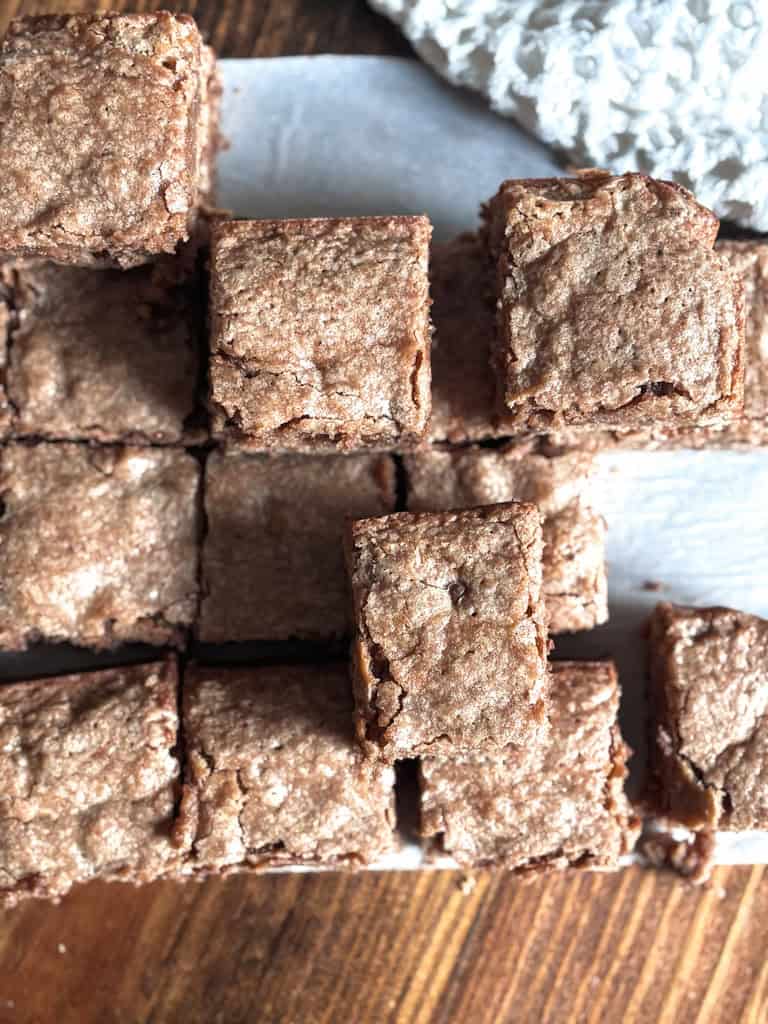
Cool and Serve: Let the easy sourdough brownies cool in the pan for 15-20 minutes before slicing into squares.
Baking Tips
- Don’t Overmix the Batter: Overmixing the brownie batter can lead to tough brownies. Mix until just combined for the best texture.
- Check for Doneness: Since ovens can vary, check your brownies around the 25-minute mark to avoid overbaking. The top should look set, but a toothpick should come out with a few moist crumbs when done.
- Use a Parchment Liner: For easy removal, use parchment paper in your baking pan. The extra paper hanging over the sides will allow you to lift the brownies out once they’re cooled.
- For Thinner Brownie: If you prefer a thinner brownie, pour the batter into a 15×10 inch jelly roll pan.

How to Serve
Serve these homemade brownies slightly warm with a scoop of vanilla ice cream for the ultimate indulgence. They’re also perfect on their own with a glass of cold milk or a cup of coffee for an afternoon treat! Really, any way is amazing! I always suggest sharing with a friend!
Recipe FAQs
Yes! If you have an active sourdough starter, you can use it. Just be sure to feed it before you add it to the recipe for the best results.
You can try swapping the all-purpose flour for a gluten-free flour blend, but keep in mind that the texture may vary slightly. Ensure you’re using a 1:1 gluten-free flour blend that includes xanthan gum for structure.
Store your fudgy brownies in an airtight container at room temperature for up to 3-4 days. If you want them to last longer, you can refrigerate them for up to a week or freeze them for up to 3 months.
More Sourdough Discard Recipes
- Sourdough Discard Pancakes: A great way to use up more of your sourdough discard for breakfast.
- Sourdough Discard Pizza Dough: Dough ready in a day! Perfect for pizza nights!
- Sourdough Discard Coffee Cake: The perfect way to start your mornings–or afternoons!
Want more delicious recipes sent straight to your inbox? Subscribe to my newsletter to receive the latest!
If you make this recipe, please leave a rating on the recipe card below! I’d also love for you to tag me @autumn.chasingoursimple on Instagram so I can see what you’ve been baking!
This post may contain affiliate links, which means I may earn a small commission at no extra cost to you if you make a purchase through these links. I only recommend products I personally use and trust. Your support helps keep this blog running—thank you!
Sourdough Discard Brownies
Ingredients
- 1 cup butter (2 sticks), melted
- 3 cup sugar
- ½ cup sourdough discard
- 6 eggs
- 1 tbsp vanilla extract
- 2¾ cups all-purpose flour
- 1 tsp baking powder
- ½ tsp salt
- 1 cup cocoa powder
- 2 cup chocolate chips
Instructions
- In the bowl of a stand mixer, combine melted butter and sugar. Mix together until combined.
- Add sourdough discard, eggs, and vanilla. Mix well
- In a separate bowl, mix flour, baking powder, salt, and cocoa powder.
- Mix dry ingredients into the wet and mix until just combined. Fold in chocolate chips.
- Pour brownie batter into a 13×9 inch greased baking pan or line the pan with parchment paper, leaving a little hanging over the sides for easy removal.
- Bake at 350°F for about 35 minutes.
- Cool for 15-20 minutes before slicing.


Love it. It was super easy to do. I make it on the oven on 25 minutes.