Overnight Chocolate Chip Sourdough Bread
This overnight chocolate chip sourdough bread is naturally leavened and filled with pockets of melty chocolate. An easy artisan-style loaf that’s perfect for breakfast, dessert, or gifting.
One of my favorite things about sourdough is how a simple overnight ferment can turn basic ingredients into something amazing. This chocolate chip sourdough bread is soft, rich, and just a little indulgent—exactly the kind of bake I love sharing with my family and with you!

If you’ve ever thought sourdough seemed intimidating or time-consuming, I want to encourage you—it doesn’t have to be that way. Whether this is your first time baking a loaf or you’ve been nurturing your own sourdough starter for years, there’s room for every baker here. Real sourdough doesn’t have to look one specific way. It can be cozy, imperfect, and full of personality—just like the people you share it with.
This recipe is one of those special ones that feels both simple and a little decadent. It’s the perfect balance between wholesome and sweet. A rustic sourdough loaf with gooey chocolate chips feels like such a treat—and yet, it’s made from the same humble ingredients that start every loaf of bread: flour, water, and salt. Add in the magic of fermentation and a bit of chocolate, and you’ll have a delicious sourdough bread that’s sure to become a favorite.

What You’ll Love About This Recipe
- You’ll love how approachable this recipe is. It doesn’t require fancy equipment or exact measurements down to the gram—though if you have a kitchen scale, that can help you learn how hydration and flour types affect your dough.
- It’s also a great one for learning about the fermentation process. This loaf rests overnight, which allows time for deep flavor to develop. The slow bulk fermentation lets your dough rise naturally while the chocolate gently melts into little pockets throughout the loaf.
- And let’s not forget—it smells amazing. That warm, slightly sweet aroma that fills the kitchen the next morning? It’s pure comfort.
- This bread also makes the best use of your active sourdough starter. Whether you feed your starter with bread flour, whole wheat flour, or even purpose flour, the key is making sure it’s bubbly and active.
This post may contain affiliate links, which means I may earn a small commission at no extra cost to you if you make a purchase through these links. I only recommend products I personally use and trust. Your support helps keep this blog running—thank you!
Key Ingredients
While this recipe is simple, each ingredient plays an important role in creating that perfect texture and flavor:
- Active sourdough starter (leaven): The strength of your starter determines how well your bread rises. Feed it with equal parts flour and warm water, and let it double before using.
- Water: I prefer using warm water—not hot—around room temperature. This helps the dough come together easily.
- All-purpose flour: This recipe calls for all-purpose flour, but you can experiment with bread flour or even give go with milling your own flour. Check out my post about it!
- Milk chocolate chips: These bring the magic! You can also use semi-sweet chocolate chips, dark chocolate chips, or even chunks of a favorite chocolate bar if you like a little variety.
You can find a full list of ingredients in the recipe card located at the bottom of this post.
Optional additions if you’re feeling adventurous:
A spoonful of brown sugar or a swirl of peanut butter can give this bread a dessert-like twist. Or try a bit of cocoa powder for a double chocolate loaf—like an hour double chocolate chip sourdough bread, one of my personal favorites!
How to Make Chocolate Chip Sourdough Bread
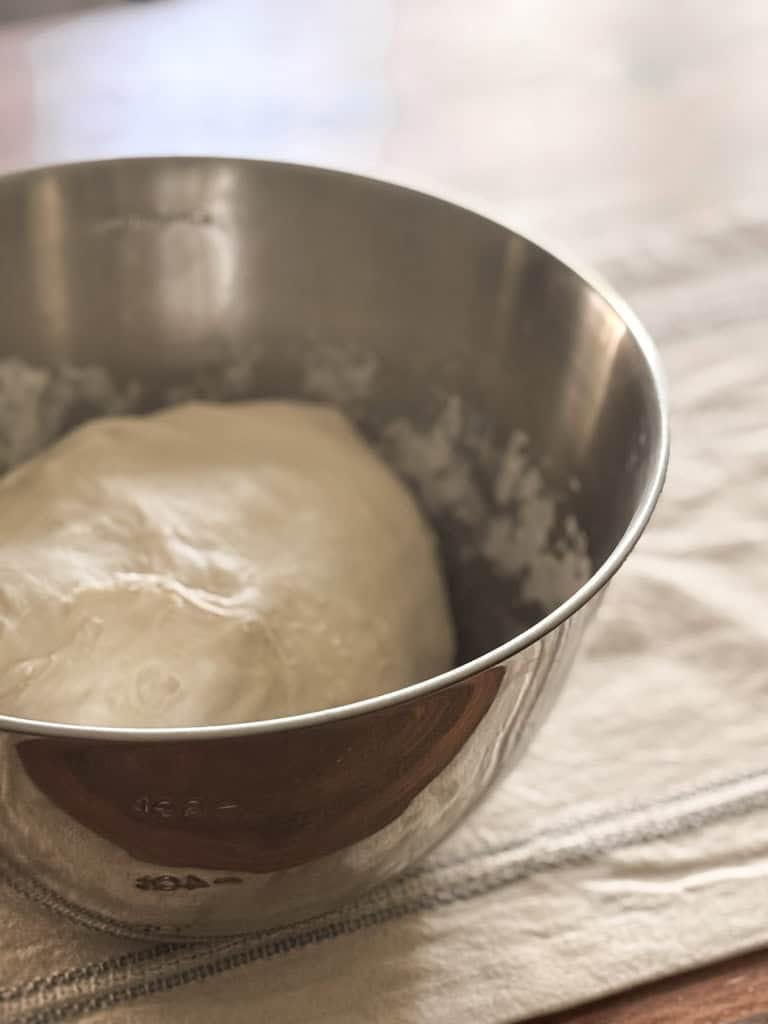
Once your active starter has doubled and bubbled, it’s time to mix the dough. Add your starter and water into a large mixing bowl. Stir well to disperse—this is where a dough whisk can come in handy. Then add your flour and stir until a shaggy dough forms. Cover the bowl with plastic wrap, a damp towel, or a damp tea towel, and let it rest for about 20 minutes. This short dough rest allows the flour to absorb the water and makes kneading easier later.
After resting, add the salt and knead by hand for 2-3 minutes. Use wet hands to keep the dough from sticking and to help the salt incorporate evenly. Cover the bowl again and set it aside in a warm spot to begin the first rise.
Thirty minutes later, start your set of stretch and folds—six in total. The first three are done 15 minutes apart, and the last three every 30 minutes. This helps strengthen the gluten and encourages an even dough rise during the bulk fermentation.
After the third set, gently fold in your milk chocolate chips. You can also use dark chocolate chips or a mix for that perfect balance of sweet and rich. This step feels like a little celebration—the dough turns from simple and rustic into something that looks like dessert and breakfast had a baby.
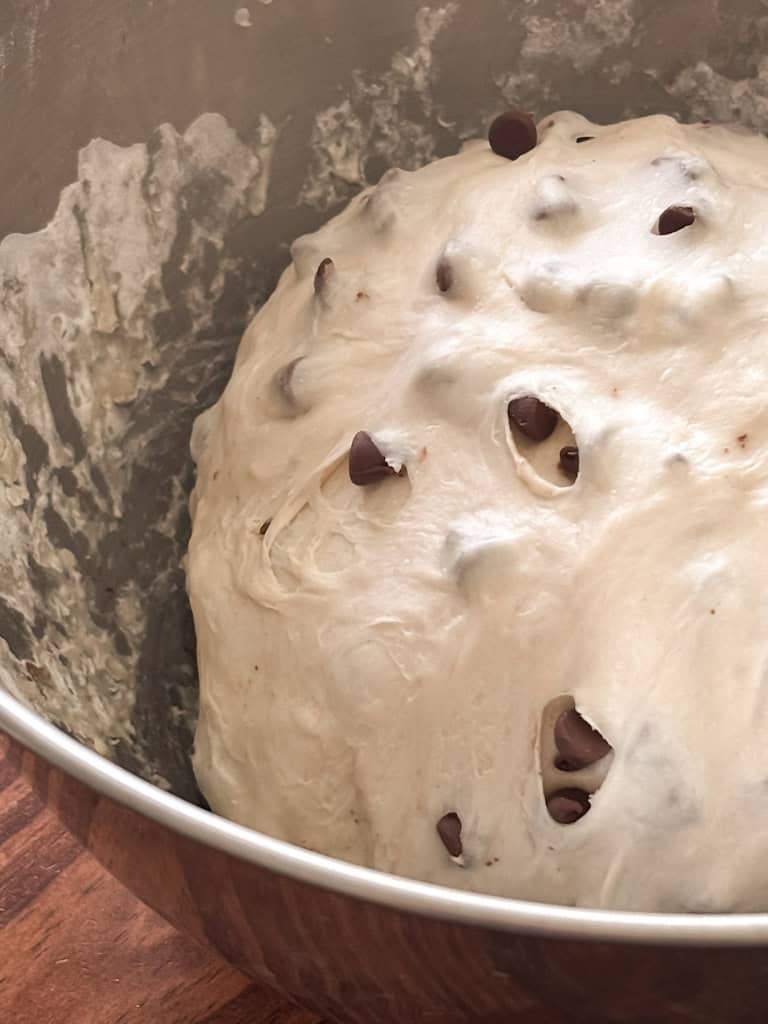
Continue the stretch and folds until the dough feels smooth and elastic. Then cover and leave it to rest for about two hours, or until it looks silky and has risen about 30–50%. Depending on your ambient temperature, this may take a bit longer or shorter—just trust your eyes and hands more than the clock.
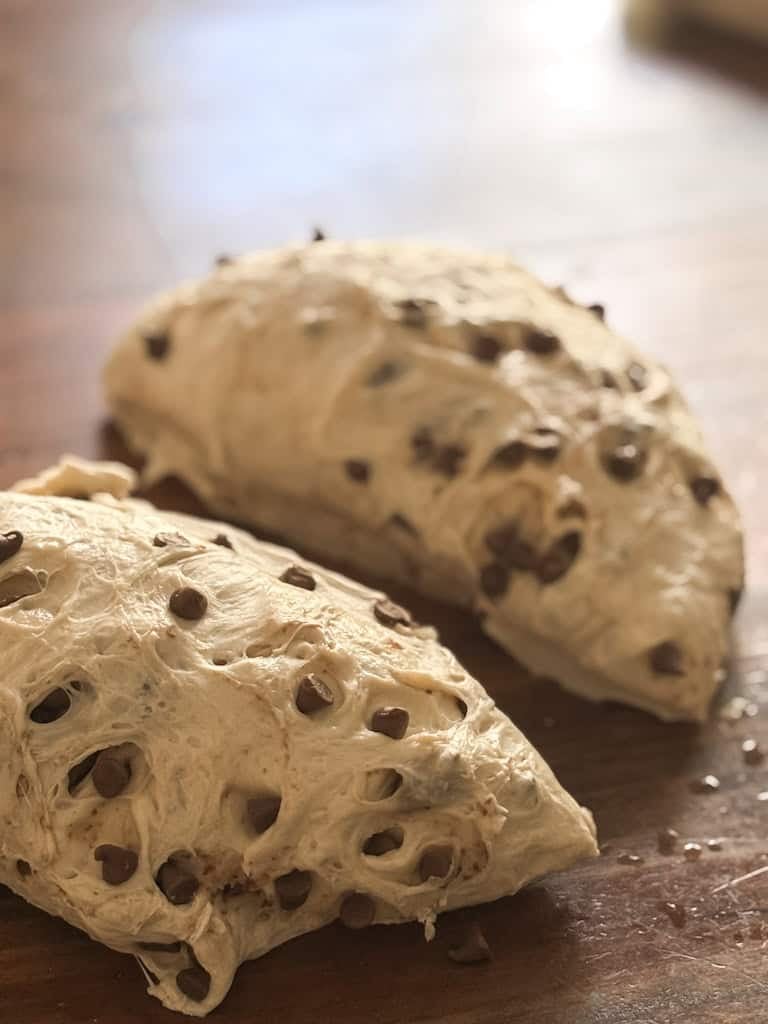
When the bulk rise is complete, separate and shape your dough into two loaves. Place each on a lightly floured surface and let them rest for about 20 minutes. Then, shape again into your final shaped loaf and place them into lightly floured banneton baskets.

Cover and refrigerate overnight—or at least 12 hours. The turned-off oven can be a great place to store the dough if your fridge is too full or cold. This overnight rest is the perfect time to let the flavor deepen and make your morning bake easy and stress-free.
Would you like to save this?
When you’re ready to bake, preheat your oven to 500°F with a Dutch oven inside. This ensures the pot is hot enough to create steam, which helps the crust turn beautifully golden brown and gives that signature artisan look.
Pull your cold loaf from the fridge and turn it over onto a piece of parchment paper. Use a sharp knife or bread lame to score the top of the dough—this lets steam escape and gives the loaf that lovely pattern once baked.
Carefully lift the parchment with the dough into the hot Dutch oven, cover with the lid, and bake for 25 minutes. Then lower the temperature to 450°F, remove the lid, and bake for another 20–25 minutes, or until it reaches an internal temperature of about 208°F–210°F.
Repeat the process for your second loaf. For best results, preheat the oven and Dutch oven again before baking the second one.
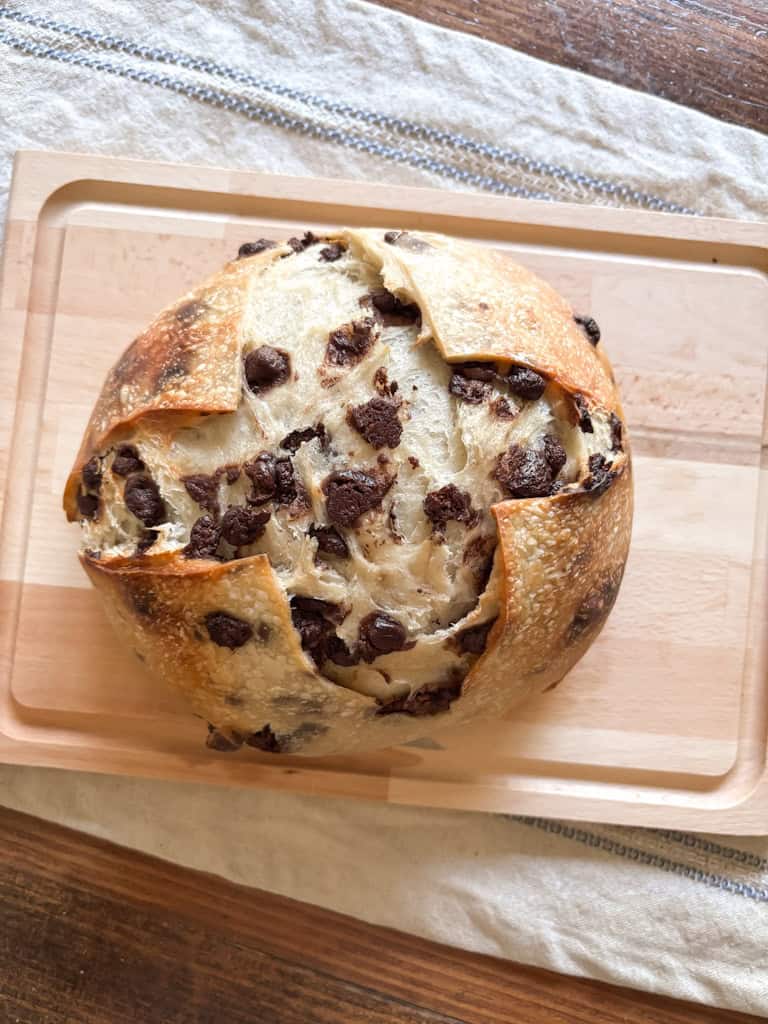
Let the loaves cool completely on a wire rack before slicing. The center of the dough continues to set as it cools, and you’ll get that perfect texture.
Ways to Serve Chocolate Chip Sourdough Bread
This bread is so versatile—you can serve it in countless ways!
- Breakfast treat: Slice and spread with butter, cream cheese, or even a drizzle of peanut butter.
- Dessert: Toast lightly and top with a scoop of ice cream or a sprinkle of powdered sugar.
- Snack: Perfect with coffee or milk. My boys love it warm, right out of the toaster.
- Gift idea: Wrap a cooled loaf in parchment and tie it with twine. Homemade sourdough chocolate bread makes a beautiful, heartfelt gift.

Baking Tips & Variations
- If you’re baking in a Dutch oven, always preheat it thoroughly. It’s the best way to get that artisan-style crust.
- Don’t stress over exact measurements. Ambient humidity, flour type, and strength of your starter can all affect hydration. Trust the feel of the dough
- Mix in a handful of semi-sweet chocolate chips or dark chocolate chips for a more decadent bread that satisfies every sweet tooth.
- Use your own sourdough starter regularly to build flavor and texture. Even if you’re not an experienced sourdough baker, you’ll get the hang of how the dough should feel over time.
- Use leftovers as french toast in the morning.
Remember: every loaf tells a story. Maybe your last coil fold wasn’t perfect or your crust cracked on the side of the dough—it’s all part of learning. Sourdough baking isn’t about perfection; it’s about connection and creativity.
Recipe FAQs
Yes! Substitute up to 25% of the flour with whole wheat flour for a heartier loaf.
Absolutely. Use semi-sweet, dark, or even chopped chocolate bar pieces. Each adds its own unique flavor.
No, you can use any bowl lined with a floured tea towel. Rice flour helps prevent sticking.
Your dough should look smooth, airy, and slightly jiggly. If you gently poke the center of the dough, it should slowly bounce back.
Yes! Cool completely, wrap tightly in plastic wrap, and freeze for up to 3 months.
More Sourdough Bread Recipes
If you love this loaf, here are more sourdough recipes you might enjoy:
- Fluffy Sourdough Pumpkin Pancakes
- Pull Part Cinnamon Sourdough Bread
- Easy Sourdough Discard Breakfast Recipes
Each one is a cozy addition to your rotation, whether you’re an experienced sourdough baker or just starting out.

Final Thoughts
Sourdough doesn’t have to be fancy, complicated, or rigid. It’s a living, breathing process that changes with your ambient temperature, your active starter, and even your mood. The joy of baking is in the process itself—the feel of the dough between your fingers, the smell that fills your kitchen, the simple pride in pulling out a loaf you made with your own hands.
This chocolate sourdough bread is proof that sourdough can be fun and flexible. You can be a real sourdough mom and still make a loaf that feels like dessert. Whether you’re baking this as a weekend treat, part of a bonus episode in your baking adventures, or just to share with your kids over breakfast, I hope this recipe brings warmth and joy to your home.
Want more delicious recipes sent straight to your inbox? Subscribe to my newsletter to receive the latest!
If you make this recipe, please leave a rating on the recipe card below! I’d also love for you to tag me @autumn.chasingoursimple on Instagram so I can see what you’ve been baking!

Overnight Chocolate Chip Sourdough Bread
Ingredients
For the Dough
- 1½ cups leaven (fed starter that has doubled and bubbled)
- 2¾ cups water
- 8 cups all purpose flour
- 1 tbsp salt
Inclusions
- 2 cups milk chocolate chips
Instructions
- After starter has doubled, it’s time to mix the dough. Add starter and water into a large mixing bowl. Stir to disperse. Now add flour and stir until a shaggy dough is formed. Cover and allow dough to sit for about 20 minutes.
- After 20 minutes, add salt and knead by hand for 2-3 minutes. Wet your hands so that the dough doesn’t stick and the salt will incorporate better. Cover and set to the side in a warm place.
- 30 minutes later, begin stretch and folds. 6 sets of stretch and folds in total. The first 3 sets are 15 minutes apart, and the last 3 you’ll do every 30 minutes.
- Add the chocolate chips after the 3rd set of stretch and folds. Keep in mind this does not have to be exact! Cover in between sets.
- After stretch and folds are complete, cover bowl and leave on the counter for 2 hours or until the dough looks silky and has risen 30-50%
- Separate and shape your dough into two loaves. Allow 20 minutes of rest time for your loaves after shaping.
- Shape again and place into lightly floured banneton baskets or bowls.
- Place in the refrigerator overnight or for at least 12 hours.
- When ready to bake place the dutch oven inside the oven and preheat to 500°F.
- Once oven is ready, pull loaf from the fridge and turn it over onto a large piece of parchment paper. Use bread lame or a sharp knife or razor blade to score a design into the top of the dough.
- Place scored loaf along with the parchment paper into hot dutch oven. Bake with the lid on for 25 minutes, and then lower oven temperature to 450°F and bake with the lid off for an additional 20-25 minutes.
- Repeat the same for second loaf. For best results, preheat the oven and dutch oven again to 500°F
- Cool loaves completely.