Fresh Milled Flour: Benefits, FAQ’s, And How To Bake With It

Last Updated on February 6, 2026 by Autumn Ballard
Curious about fresh milled flour? Learn what it is, how it compares to store-bought flour, and how to use it in everyday baking, even in sourdough bread—plus answers to common beginner questions!

This post may contain affiliate links, which means I may earn a small commission at no extra cost to you if you make a purchase through these links. I only recommend products I personally use and trust. Your support helps keep this blog running—thank you!
There’s just something magical about pulling a fresh loaf of bread from the oven, knowing exactly where every ingredient came from—and that it started with a whole grain you milled yourself. If you’re curious about baking with fresh milled flour but feel overwhelmed by all the info out there, you’re not alone! I was right where you are, wondering if it was worth the effort, whether I needed special tools, and how it would actually affect my baking.
This guide is here to walk you through everything you need to know about using fresh milled flour—what it is, why it’s becoming more popular, how it compares to store-bought flour, and most importantly, how to confidently start baking with it. I’ve also included a super handy printable chart for milling and baking conversions that you’ll want to keep on your fridge (or tape to your mill!).
Let’s get into it.
The information shared in this post is based on personal experience and research and is intended for educational and informational purposes only. I am not a medical professional, and this content should not be taken as medical or dietary advice. Always consult with a qualified healthcare provider before making changes to your diet or lifestyle, especially if you have any medical conditions or concerns.

What Is Fresh Milled Flour?
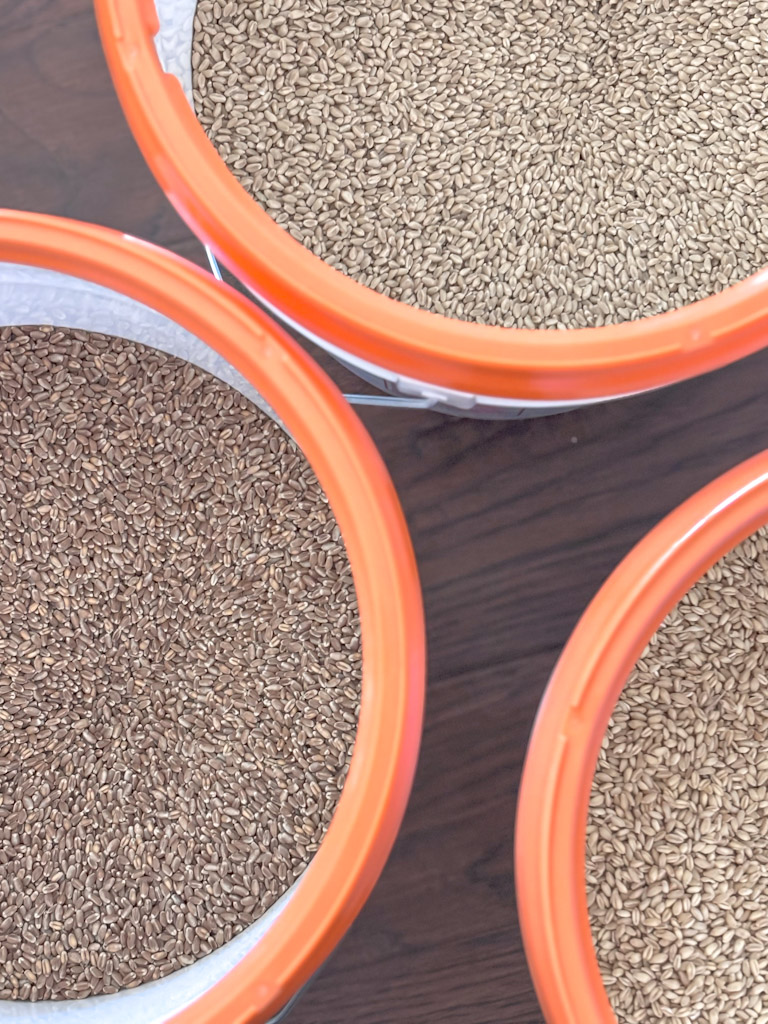
Fresh milled flour is flour that you grind yourself at home using whole grains or “wheat berries.” Unlike conventional white or even whole grain flour found on grocery store shelves, fresh milled flour includes all three parts of the wheat kernel:
- Bran: the outer layer, rich in fiber
- Germ: the nutrient-packed core containing healthy fats and vitamins
- Endosperm: the starchy middle that provides structure
Because it hasn’t been stripped or refined, fresh milled flour retains all the essential nutrients and oils naturally found in the grain. It’s about as close to “from scratch” as you can get in baking.

How It’s Different from White and Whole Wheat Flour
Wondering about the commercial flours you see at the stores and what the differences are? Here is a quick run down.
- White flour is heavily refined. The bran and germ are removed, leaving only the starchy endosperm. While this makes for a lighter texture, it also removes most of the nutritional value.
- Whole wheat flour is more nutritious than white flour, but by the time it hits store shelves, it’s usually been sitting for weeks or months, leading to flavor and nutrient loss.
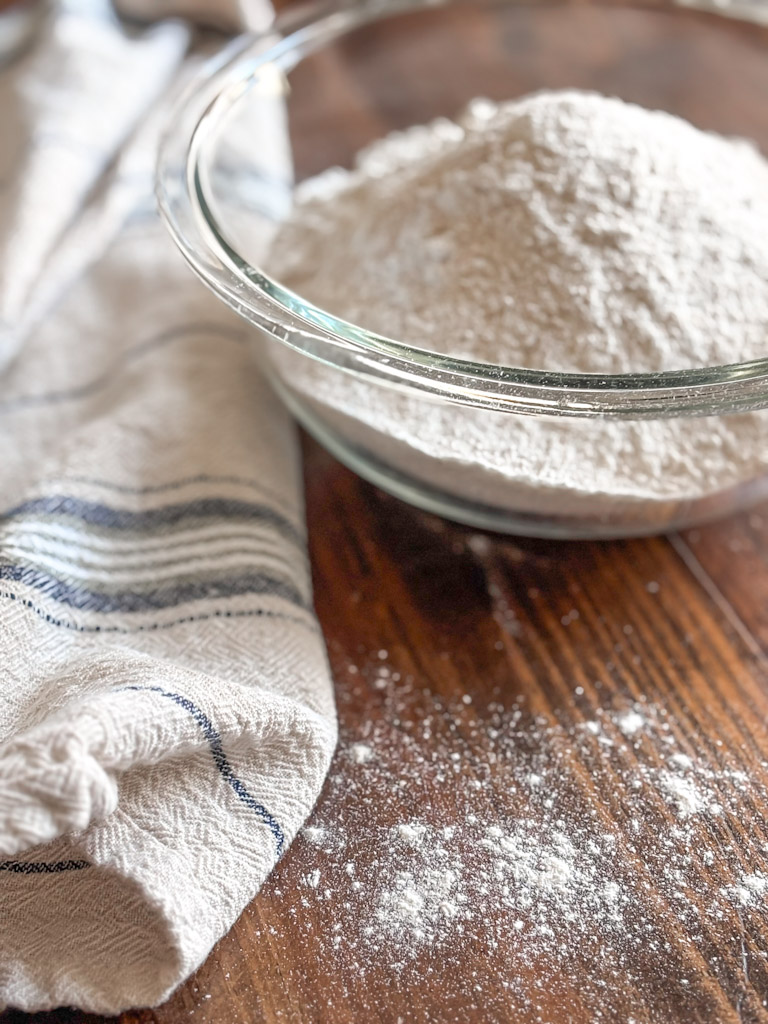
- Fresh milled flour, on the other hand, is made and used immediately, preserving nutrients, flavor, and aroma.
Want to learn how to mill your own flour step-by-step with a flour mill? Here’s how to get started.
Why Is Fresh Milled Flour Gaining Popularity?
Fresh milled flour has been around for centuries, but it’s seeing a resurgence as more people seek to live simply, bake intentionally, and nourish their families with whole, natural foods.
Here are just a few reasons it’s growing in popularity:
- Higher nutritional value than shelf-stable flours
- Fuller, richer flavor that enhances baked goods
- Customizable grain blends for different textures and tastes
- Supports homesteading and self-sufficiency
- Lower long-term costs than constantly buying specialty flours
Benefits of Freshly Milled Flour
There’s a lot to love about fresh milled flour, and the benefits go far beyond taste (though that’s a big one!). And the good news is that an electric mill can make it simple and easy!
- Maximum Nutrition—Because it includes the whole grain—bran, germ, and endosperm—fresh milled flour is rich in fiber, antioxidants, B vitamins, and healthy fats that are lost in refined flours. The health benefits alone can be worth it!
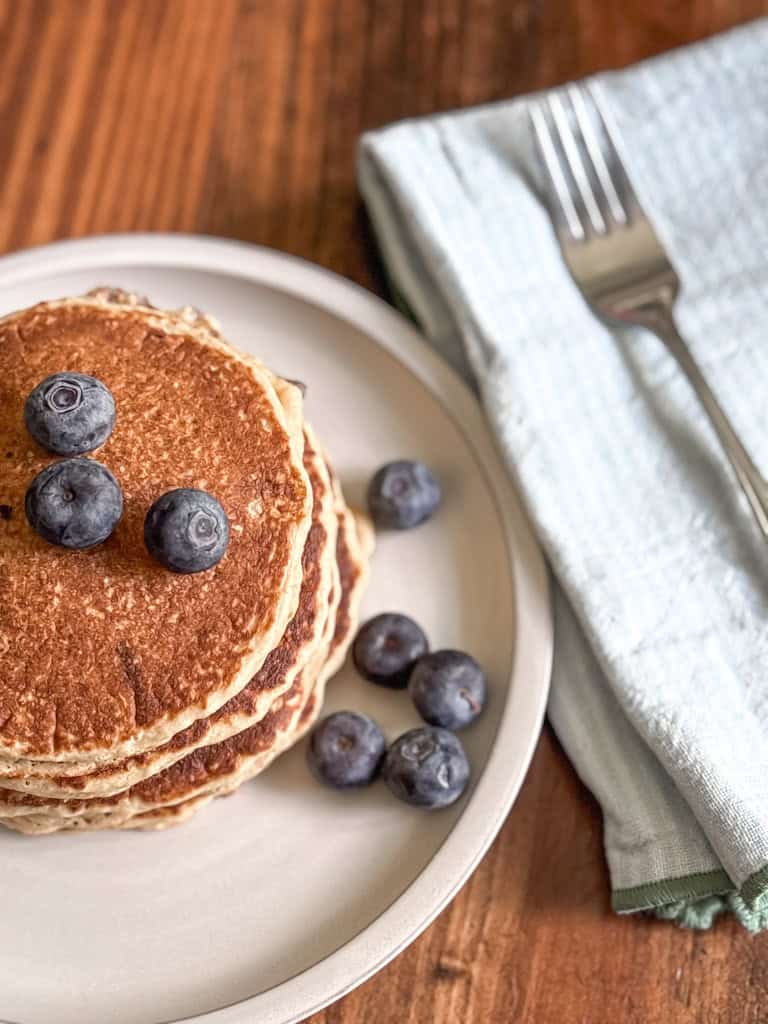
- Unmatched Flavor—You’ll notice it immediately. Whether it’s pancakes, sandwich bread, or muffins, fresh milled flour adds a nutty, wholesome, flavorful flour that store-bought flour just can’t match.
- Custom Grains—Want to mix einkorn with spelt flour or hard red wheat with soft white wheat? Milling at home gives you the freedom to blend and experiment with different grains and even different flavors. The variety of grains is endless as you begin to experiment with what your family enjoys.
- Better Texture—Baked goods made with fresh flour often have a heartier texture, improved moisture retention, and a more satisfying crumb.
- Eco-Friendly and Budget-Friendly—Whole grains are typically less expensive than pre-milled flours, and they have a longer shelf life. That means fewer trips to the store, less packaging waste, and savings in the long run.

Fresh Milled Flour FAQs
Let’s tackle some of the most frequently asked questions to help you feel confident getting started:
Yes, ideally. As a general rule of thumb, to get the full nutritional benefits, flour should be used right after milling. Nutrients begin degrading quickly—many within 24 hours.
That said, if you need to mill ahead of time, store the flour in the freezer to preserve as many nutrients as possible.
At room temperature, it can go rancid within days due to its natural oils. Store it in an airtight container in the fridge or freezer, and try to use within a week or two for best results.
Nope! Unless you’re going for a super fine texture (like for cakes), I recommend keeping all the bran and germ for maximum nutrition and flavor.
Yes—but with a few tweaks. Fresh flour absorbs more water, so you may need to adjust hydration levels and allow doughs to rest longer. Start by replacing part of the flour and experiment from there.
Yes! Once you invest in a mill, you’ll save money over time. Whole grains are often cheaper per pound than store-bought flours, and you’ll reduce food waste by grinding only what you need. The Nutrimill is an excellent choice!
How to Bake with Fresh Milled Flour
Here’s where the fun begins! Baking with fresh milled flour is different, but totally doable with a few adjustments. Of course, the first time will take longer as you figure out the process, but by the second time, you’ll already be a pro!

Fresh Milled Flour Conversions for Milling—A common source of confusion is converting whole grains to flour. Since flour expands in volume after milling, recipes using volume measurements (like cups) need special attention.
Basic Conversions:
- 2/3 cup grain = 1 cup flour
- 1 cup grain = 1 ½ cups flour
- 1 1/3 cups grain = 2 cups flour
Soft wheat yields slightly more due to moisture, but these rules generally hold.
Tip: Keep a freezer bag labeled “Extra Milled Flour” for leftovers. Perfect for feeding your sourdough starter or dusting your surface when kneading.

Fresh Milled Flour Conversions for Baking—If your recipe uses weight (grams or ounces)—you’re in luck! Just weigh your whole grains to match the flour amount called for. Easy.
For volume-based recipes, use the following adjustments:
Would you like to save this?
- If a recipe calls for 1 cup all-purpose flour → use 1¼ cups fresh milled flour
- 2 cups all-purpose flour → 2½ cups fresh milled flour
- And so on…
This accounts for the lighter, fluffier nature of freshly milled flour and its higher absorption rate.
Tips for Baking with Fresh Milled Flour
If you’ve baked with all-purpose or store-bought whole wheat flour before, switching to fresh milled can feel like learning to bake all over again. The textures are different, hydration needs are higher, and your dough may behave in unexpected ways. But don’t worry—these tips will help you build confidence in your new favorite way to bake.
Don’t Add Too Much Flour (Even If It Looks Wet!)–One of the most common mistakes beginners make is overcompensating for sticky dough by adding more flour. Freshly milled flour is thirstier—it takes time to fully absorb liquid. What looks like a soggy mess initially will often turn into a soft, supple dough after a short rest or some gentle kneading.
Try this:
- Mix your dough, then let it rest (autolyse) for 20–30 minutes before kneading. You’ll see a noticeable difference in texture.
- Avoid the urge to add flour during kneading unless the dough is truly unworkable.
Pro Tip: If you must add flour during kneading, sprinkle sparingly—like you’re seasoning food—not by the handful.
Be Patient with Gluten Development–Because fresh flour includes the bran and germ, gluten development can take a bit longer. The bran acts like tiny sharp blades, cutting through developing gluten strands, which can impact rise and texture if you’re not careful.
To help with this:
- Use a longer autolyse to allow flour to hydrate and gluten to begin forming naturally.
- Try using stretch-and-fold techniques instead of aggressive kneading, especially for rustic breads or sourdough.
- Consider adding a small amount of vital wheat gluten (1–2 teaspoons per cup of flour) if your flour is low in protein and your loaves are coming out dense.
Start with Blended Flours–If you’re nervous about jumping in with 100% fresh milled flour, it’s perfectly okay to start with a mix.
Easy starter blend ideas:
- 50/50 mix of fresh milled hard white wheat + store-bought bread flour
- 25% spelt or einkorn in your regular whole wheat bread
- Fresh milled flour in muffins, cookies, or pancakes first (they’re more forgiving)
Baking is a skill built through experience—and blended flours can help bridge the learning curve.
Use Fresh Milled Flour in Quick Breads First–Not all baked goods require kneading and strong gluten development. Quick breads like banana bread, zucchini bread, pancakes, and muffins are perfect beginner recipes for fresh flour.
These recipes benefit from the flavor and nutrients of whole grain, without being as sensitive to hydration levels or structure.
Try this: Bake a batch of pancakes using freshly milled soft white wheat. You’ll be amazed at the rich, nutty flavor compared to boxed mix!
Rest Is Your Best Friend–Allowing dough to rest not only helps with gluten development but also improves texture and flavor. For yeasted breads or sourdough, incorporating a longer fermentation time (bulk rise) can lead to better oven spring and lighter crumbs.
For cookies, scones, or pie crusts, chilling the dough can help firm up the fats and create better structure during baking.
Expect a Learning Curve—And Keep a Baking Journal–Baking with fresh flour is more art than science at times. Results can vary based on:
- Humidity
- Grain variety
- Your mill’s grind setting
- Temperature and hydration
Keep a notebook or digital baking journal with notes on each bake—what worked, what didn’t, and what you’d try next time. Over time, you’ll develop an intuition for how your fresh milled dough should look and feel.
Try Different Grains for Different Purposes—Don’t limit yourself to just hard red or white wheat. Each grain brings its own character:
- Spelt: Light, slightly sweet, good for breads and muffins
- Einkorn: Ancient grain with lower gluten, delicate flavor, great for cookies and cakes
- Rye: Earthy and rich, best for sourdoughs and hearty loaves
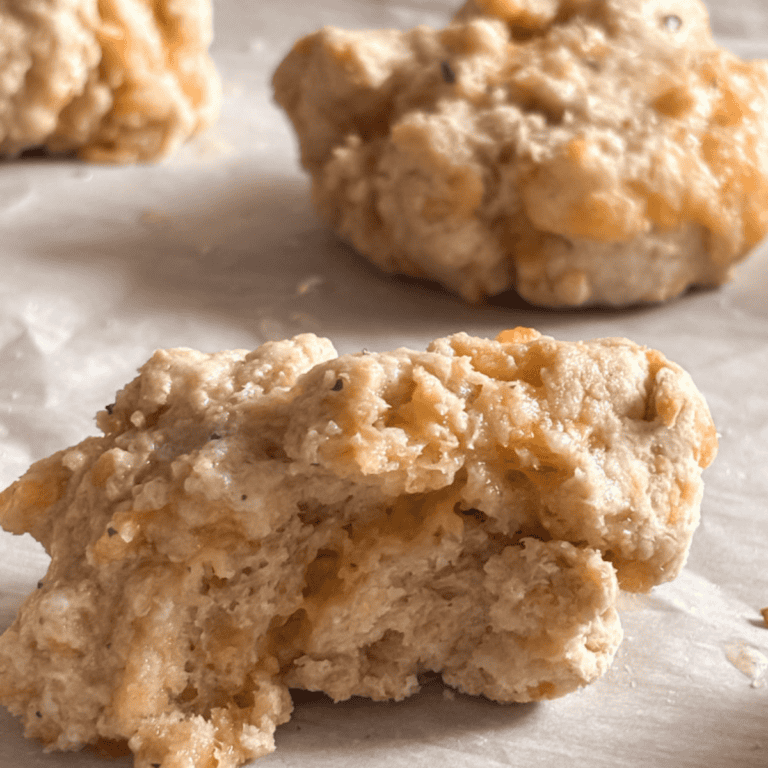
- Soft white wheat: Ideal for pastries, pancakes, and biscuits
The more you play with grain combinations, the more you’ll unlock new flavors and textures in your baking.
Join a Community or Online Group–Sometimes the best tips come from other home bakers. Whether it’s on Instagram, Facebook groups, or homesteading forums, connecting with others who use fresh milled flour can provide insight, troubleshooting help, and inspiration.
Encouragement
Learning to bake with fresh milled flour is a journey. Expect a few flops, celebrate the wins (even the small ones), and trust the process. Each time you bake, you’re nourishing your body with wholesome ingredients and connecting with a tradition that’s as old as time.
Tools to Get Started
Ready to dive in? Here are a few tools that will make your transition to fresh milled baking smoother:
- Shop My Favorite Grain Mill & Essentials
- Look for mills that allow for easy cleaning, adjustable texture, and durable parts. My top recommendation is linked above and has served me well through countless loaves.
Additional Resources & Recipes
Looking for more inspiration? Here are some helpful posts and recipes using fresh milled flour:
- How To Mill Flour At Home
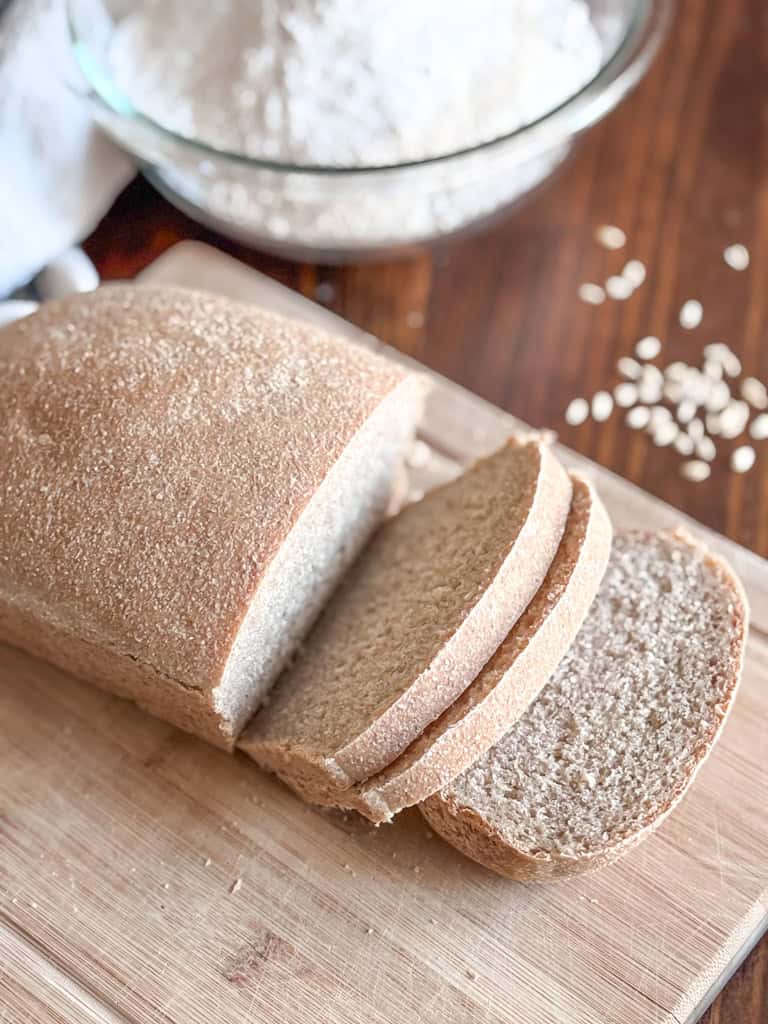
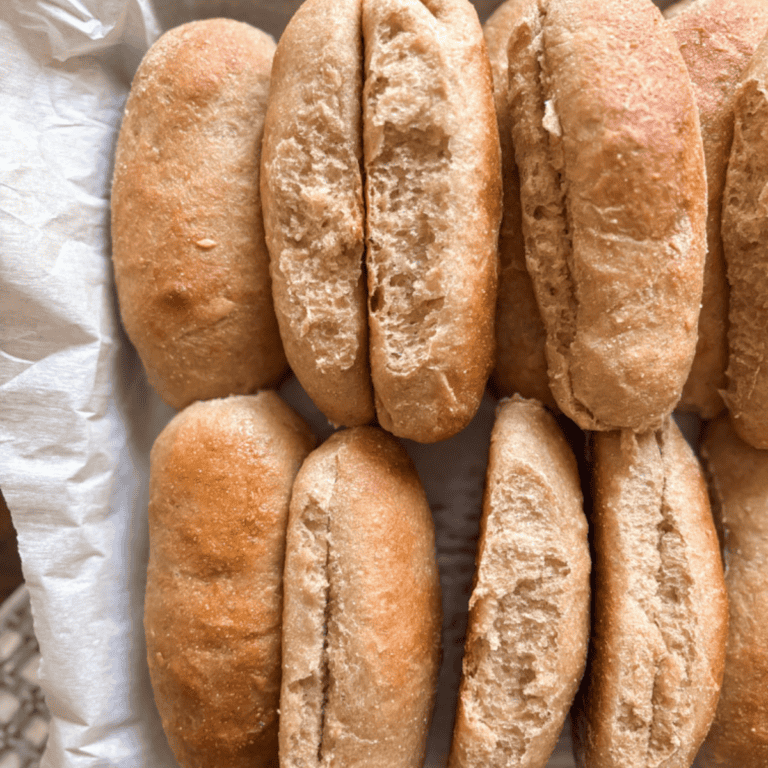
- Fresh Milled Sourdough Sandwich Bread
- Fresh Milled Pancakes
- How To Make Sourdough Starter With Fresh Milled Flour
Final Thoughts
Making the switch to fresh milled flour has completely transformed the way I bake and feed my family. It may seem intimidating at first, but once you experience the flavor, nutrition, and satisfaction of baking from freshly milled grains, you won’t want to go back.
Whether you’re dreaming of artisan sourdough, hearty muffins, or fluffy pancakes, fresh flour gives you a whole new level of depth, quality, and intention.
Want more delicious recipes sent straight to your inbox? Subscribe to my newsletter to receive the latest!


I grind mine on the finest setting on my grinder and after things are baked it’s still slightly gritty. Is this normal? Or is my grinder not grinding fine enough? I have an old school magic mill stone mill.
If you’re referring to the texture of the bread, yes, it’s normal. Freshly ground flour has a grittier texture to the touch and when baked. 🙂