Make and Maintain Sourdough Starter with Fresh Milled Flour

Last Updated on February 6, 2026 by Autumn Ballard
Learn how to make and maintain a healthy sourdough starter using fresh milled flour. This step-by-step guide covers everything you need to know to begin your sourdough journey from scratch—naturally and simply.
After years of maintaining a sourdough starter and encouraging others to do the same, I’ve just recently decided to dive into the world of fresh milled flour—and I can honestly say, it’s been a game changer. Milling my own flour brought an entirely new level of freshness, nutrition, and flavor to my bakes. But with it came some questions, and lots of experimenting.
That’s why I created this detailed step-by-step guide to help beginners start their very own sourdough starter using fresh milled flour. Whether you’re brand new to sourdough or switching over from store-bought flour, this guide has everything you need. And for those who love a printed checklist, grab my Free Printable Guide. I love a detailed outline and checklist!
This post may contain affiliate links, which means I may earn a small commission at no extra cost to you if you make a purchase through these links. I only recommend products I personally use and trust. Your support helps keep this blog running—thank you!
What Is a Sourdough Starter
A sourdough starter is a natural fermentation of flour and water, teeming with wild yeast and good bacteria. It’s a simple process! It replaces commercial yeast and gives rise (literally!) to all kinds of baked goods, especially traditional sourdough bread.
The beauty of a starter is that once it’s strong and healthy, it can last forever with regular care. I love the tang it gives to my breads and baked goods! I have a whole section of my blog dedicated to using your starter and sourdough discard in your regular baked goods! Check them out HERE.
Why We Use Sourdough (and the Benefits)
Sourdough isn’t just a fun baking project—it’s a traditional, nourishing, and practical way to make bread using the most basic ingredients: flour and water. When you start baking with sourdough, you’re not just ditching the commercial yeast—you’re tapping into a natural fermentation process that transforms flour, yes, even freshly milled flour, into something special.
Here’s why so many of us use sourdough—and why you might want to, too.
Naturally Leavened (No Store-Bought Yeast Needed)–Once your sourdough starter is active, you’ll never need to buy commercial yeast again. Wild yeast and beneficial bacteria do all the work to make your bread rise. It’s simple and self-sustaining, cost-effective, and a great skill for self-reliant or homestead-style baking
Easier to Digest–The fermentation process in sourdough breaks down:
- Some gluten and starches that are harder to digest
- Phytic acid, which can block mineral absorption
This makes sourdough much easier on the digestive system than many modern breads. A lot of people who feel bloated after eating store-bought bread find sourdough doesn’t cause the same issues.
More Nutrient Availability–Using fresh milled flour already boosts your nutrition—but when paired with sourdough fermentation, you unlock even more benefits:
- Better absorption of minerals like iron, magnesium, and zinc
- More bioavailable B vitamins
- Extra fiber for gut health
Sourdough helps your body get more out of the whole grains you’re using.
Incredible Flavor and Texture–Sourdough bread has a unique taste—slightly tangy, earthy, and complex. The fermentation process brings out the natural sweetness and depth of flavor of the grain, especially when using freshly milled flour. You’ll notice:
- A flavorful, chewy crumb
- A beautifully crisp crust
- Bread that tastes like real food—not just filler
Naturally Longer Shelf Life–Thanks to the organic acids created during fermentation, sourdough bread:
- Stays fresher longer without preservatives
- Resists mold better than most store-bought breads
- Doesn’t stale as quickly when stored properly
That means fewer wasted loaves and longer-lasting bakes.
Gut-Friendly–While the heat of baking kills the live bacteria, sourdough still benefits your gut through:
- Prebiotics that feed healthy gut bacteria
- Fermentation byproducts that promote digestion and stable blood sugar
It’s not a probiotic food like yogurt, but it’s certainly gut-supportive.
Sustainable and Low-Waste–Maintaining a sourdough starter means less reliance on packaged yeast, and using fresh milled flour (especially from local sources) helps reduce food miles and waste. You can compost discard, feed it to animals, or even use it in pancakes, crackers, and muffins—nothing has to go to waste! And honestly? Once you taste homemade sourdough made with fresh milled flour, it’s hard to go back.

Why Use Fresh Milled Flour for Your Sourdough Starter?
Fresh milled flour contains the whole grain—bran, germ, and endosperm—preserving all the nutrients that are usually lost in processed flours. This provides:
- A more nutrient-rich environment for wild yeast and bacteria.
- Better fermentation and flavor.
- A deeper, more complex aroma and crumb in your baked goods.
Because freshly ground flour hasn’t been sitting on a shelf for months, it brings life into your sourdough starter—literally! It’s been a game changer for me!
What You’ll Need to Get Started
Here’s what you need to begin:
- Fresh milled flour (More on how to grind your own below)
- Filtered water (avoid chlorinated tap water)
- A glass jar or two–I use these jars and love how easy they are to clean and mark.
- A spoon or spatula
- (Optional) A rubber band or dry erase marker to track growth
Many recommend a kitchen scale for exact measurements, and while it’s helpful, I prefer to keep it simple—measuring by volume works great!
How to Mill Your Own Flour
To make fresh flour, you’ll need a grain mill. I use and love the Nutrimill Grain Mill! You can get a generous discount of 20% off the Nutrimill with code SIMPLE20. You’ll need to grind your own wheat berries (I use a mix of hard red and hard white wheat berry) into flour just before feeding your starter. This ensures optimal freshness and activity. You can store small amounts in the fridge or freezer for convenience.

More Sourdough Tools I Use Daily
I use these tools for my sourdough regularly. I know there are so many options out there, but I have found that these tools have helped me in my homemade sourdough bread journey from the beginning. Check out My Amazon Sourdough Tools List for some of my favorite options and tools. I also have a Fresh Milled Bread Supplies list ranging from measuring spoons, to storage buckets, to other milling options. I hope this supplies list and tool lists are helpful and keep things from being too overwhelming!

Step-by-Step Instructions: How to Make a Sourdough Starter with Fresh Milled Flour
Ok, now I want to give you instructions on how to actually create your sourdough starter using the fresh milled flour or whole wheat flour like you’ll often hear mentioned. Remember this whole wheat flour is different than your store bought king arthur whole wheat or white flour.
We are going to create an active starter, so you can make a whole wheat sourdough bread with your own milled bread flour! I love this part and the creation of a new starter so much! It’s quite easy and similar to the traditional sourdough recipe starters. This active sourdough starter might just take a little extra patience, and requires your freshly milled flour to be ready, but it’s pretty simple. Follow these steps for your active soughdough starter to begin!
DAY 1
Would you like to save this?
- Combine 1/2 cup fresh milled flour + 1/2 cup filtered water in a clean jar. Make sure your water is filtered. You do not want tap water because it contains elements that can kill the bacterias you are creating.
- Stir well and cover loosely (a lid resting on top is fine—don’t seal it).
- Leave at room temperature in a warm spot (ideally 70–75°F) until the next morning
DAYS 2-5
- Each day, discard half of the starter (into the trash—not the sink!).
- Then feed with 1/2 cup fresh milled flour + 1/2 cup water again.
- Stir, cover loosely, and mark the level with a dry erase marker. You can also use a rubber band. My favorite tools are found HERE if that’s helpful!
- Look for bubbles and a slight rise.
Using a Weck jar? Place the glass lid on top, but skip the seal and clamps to allow airflow for best results.
DAY 6 and BEYOND
Now it’s time to get serious! Start feeding twice a day—morning and evening, about 12 hours apart.
EACH FEEDING:
- Discard half.
- Add 1/2 cup fresh milled flour + 1/2 cup water.
- Stir, cover loosely, and mark the level.
- Watch for rise and bubbles.
Don’t worry if things are slow—fresh milled whole grain flour can take an extra day or two to show consistent activity. Keep going!
Tips for Success During the First Week
- Keep at room temperature (aim for 70–75°F).
- Use a 50/50 mix of hard red and hard white wheat for balance.
- Be patient! Sometimes it takes over a week to really come to life.
- If your starter seems dry, add a little more water.

Signs Your Starter is Ready
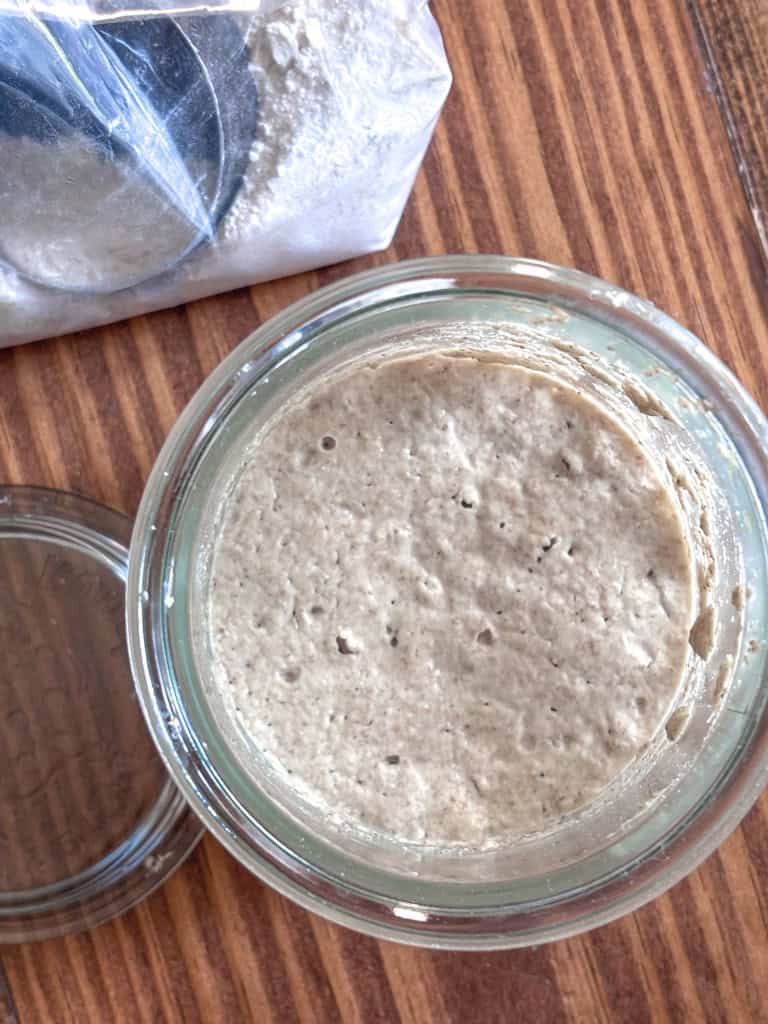
You’ll know your starter is active and ready when:
- It doubles in size within 4–6 hours of feeding
- It’s bubbly and domed on top
- It smells pleasantly tangy (not rotten or sharp)
- It passes the float test (optional but fun!)
Here’s a little more on testing your starter’s readiness: Is It Ready? How to Test Sourdough Starter

How to Maintain Your Sourdough Starter with Fresh-Milled Flour
Daily (if kept on the kitchen counter):
- Feed every 24 hours with the same feeding ratio of 1:1.
- Discard and feed regularly to keep your starter happy.
Weekly (if kept in the fridge):
- Feed your starter, let it rise at room temp, then refrigerate.
- Once a week, take it out, discard, feed, and let it rise again before refrigerating.
Helpful Tips
- Add a little extra water if your starter feels too thick.
- Don’t panic if you forget a feeding—just give it a few consistent feedings to revive.
- It’s surprisingly hard to “kill” a sourdough starter despite what you may have heard or experienced!
Common Problems and Simple Fixes
- No bubbles? Try warmer temps or switch up your grain.
- Starter smells bad? Discard and restart feeding in a warm environment.
- Too thick or too watery? Adjust flour and water slowly until texture is like thick pancake batter.
FAQs
Not necessarily! You can grind a small batch and store it in the fridge or freezer to keep it fresh for a few days.
Yes! Transition slowly with a 50/50 mix for a few feedings to help your starter adjust.
Once a week is perfect. It can survive a little longer if needed—just revive with a few good feedings.
Absolutely. Spelt, einkorn, and emmer work well but may behave differently. Einkorn especially can be sticky and takes some practice.

Ready to Bake?
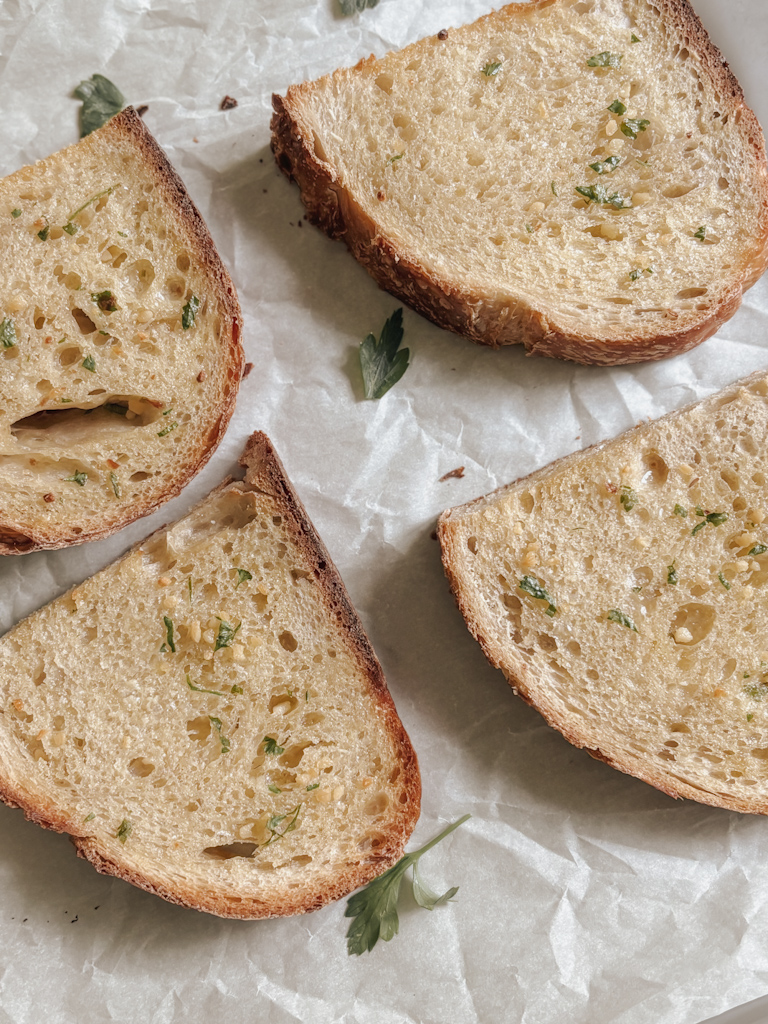
Once your starter is mature, don’t miss my whole grain bread recipe: Sourdough Sandwich Bread Recipe with Fresh Milled Flour—it’s flavorful, soft wheat bread, perfect for everyday. It’s a really simple recipe and great for your first time making sourdough from your own starter. A favorite recipe I share with all sourdough newbies!
You can also grab my Free Step-By-Step Printable Guide! I love helping you with this process because it has changed my outlook on what goes on in my home and kitchen! Download and print to keep this process right on your fridge or in your sourdough journal!
Starting a sourdough starter with fresh milled flour might feel a little overwhelming at first, but I promise—it’s so worth it. With just flour, water, and a bit of patience, you’re building something that will nourish your family for years to come.
The process may be slow, but that’s part of the beauty. It teaches you to slow down, trust the timing, and celebrate the simple things. Whether you’re here for the health benefits, the flavor, or the joy of baking from scratch, you’re in the right place. So don’t stress over bubbles or timing—just keep going, keep learning, and enjoy the journey. You’ve got this, and I’m cheering you on every step of the way. Please always reach out, I am here to help!
Great Beginner Sourdough Starter Recipes:
- The Best Sourdough Bread Recipe
- Sourdough Discard Coffee Cake
- Bakery Style Sourdough Discard Muffins (Master Recipe)
Want more delicious recipes sent straight to your inbox? Subscribe to my newsletter to receive the latest!
If you make this recipe, please leave a rating on the recipe card below! I’d also love for you to tag me @autumn.chasingoursimple on Instagram so I can see what you’ve been baking!