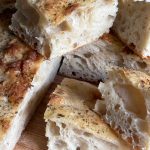
Easy Sourdough No Knead Focaccia Bread Recipe
Try our easy sourdough no knead focaccia bread recipe. This simple method requires minimal effort and no kneading, making it a perfect recipe for beginners.
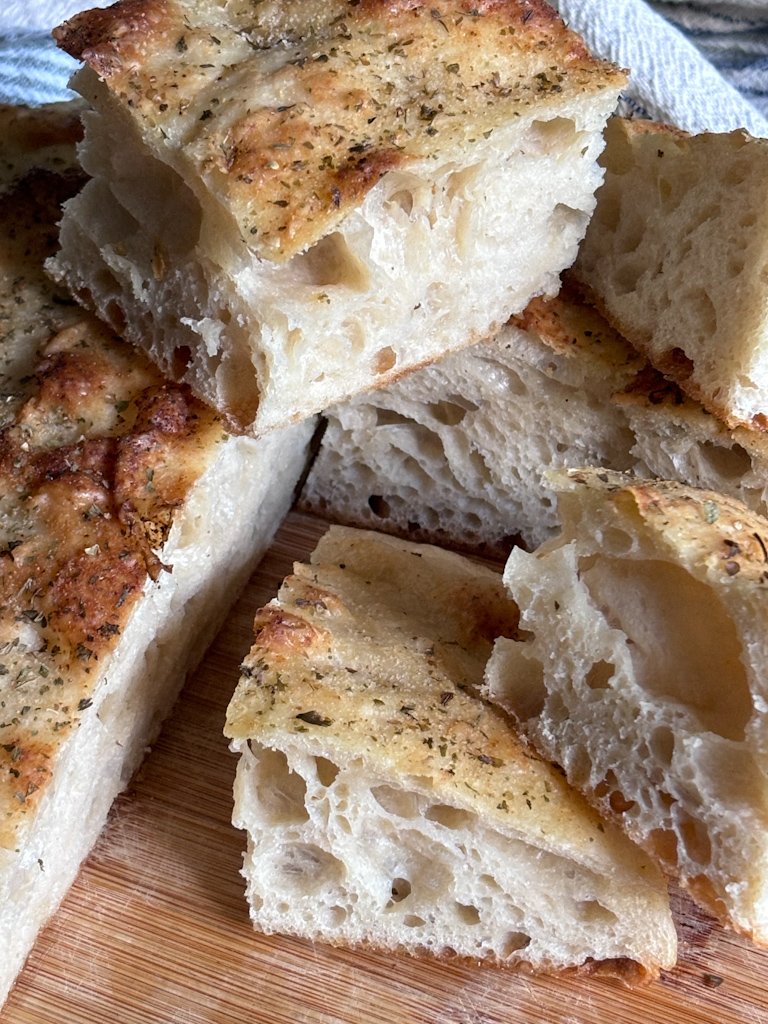
Honestly, it wasn’t that long ago that I couldn’t even spell focaccia nevermind make it from scratch. But it’s literally one of the easiest breads I’ve ever made and I cannot wait for you to give it a try. The hardest part is waiting for it to cool!
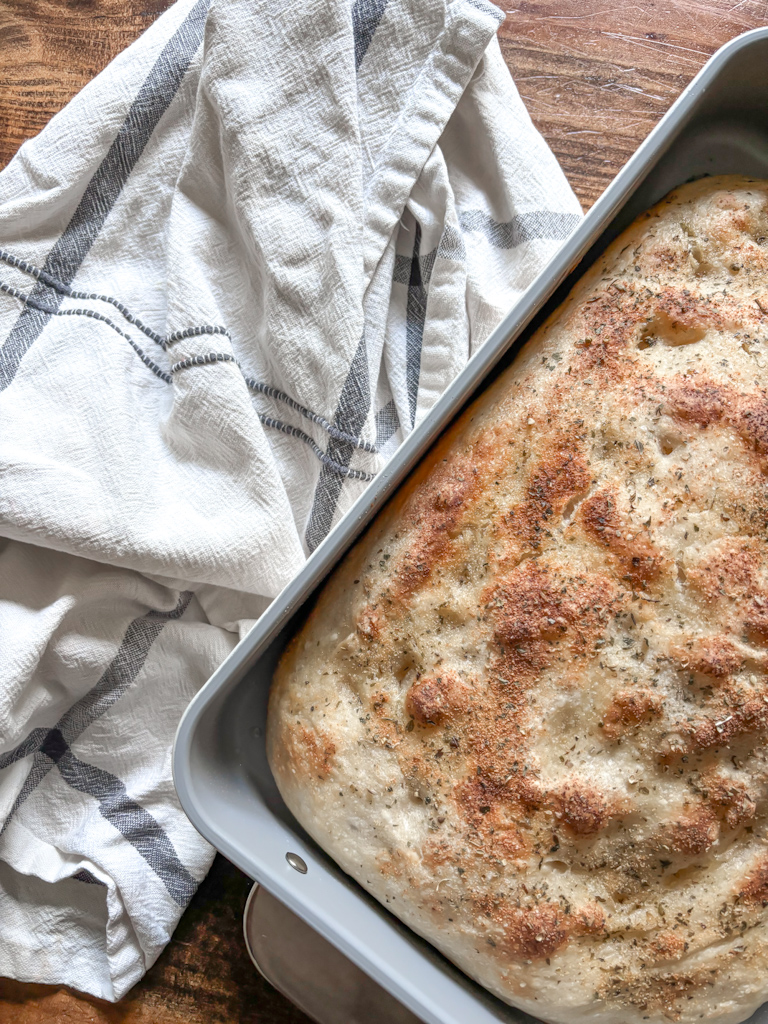
Why You’ll Love This Recipe
- Making this focaccia dough only requires 5 ingredients and that’s only if you count water.
- All you’ll need is a big bowl, a large spoon, and a 9×13-inch baking dish. No special equipment is needed.
- From start to finish, your hands-on time is only about 10 minutes. The rest is waiting time during bulk fermentation if you want big beautiful air bubbles.
Ingredients
For the Leaven:
- Water
- All-purpose Flour
- Sourdough Starter
If you haven’t gotten your sourdough starter going yet, you may find my FREE step-by-step starter guide helpful!
For the Dough:
- Water
- Leaven
- All-purpose flour
- Salt
- Olive oil
- Flaky salt for topping
- Any add-ins or topping of your choice (optional)
How To Make Sourdough No Knead Focaccia Bread
Step 1: Make your leaven by adding 1 Tablespoon of starter to a clean jar along with 1/2 cup of water and 1/2 cup of flour. Stir with a wooden spoon and allow it to rise until doubled.
Step 2: After your leaven is ready, add water to a large bowl and pour the leaven on top. The leaven should float. Stir to incorporate the leaven into the water.
Step 3: Add flour and salt. Mix with a dough hook or a large spoon until fully incorporated and a sticky dough forms.
NOTE: If you are adding any herbs, cheese, or any additional add-ins to the dough, now is the time to add them.

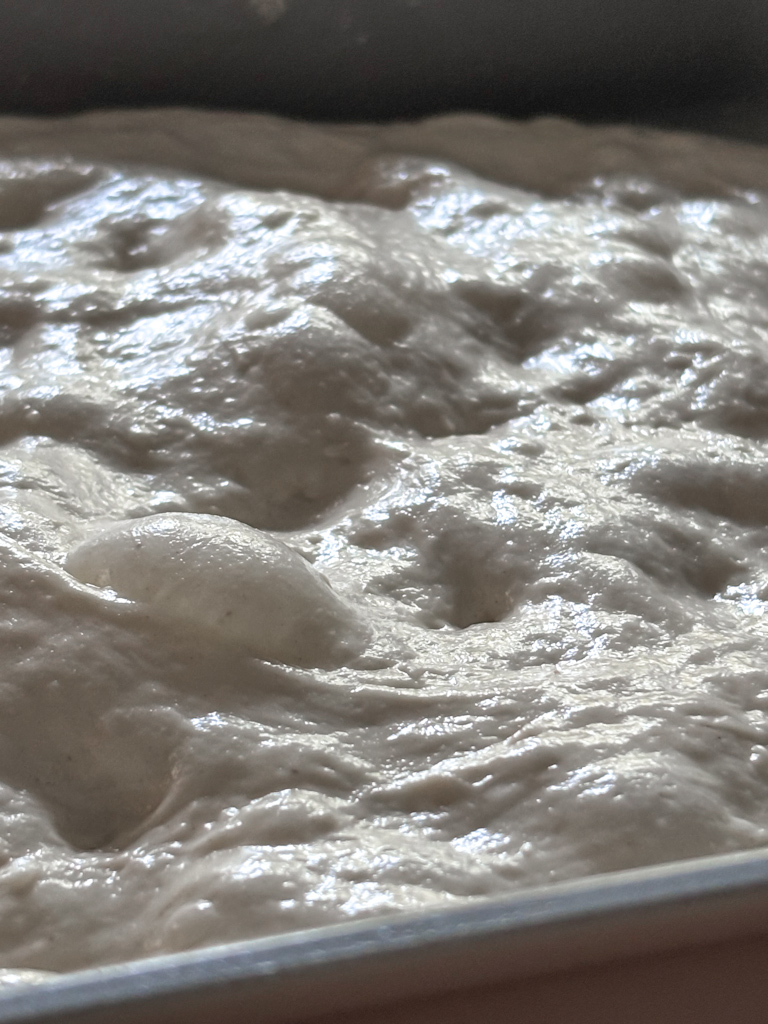
Step 4: Cover and let it bulk ferment for 1 hour. Then do a series of stretch and folds. Bulk ferment for another hour and then do a second stretch of stretch and folds. Leave the bowl on the counter to bulk ferment for an additional 3 hours. You’ll notice a difference in the texture of the dough. The surface of the dough will look smooth and will jiggle when you touch it.

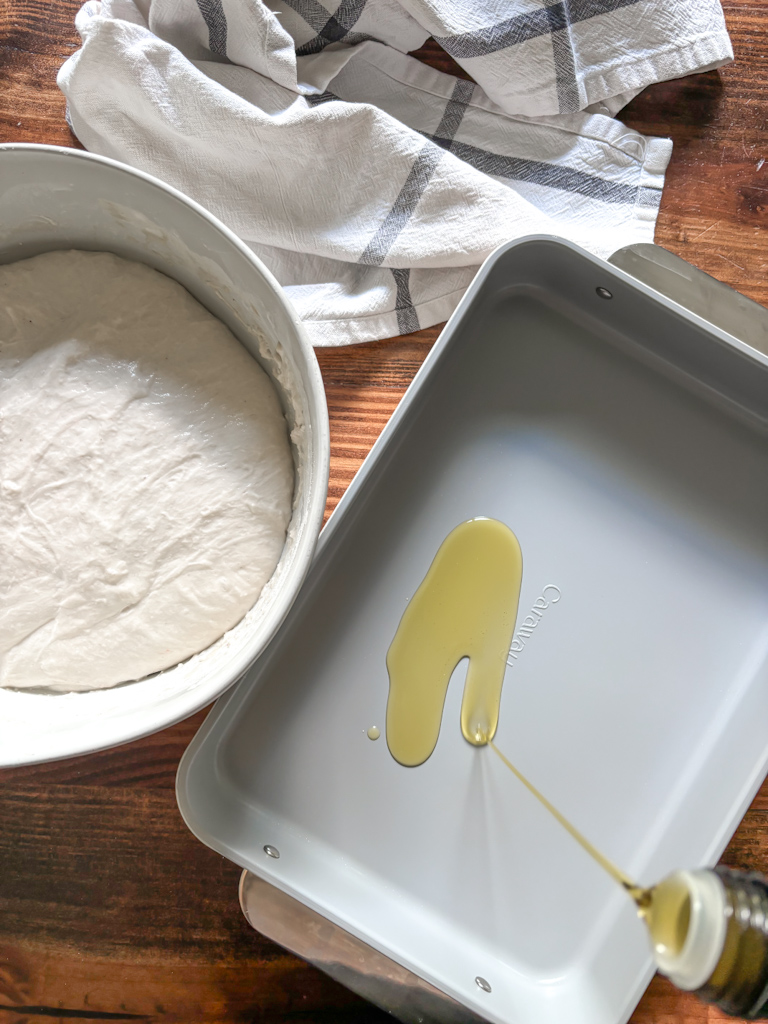
Step 5: Prepare a 9×13 inch pan by pouring 2 Tablespoons of olive oil into the bottom of the pan. Pour a little in your hands to keep the dough from sticking. Pull the dough out of the bowl and onto the pan.
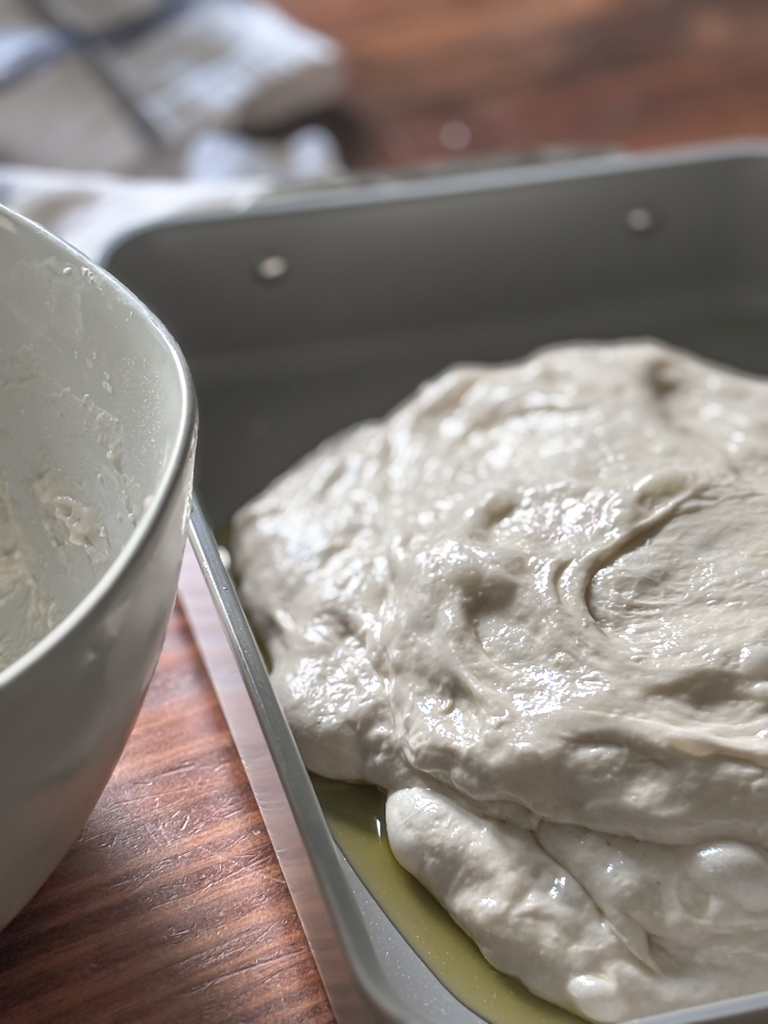
Step 6: Use your fingers to gently stretch the dough. It shouldn’t be stretched so thin that it reaches the edges of the pan but just enough to spread it out. Cover with plastic wrap and let it sit for the final rise of two hours. The dough will begin to spread out more on its own and take up more of the space inside the pan.
Step 7: Preheat the oven to 425°F. Pour the remaining 1 Tablespoon of olive oil on top of the dough and spread it around with your fingers. Begin dimpling the dough with your fingertips by pressing into the dough making small visible indentation. This will also help to spread the dough to the full size of the baking pan.
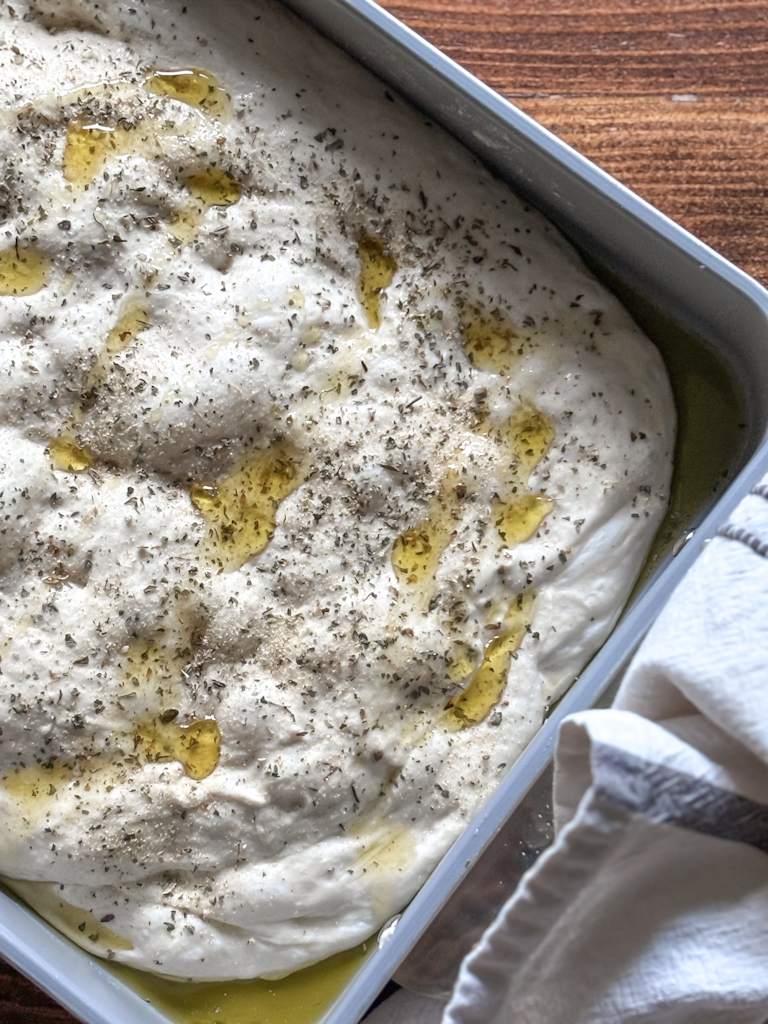
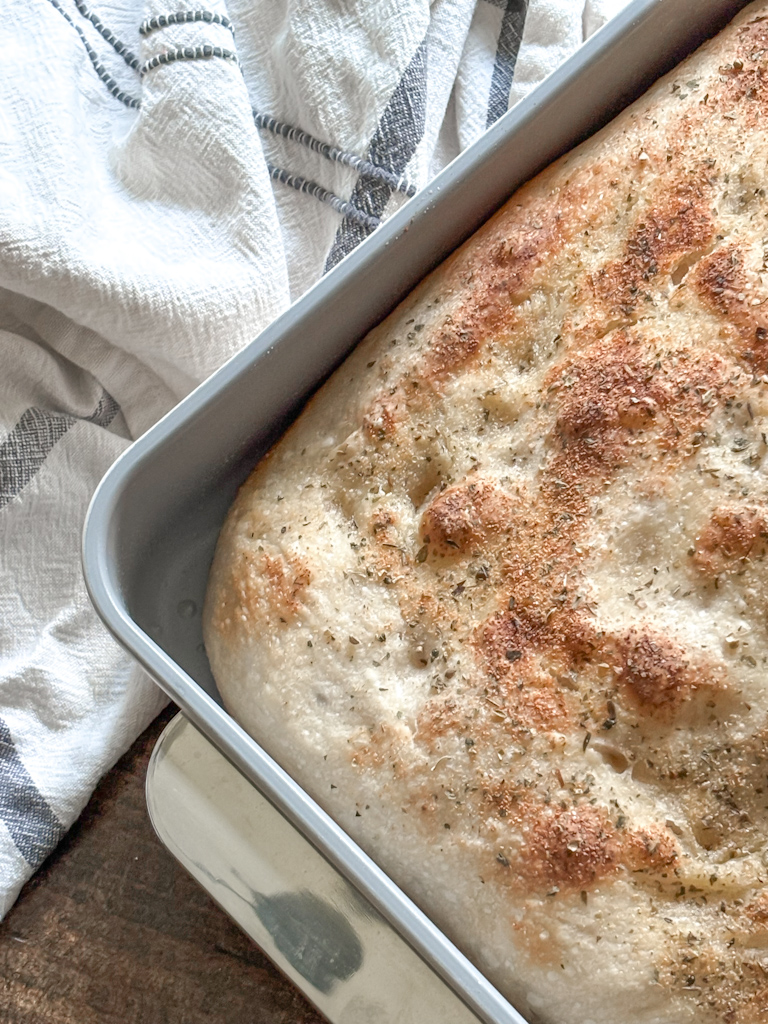
Step 8: Sprinkle flaky sea salt or add any toppings to the prepared dough and bake for 25-35 minutes. The underside of the dough will be golden brown and the internal temperature should reach 200°F.
Bakers Timeline
Keep in mind this timeline is just a guide to help you schedule out the baking process. The first time I make a recipe I like to pencil out a timeline so that I’m not constantly referring to the recipe. The secret to success with sourdough is making it fit into your schedule!
8:00 pm (day before baking): Feed your starter to make the leaven.
8:00 am (next day): Mix your dough using the leaven. Cover and ferment in a warm spot.
9:00 am: Stretch and fold. Cover and ferment.
10:00 am: 2nd set of stretch and folds. Cover and let the dough rest.
1:00 pm: transfer dough to prepared pan, dimple and stretch, and then cover for the final ferment.
3:00 pm: Bake focaccia in a preheated oven
Substitutions & Variations
There are so many substitutions and variations for this no-knead focaccia bread recipe. This recipe is versatile and can be adapted to different tastes and dietary needs.
Substitutions:
- Replace part of the flour with whole wheat for added nutrition and a nuttier flavor.
- Try a gluten-free flour blend if you’re gluten intolerant.
- Use butter instead of oil for a richer taste.
Variations:
- Herbed Focaccia- Mix fresh or dried herbs (like fresh rosemary, thyme, or oregano) into the dough or sprinkle them on top before baking for an aromatic flavor.
- Cheesy Focaccia- Add shredded cheese (like mozzarella, cheddar, or feta) into the dough, or sprinkle it on topbefore baking for a cheesy crust.
- Veggie Focaccia- Top your focaccia with sliced vegetables such as cherry tomatoes, bell peppers, olives, or caramelized onions for added flavor and color.
- Sweet Focaccia- For a sweet version, add sugar, cinnamon, raisins, or other dried fruits to the dough. Drizzle with honey or a glaze after baking.
Baking Tips
- If you notice the top is browning too quickly when baking, try covering it with aluminum foil for 15 minutes of the bake time.
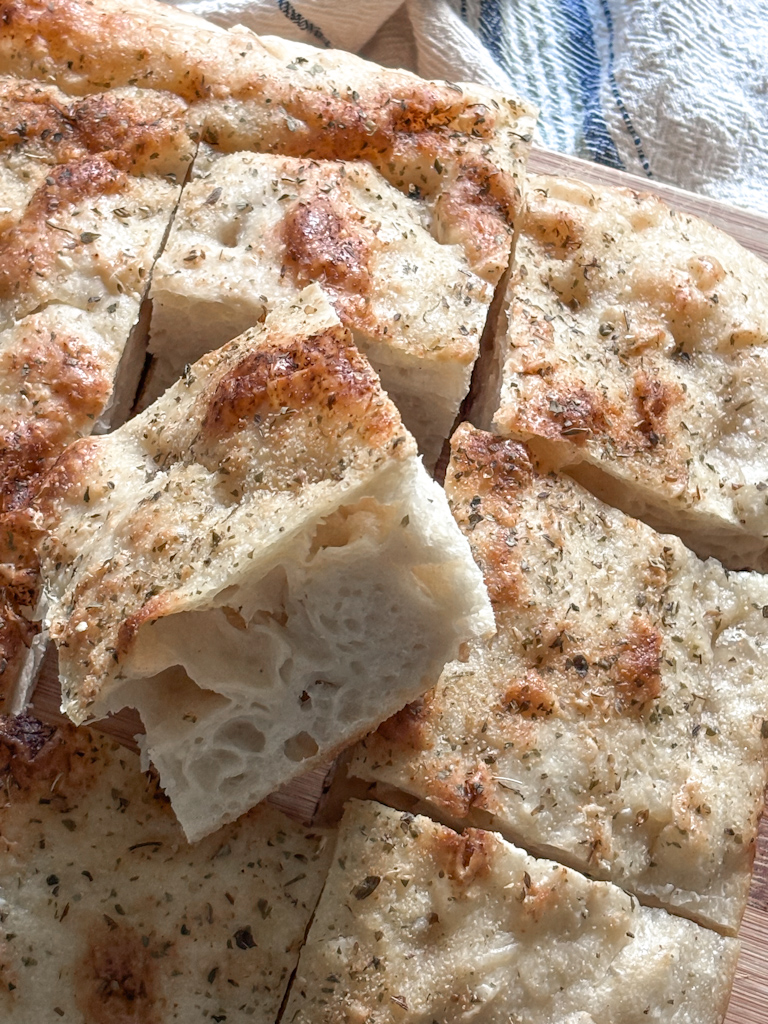
- Cool for 5-10 minutes before slicing your homemade focaccia bread.
FAQ’s
What does the term no-knead actually mean?
The term “no-knead” in sourdough baking refers to a method that eliminates the traditional kneading step in bread-making. Instead of kneading the dough to develop gluten, which typically involves working the dough by hand or with a mixer, the no-knead method relies on a longer fermentation period.
What does it mean to stretch & fold?
Stretch and fold is a technique used in sourdough bread-making to develop gluten structure without traditional kneading. During the bulk fermentation stage, you gently stretch the dough from one side and fold it over itself, then repeat this process. This method helps to strengthen the dough, improve its texture, and incorporate air.
Storage & Freezing Instructions
To Store
It is best to store focaccia at room temperature. Once the bread has cooled completely, wrap it in parchment paper and place it inside a paper bag or an airtight container. It can be stored for 2-3 days.
To Freeze
Allow the focaccia to cool and then slice it or leave it whole. For best results wrap it tightly in plastic wrap to prevent freezer burn and then place it in a freezer-safe container or bag. It can be stored for up to 3 months.
More Recipes To Try
If you’re just getting started with sourdough or you’re looking for a few new recipes to try, I would recommend trying these homemade bread bowls or this same-day sourdough sandwich bread. Both recipes are delicious and great for practicing your sourdough techniques.
Easy Sourdough Focaccia Bread
Ingredients
For the Leaven:
- 1/2 cup water
- 1/2 cup all-purpose Flour
- 1 Tbsp sourdough starter
For the Dough:
- 2 cups water
- 2/3 cup leaven
- 4 cups all-purpose flour
- 2 tsp salt
- 3 Tbsp olive oil
- Flaky salt for topping
- Any add-ins or topping of your choice optional
Instructions
For the Leaven
- Make your leaven by adding 1 Tablespoon of starter to a clean jar along with 1/2 cup of water and 1/2 cup of flour. Stir with a wooden spoon and allow it to rise until doubled.
For the Focaccia
- After your leaven is ready, add water to a large bowl and pour the leaven on top. The leaven should float. Stir to incorporate the leaven into the water.
- Add flour and salt. Mix with a dough hook or a large spoon until fully incorporated and a sticky dough forms.
- NOTE: If you are adding any herbs, cheese, or any additional add-ins to the dough, now is the time to add them.
- Cover and let it bulk ferment for 1 hour. Then do a series of stretch and folds. Bulk ferment for another hour and then do a second stretch of stretch and folds. Leave the bowl on the counter to bulk ferment for an additional 3 hours. You’ll notice a difference in the texture of the dough. The surface of the dough will look smooth and will jiggle when you touch it.
- Prepare a 9×13 inch pan by pouring 2 Tablespoons of olive oil into the bottom of the pan. Pour a little in your hands to keep the dough from sticking. Pull the dough out of the bowl and onto the pan.
- Use your fingers to gently stretch the dough. It shouldn’t be stretched so thin that it reaches the edges of the pan but just enough to spread it out. Cover with plastic wrap and let it sit for the final rise of two hours. The dough will begin to spread out more on its own and take up more of the space inside the pan.
- Preheat the oven to 425°F. Pour the remaining 1 Tablespoon of olive oil on top of the dough and spread it around with your fingers. Begin dimpling the dough with your fingertips by pressing into the dough making small visible indentation. This will also help to spread the dough to the full size of the baking pan.
- Sprinkle flaky sea salt or add any toppings to the prepared dough and bake for 25-35 minutes. The underside of the dough will be golden brown and the internal temperature should reach 200°F.
If you make this recipe and love it, I would love if you gave it 5 starts! Tag me on Instagram @autumn.chasingoursimple with your bakes.
