The Best Sourdough Bread Recipe: Step-by-Step
Learn how to make the best homemade sourdough bread with this step-by-step recipe. Perfect for beginners, this recipe will help you bake delicious, flavorful bread from scratch!
Sourdough bread is more than just a post-covid trend. It’s a time-honored tradition that produces bread with distinct flavor and texture.
Unlike conventional bread, sourdough relies on wild yeast and beneficial bacteria for fermentation, resulting in a tangy taste and chewy texture that bread lovers adore.
Introduction to Sourdough Bread
What is Sourdough Bread?
Sourdough bread is a a type of bread that is made through the natural process of fermentation. In this process two simple ingredients, flour and water, are mixed together and over time capture wild yeast and lactic acid bacteria present in the environment.
Over time, the starter is fed with more flour and water, allowing the yeast to multiply and the dough to rise. This mixture or ‘starter’ as it’s called is used in place of store-bought yeast to leaven bread.
What are the Health Benefits of Sourdough?
Due to the natural fermentation process, many people find that sourdough bread has a distinctive texture and flavor. The process of fermentation helps break down gluten in the dough, which can make sourdough bread easier to digest for some people. For those with mild sensitivities, sourdough may be a more tolerable option compared to other types of bread.
The fermentation process also reduces the presence of phytic acid, which is naturally found in grains and can affect the way some minerals are absorbed. This can contribute to the overall quality and complexity of sourdough bread.
Sourdough is known for having a lower glycemic index, which results in a slower rise in blood sugar levels compared to many other breads, making it a popular choice for those looking to control how they manage bread in their diet.
One of the things I love most about sourdough is its rich, tangy flavor, developed through natural fermentation. This process also supports the growth of beneficial bacteria, which can be a part of the overall baking experience, providing an added layer of depth to this traditional bread.
Why Make Sourdough at Home?
For me, the better question is why not make sourdough at home? Making sourdough at home offers several benefits, especially for those who value quality ingredients and the satisfaction of homemade bread.
- Better Flavor: Once you taste homemade sourdough, you’ll never go back to store-bought.
- Control Over Ingredients: When you make sourdough at home, you have full control over the ingredients, ensuring that there are no preservatives, artificial additives, or unnecessary chemicals. Bread can be made with just 3 ingredients; flour, water, and salt. Yet when you look at the label on a bread bag you’re likely to see upwards of 20 ingredients.
- Cost Effective: In general food we make at home is more cost-effective than prepackaged options from the grocery store. The same goes for bread.
- Fun for the Family: Baking sourdough at home can be a fun family activity. Kids especially love the process of mixing, folding, and watching the dough rise which is why I created Sourdough For Kids. This family style unit study walks kids through the science, history, and process of sourdough through fun & interactive lessons.
Sourdough Starter
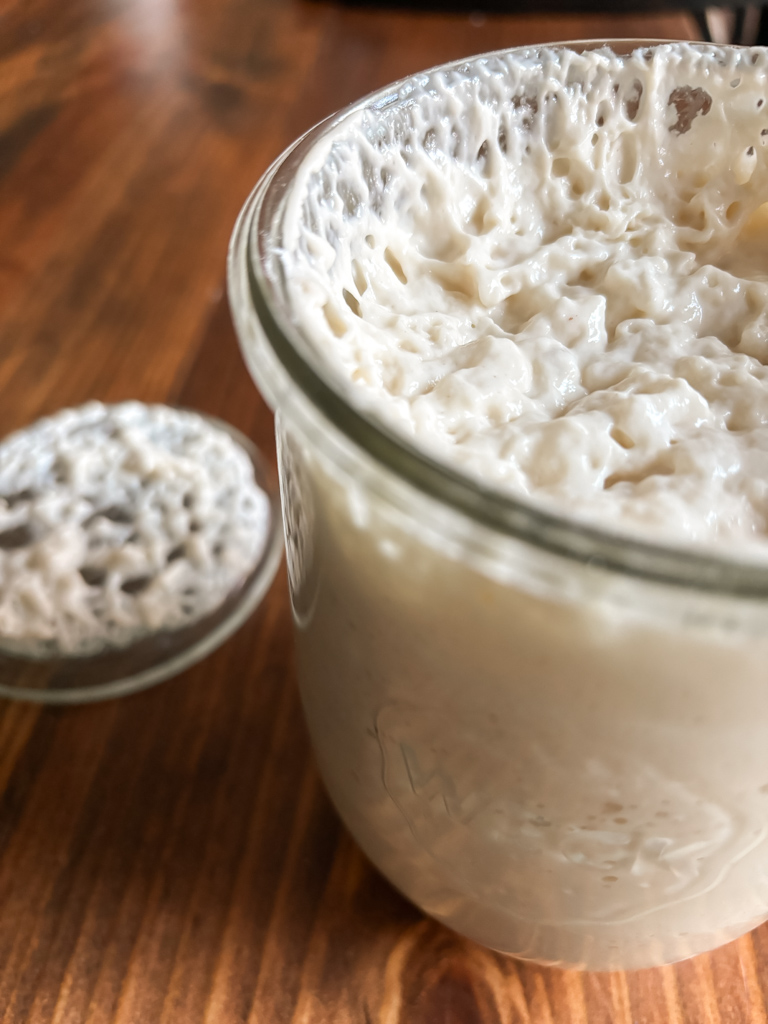
Once you’ve decided to make sourdough bread, you’ll need a sourdough starter. A sourdough starter is a fermented mixture of four and water. You can ask a friend to share part of her starter, purchase a starter online, or you can make your own using my sourdough starter recipe!
Creating Your Own Starter
I’ve helped over 10,000 people create and maintain a sourdough starter by using my free guide to establishing a starter. This guide walks you through the daily process of feeding and discarding so that in just a short amount of time you will have a thriving sourdough starter to use in any sourdough recipe!
Feeding & Maintaining Your Starter
A well-maintained starter is key to successful sourdough baking. With proper care, your starter can last a lifetime, becoming a cherished part of your baking routine. The basics of feeding and maintaining your starer are:
- Feed your starter regularly: once a day if kept at room temperature, or weekly if refrigerated
- Use a 1:1:1 ratio of starter, flour, and water for feeding
- Keep at room temperature (65-80°F) for best activity
- Look for bubbles and a pleasant, sour aroma as signs of health
I’ve created a more detailed and helpful infographic to guide you through feeding and maintaining so that you can feel confident in caring for your sourdough starer.
How to Use Sourdough Starter
Using your sourdough starter on a daily basis involves feeding it regularly to keep it active and healthy. If you’re baking sourdough often, you can leave it at room temperature and feed it daily with equal parts flour and water. However, if you’re not baking every day, you can store your starter in the fridge. Keeping it in the fridge slows down its activity, meaning it doesn’t need to be fed as often—once a week is usually enough.
When you’re ready to use your starter, simply take it out of the fridge and feed it with fresh flour and water to revive it. After 6-8 hours, your starter will be active and ready to bake with. Storing your starter in the fridge helps prevent waste and allows you to keep a healthy, long-lasting starter without the need for daily feedings.
Essential Ingredients & Tools
Sourdough Bread Ingredients
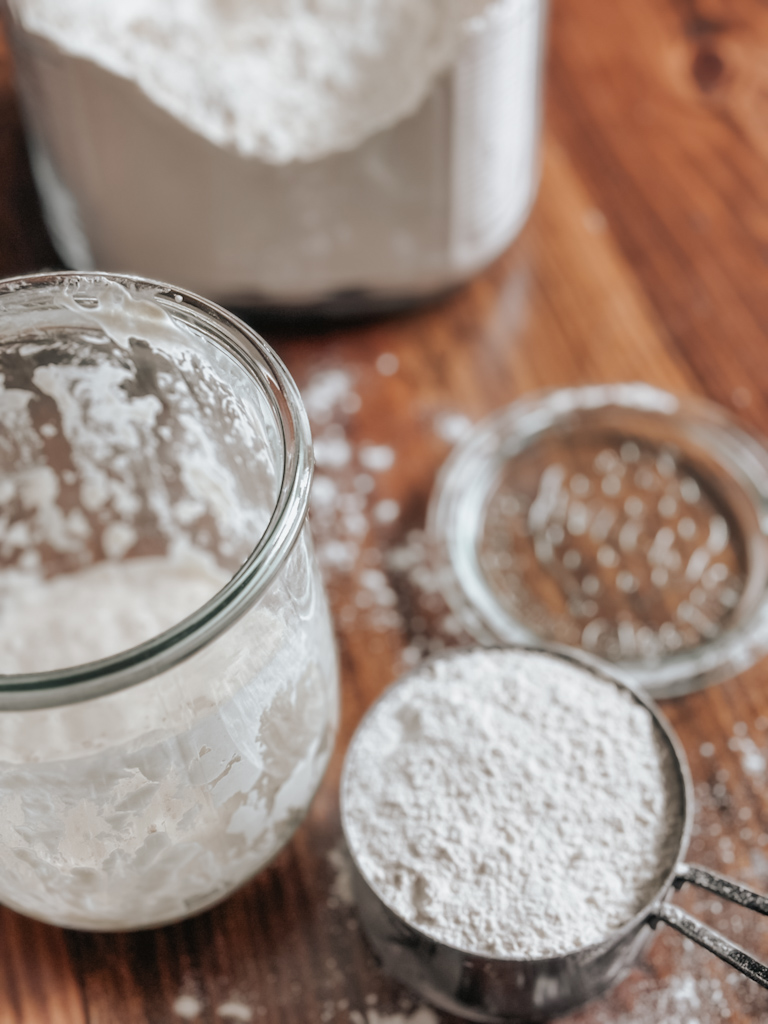
- Flour: The foundation of your sourdough bread. While you can use a variety of flours, most bakers use all-purpose or bread flour. Protein content of the flour is important for its higher gluten development so be sure to choose a quality flour like King Arthur.
- Water: When making sourdough, it’s important to use non-chlorinated water. Chlorine, which is commonly found in tap water, can inhibit the growth of the wild yeast and bacteria that are essential for the fermentation process. To avoid this issue, it’s best to use filtered or bottled water, or simply let tap water sit out for a few hours to allow the chlorine to dissipate before using it in your starter or dough.
- Salt: Salt plays a key roll in bread making not only for the taste, but also helps strengthen the dough’s structure, creating the perfect crumb and crust.

What Tools Should I Purchase for Making Sourdough Bread?
- Mixing Bowls
- Dutch Oven
- Proofing Baskets (Bannetons)
- Lame or Scoring Tool
This post may contain affiliate links, which means I may earn a small commission at no extra cost to you if you make a purchase through these links. I only recommend products I personally use and trust. Your support helps keep this blog running—thank you!
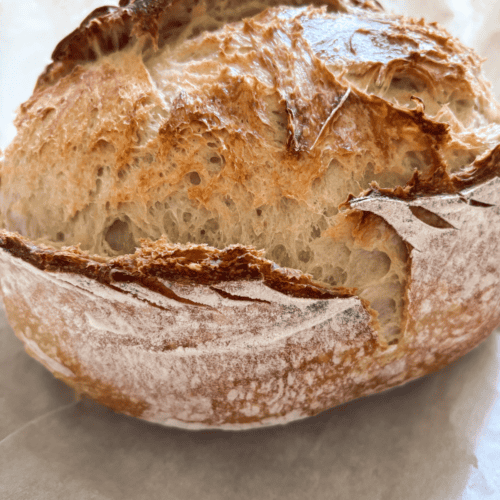
How to Make the Best Sourdough Bread Step-by-Step
Prepare the Leaven (8-12 hours before mixing)
Mix 1 tablespoon active starter with 1 cup of flour and 1 cup of water. Let sit at room temperature until it doubles in size and is nice and bubbly. This typically takes 6-8 hours but will depend on the temperature of your home.
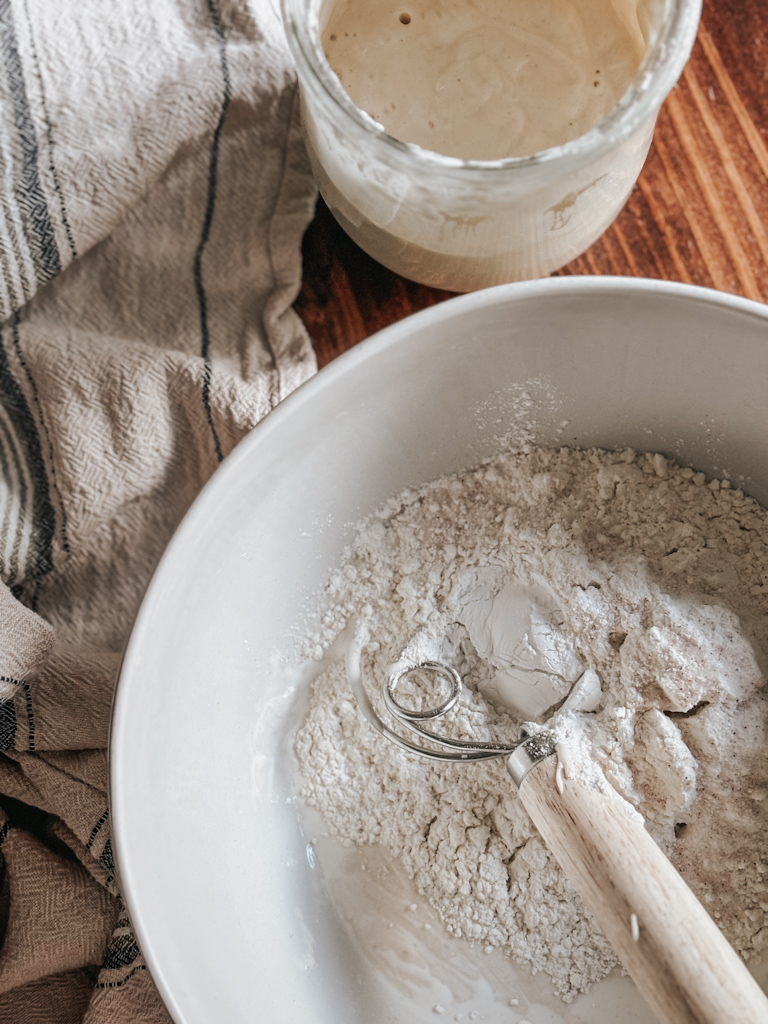
Mix the Dough
- In a large bowl, combine 8 cups of flour and 2 3/4 cups of water. Mix until no dry flour remains.
- Cover and let rest for 30 minutes (autolyse).
- Add 2 cups of leaven and 1 tablespoon of salt. Mix thoroughly.
Would you like to save this?
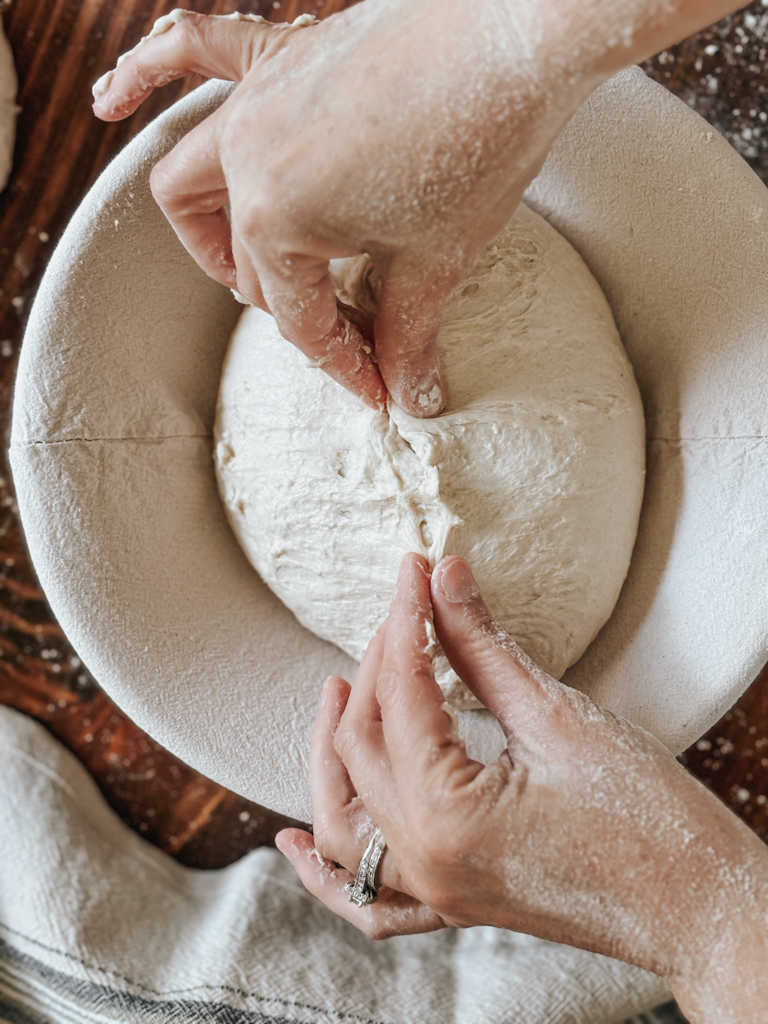
Bulk Fermentation (4-6 hours)
Perform 4-6 sets of stretch and folds, one every 30 minutes. Let the dough rise until it increases by about 50% in volume. You’ll likely notice pockets of air and a little bit of a shine to your dough.

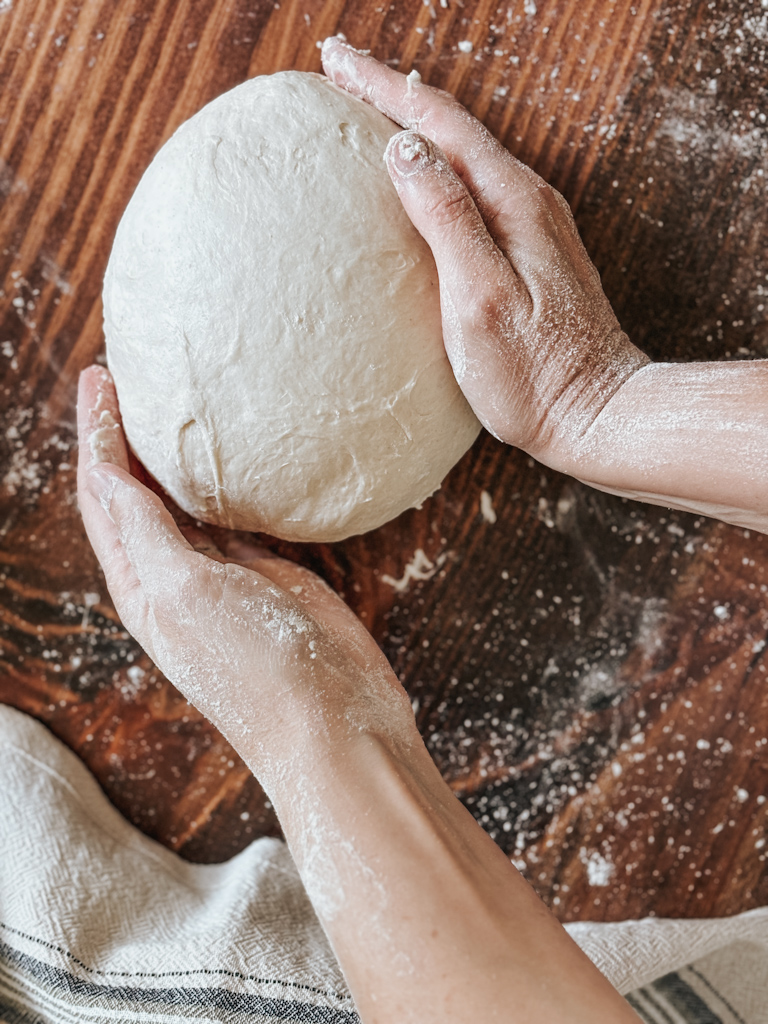
Shape the Dough
Gently turn out the dough and pre-shape it into a round. Let rest for 20 minutes. Then give it a final shape into a boule (round) or batard (oval).
Final Proof (12-15 hours)
Place shaped dough in a banneton basket, cover with plastic wrap, and refrigerate overnight.
Bake
- Preheat oven to 500°F with your Dutch oven inside.
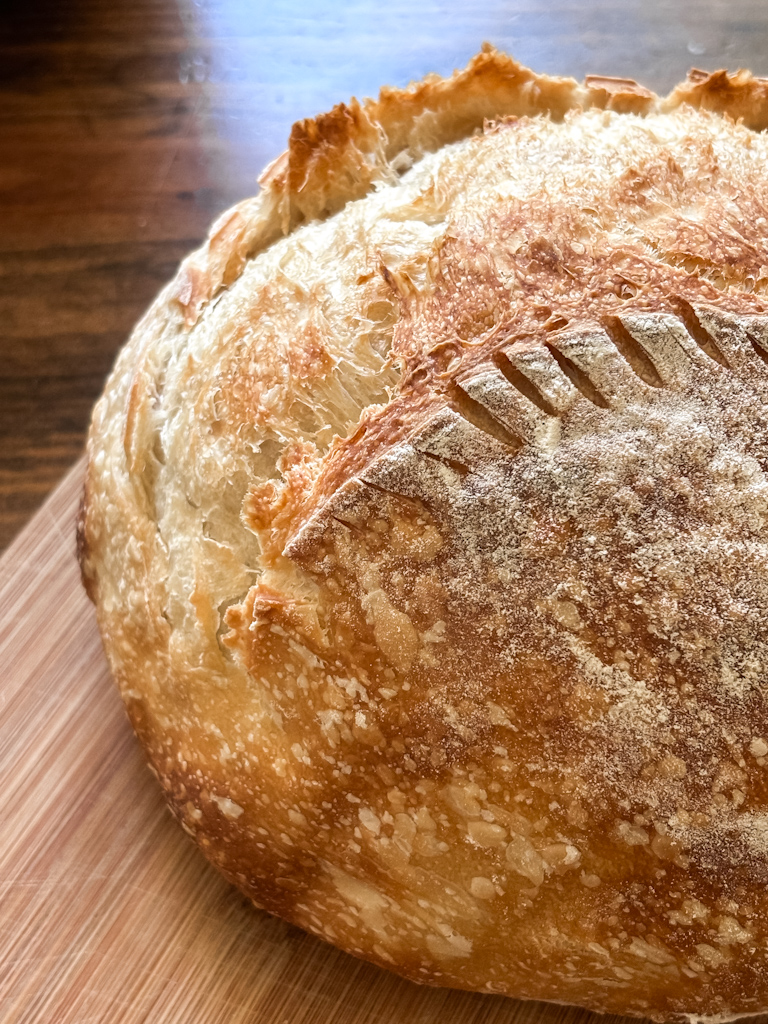
- Turn the dough out onto a large piece of parchment paper. Score the dough and transfer it using the parchment paper as a sling to the hot Dutch oven.
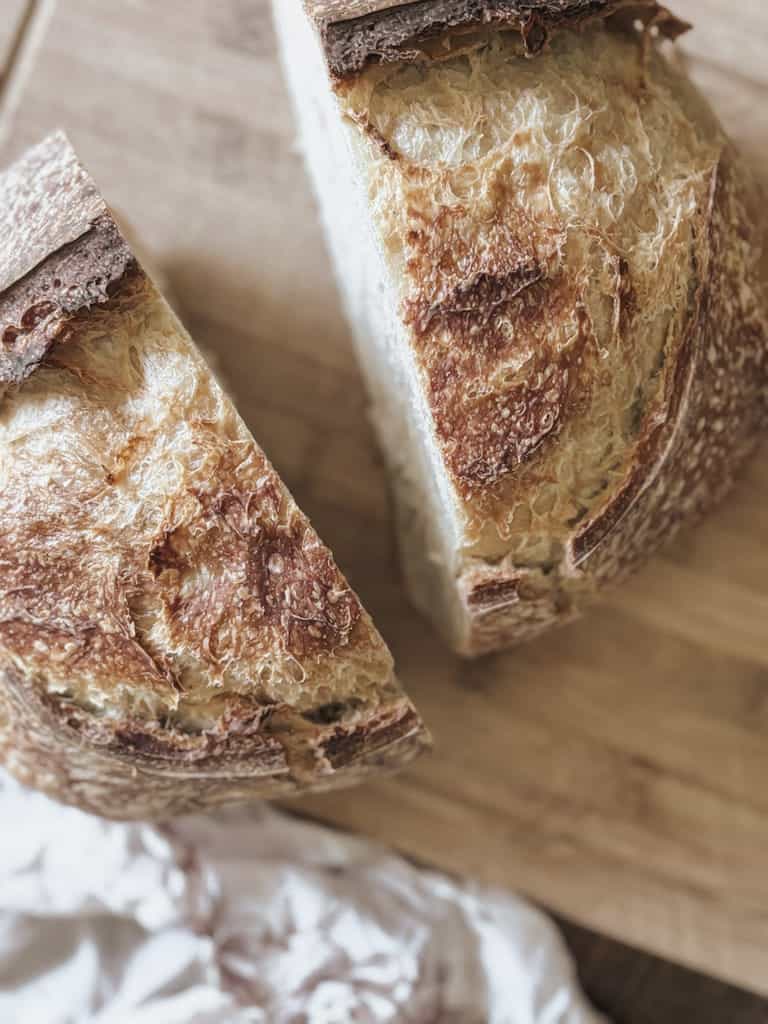
- Bake covered for 20 minutes, then uncovered for 20-25 minutes until golden brown.
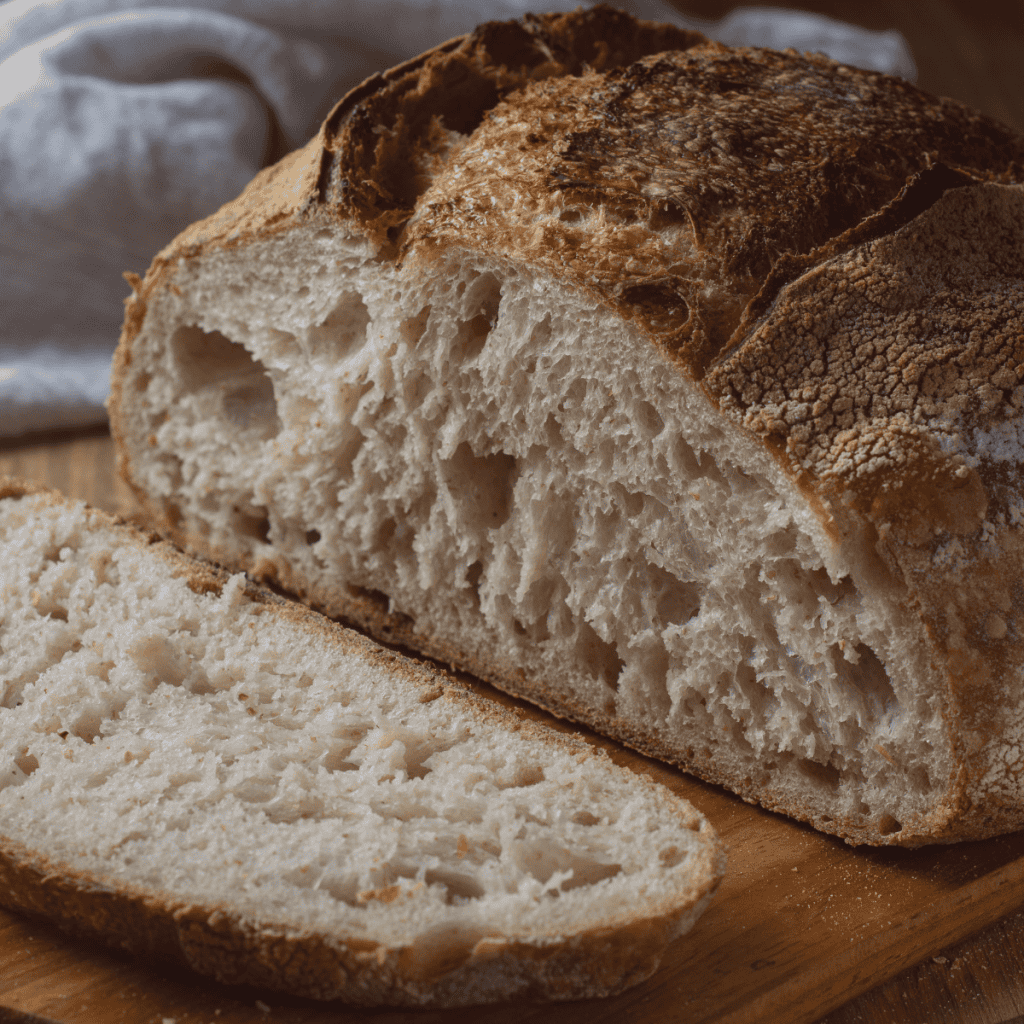
Cool and Enjoy
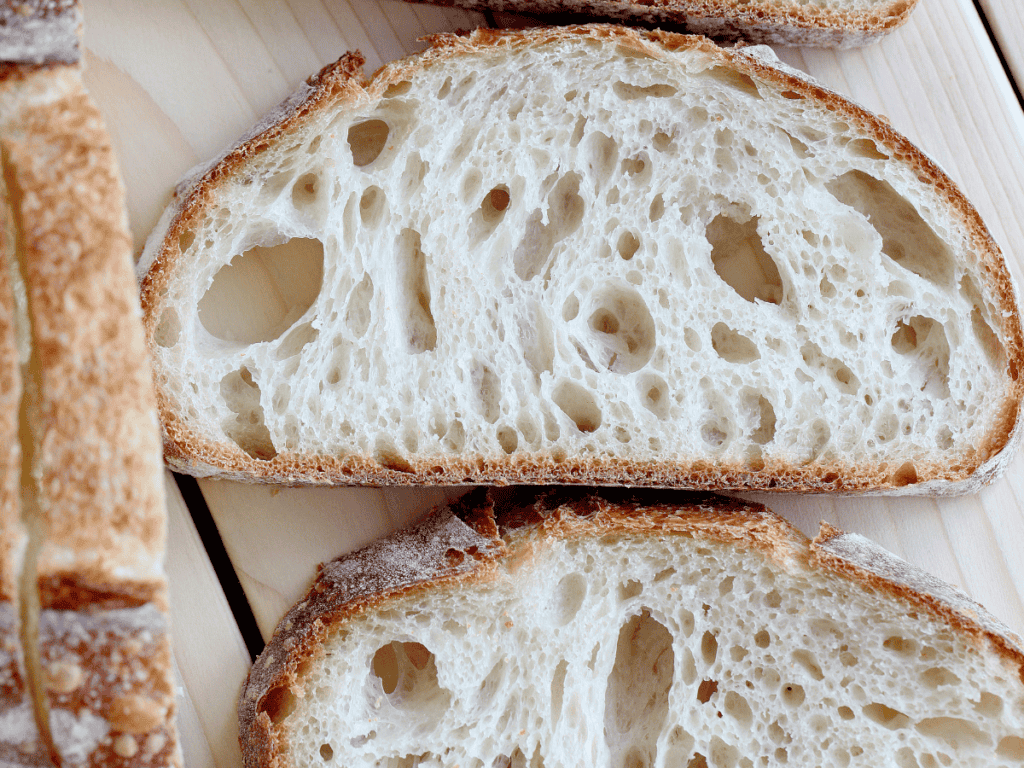
Let the bread cool completely (at least 1 hour) before slicing to set the crumb structure. You don’t want a gummy loaf.
Troubleshooting Your Sourdough
Why is my loaf flat and dense?
A dense loaf could be a sign of under proofing. Make sure you’re letting the dough rise enough as well as stretching and folding it properly.
How do I know when my sourdough bread is fully proofed?
Your dough is ready when it has risen to about 1.5 times its size and passes the “poke test.” To give your bread the poke test, gently press your finger into the dough; if the indentation stays, it’s ready for baking.
How do I get good oven spring in sourdough?
A hot oven and steam are key for maximum rise and a beautiful crust. Don’t be tempted to remove the lid of your Dutch oven before it’s been baking for at least 20 minutes. The lid helps to trap the steam and give a good rise to the bread.
Customizing Your Sourdough
Variations & Add-ins
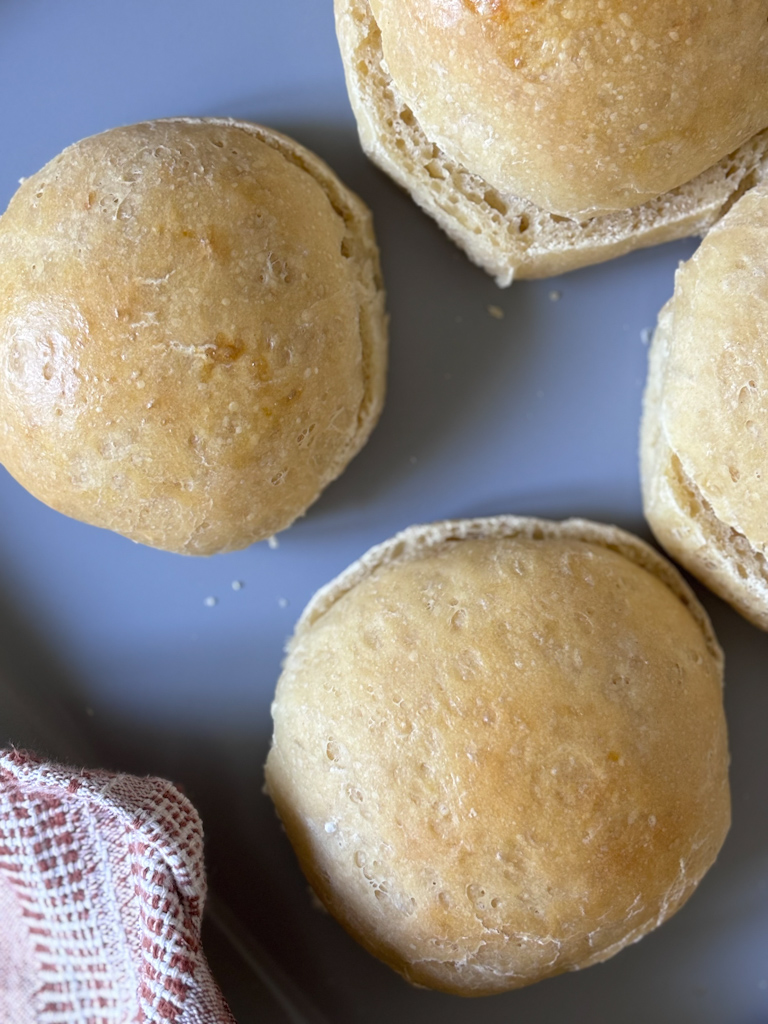
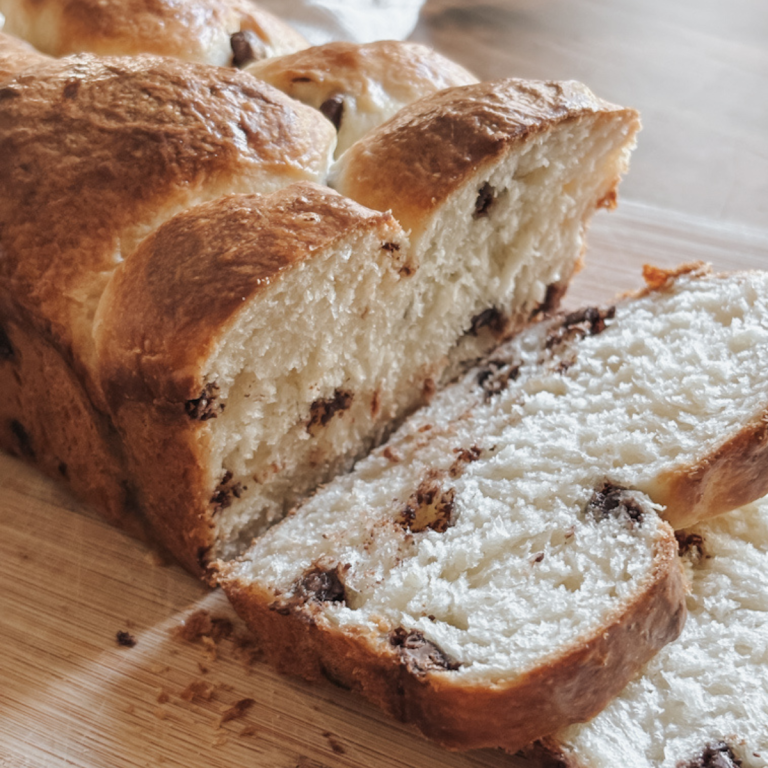
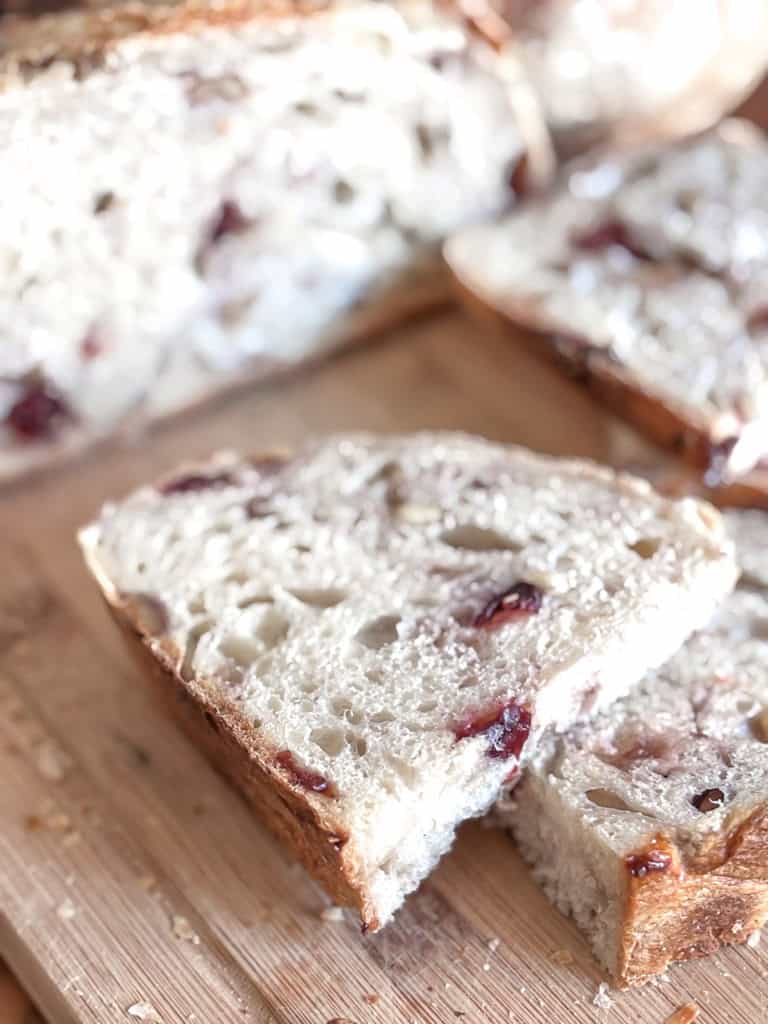
Once you’ve baked a few loaves of basic sourdough, you can begin experimenting with different add-ins. Incorporating seeds, nuts, herbs, dried fruits, and cheese can elevate the flavor and texture of your bread. The possibilities are endless, and the results are always delicious!
Working with Different Flours
There are so many ways you can change up the flavor and texture of your loaves. Use this helpful table when thinking about trying something new!
| Flour Type | Hydration Adjustment | Notes |
|---|---|---|
| Whole Wheat | Increase by 5-10% | Absorbs more water, may require a longer autolyse to fully hydrate. |
| Rye | Increase by 10-15% | Produces a stickier dough, so it’s best to limit it to 10-20% of the total flour for easier handling. |
| Spelt | Similar to wheat | More extensible, meaning it’s softer and more forgiving. Handle gently during shaping to avoid overworking the dough. |
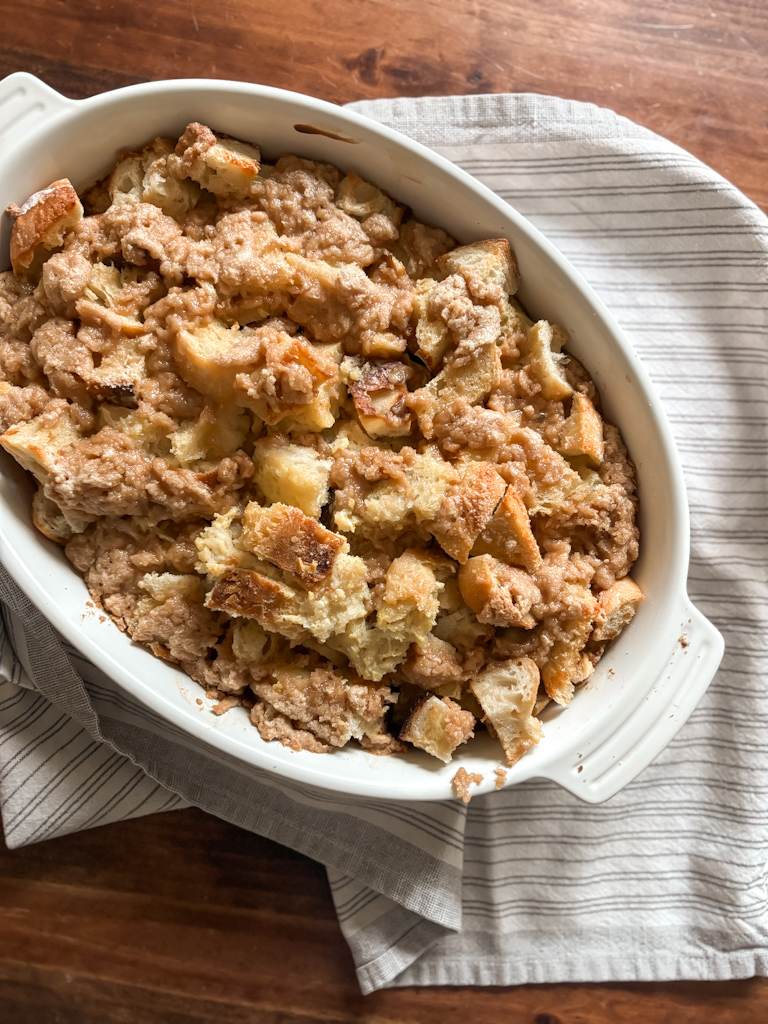
Beyond Basic Breads: Other Recipes to Try
Other Sourdough Baked Goods
Sourdough is more than just good bread! Here are several recipes for you to try:
Using Discard
There’s something truly rewarding about finding joy in using sourdough discard instead of letting it go to waste. Whether it’s whipping up a quick batch of pancakes, crackers, or muffins, discard recipes make sourdough baking even more fun and accessible.
If you’re new to sourdough, my Sourdough Discard Crash Course is the perfect place to start—it walks you through everything you need to know about discard and how to use it to bake with confidence.
Plus, I’ve put together a free download with 9 easy discard recipes for beginners, so you can start using your extra starter right away. Grab your free copy and enjoy the simple joy of baking with sourdough discard!
Rate This Recipe
Want more delicious recipes sent straight to your inbox? Subscribe to my newsletter to receive the latest!
If you make this recipe, please leave a rating on the recipe card below! I’d also love for you to tag me @autumn.chasingoursimple on Instagram so I can see what you’ve been baking!
The Best Sourdough Bread
Ingredients
For the Leaven
- 1 cup all-purpose flour
- 1 cup water
- 1 tablespoon starter
For the Dough
- 2 cups leaven
- 2 ¾ cups water
- 8 cups all-purpose flour
- 1 tbsp salt
Instructions
Prepare the Leaven (8-12 hours before mixing)
- Mix 1 tablespoon active starter with 1 cup of flour and 1 cup of water. Let sit at room temperature until it doubles in size and is nice and bubbly. This typically takes 6-8 hours but will depend on the temperature of your home.
Mix the Dough
- In a large bowl, combine 8 cups of flour and 2 3/4 cups of water. Mix until no dry flour remains.
- Cover and let rest for 30 minutes (autolyse).
- Add 2 cups of leaven and 1 tablespoon of salt. Mix thoroughly.
Bulk Fermentation (4-6 hours)
- Perform 4-6 sets of stretch and folds, one every 30 minutes. Let the dough rise until it increases by about 50% in volume. You’ll likely notice pockets of air and a little bit of a shine to your dough.
Shape the Dough
- Gently turn out the dough divide it in half and pre-shape it into rounds. Let rest for 20 minutes. Then give it a final shape into a boule (round) or batard (oval).
Final Proof (12-15 hours)
- Place shaped dough in a banneton basket, cover with plastic wrap, and refrigerate overnight.
Bake
- Preheat oven to 500°F with your Dutch oven inside.
- Turn the dough out onto a large piece of parchment paper. Score the dough and transfer it using the parchment paper as a sling to the hot Dutch oven.
- Bake covered for 20 minutes, then uncovered for 20-25 minutes until golden brown.
Cool and Enjoy
- Let the bread cool completely (at least 1 hour) before slicing to set the crumb structure. You don’t want a gummy loaf.