Leftover Halloween Candy Cookies Made with Sourdough Discard
Turn your leftover Halloween candy into a delicious treat with our Leftover Halloween Candy Cookies made with sourdough discard!

This easy recipe combines the tangy flavor of sourdough with sweet, crunchy candy for a fun and unique twist. Perfect for using up those extra treats while reducing food waste, these cookies are a delightful way to satisfy your sweet tooth.
Let’s face it, our kids get a ton of candy that many of us don’t really want them to have. Even with allowing my kids to have 2 to 3 pieces a day, we still have a bunch of leftover candy that I’m ready to get out of my house. These leftover Halloween candy cookies are a great way to amp up your standard chocolate chip cookie recipe and put the extra candy to good use.

Mom Tip: Involve the kids in making and baking and then we package them up and deliver them to neighbors that way we are not eating all of the leftover holiday candy.
Why You’ll Love This Recipe
- Leftover candy cookies are an excellent way to make use of the massive stash your kids keep requesting throughout the day.
- You can freeze these cookies and bake them over several months, allowing you to manage sugar intake and calories more effectively.
- Since you’re in charge, you can select the types of candy you include, making this recipe customizable to your taste preferences.
- Annnd because they are made with sourdough discard, you’ll love the depth of flavor and chewiness.
Ingredients
A batch of these cookies includes a small amount of sourdough discard straight from your fridge so you don’t have to worry about feeding your starter and waiting for it to rise before using it.
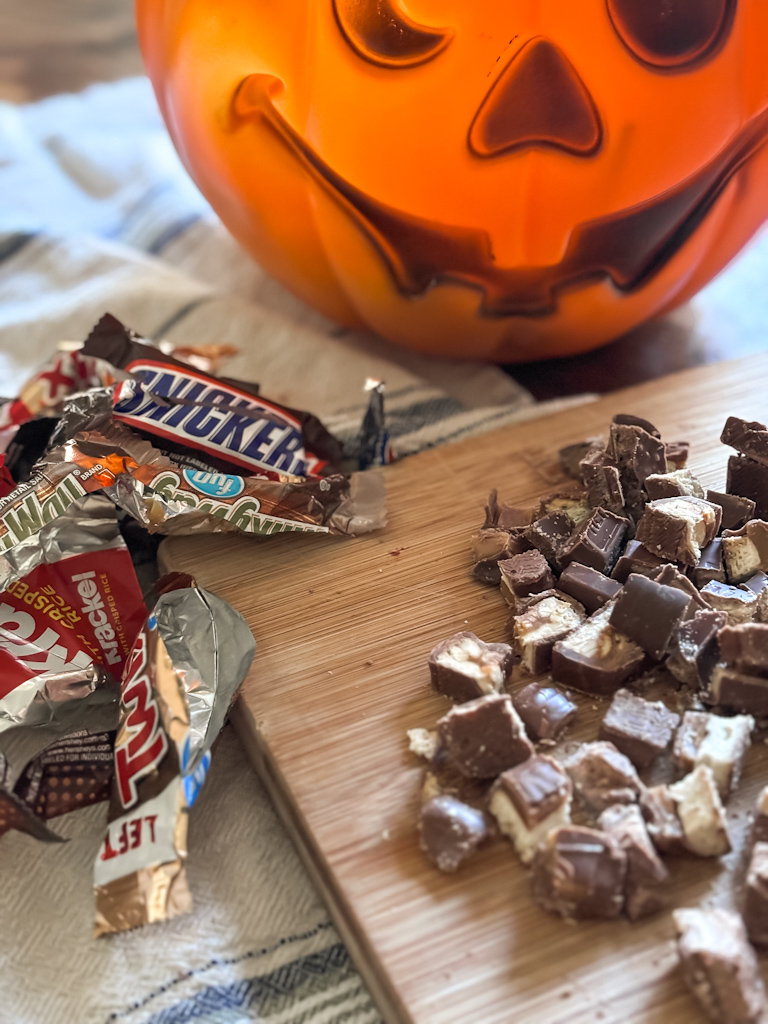
Use your favorite leftover Halloween candy. Any type of candy you think sounds yummy in cookie form. I personally love Almond Joys, Kit Kats, and Reese’s peanut butter cups but feel free to use your favorite candy bars or chocolate candies.
Make sure to click the recipe card below to get the full list of ingredients for these leftover halloween candy cookies.
Step-by-Step Instructions
In the bowl of a stand mixer fitted with a paddle attachment, add 1 cup of softened butter, 1 cup of sugar, and 1 cup of packed brown sugar. Beat the mixture on medium speed for about 5 minutes until it becomes light, fluffy, and well combined. This step is crucial as it incorporates air into the dough, which helps create a lighter texture in the finished cookies.
Crack 2 large eggs into the bowl, and pour in 3 teaspoons of vanilla extract. Mix on low speed until everything isthoroughly combined, ensuring that the eggs and vanilla are evenly distributed throughout the mixture.
In a separate bowl, whisk together 3 cups of all-purpose flour, 1 teaspoon of baking soda, 1 teaspoon of baking powder, and 1/2 teaspoon of salt.
Would you like to save this?
Gradually add the dry ingredients to the wet mixture in the stand mixer. Mix on low speed until just combined. Be careful not to overmix, as this can lead to tougher cookies.
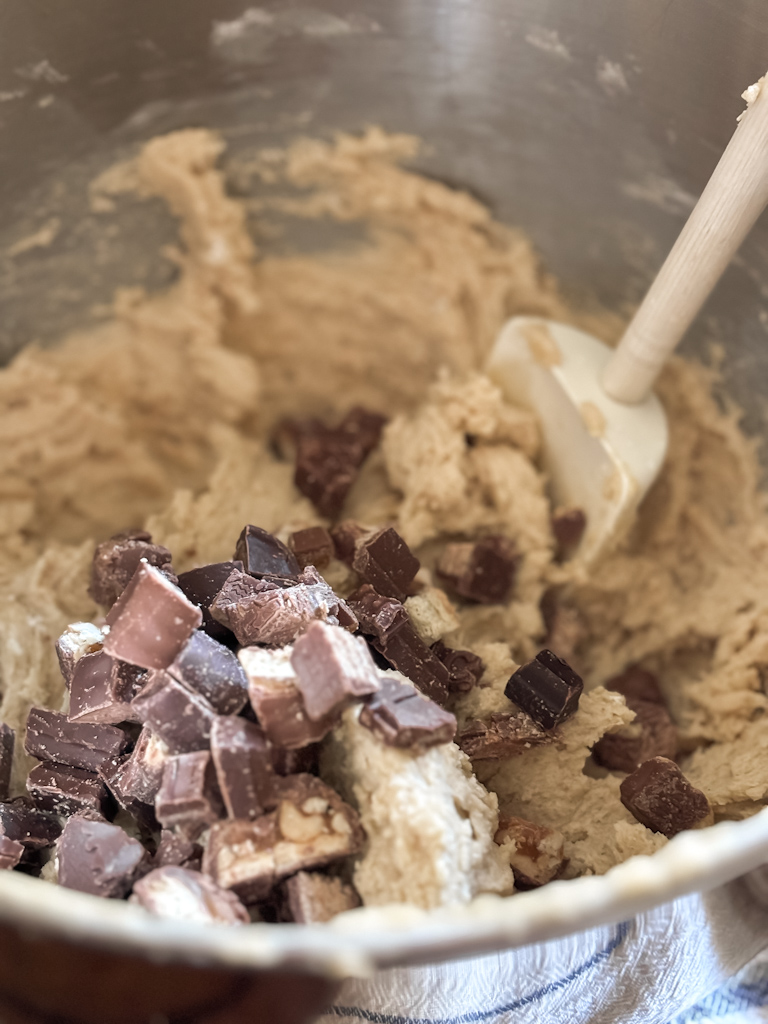
Gently fold in 2-3 cups of chopped leftover Halloween candy using a large spoon or spatula. Make sure the candy is evenly distributed throughout the dough.
Cover the bowl with plastic wrap and place it in the refrigerator to chill for 2-4 hours. Chilling the dough helps to solidify the fats and prevent the cookies from spreading too much during baking, resulting in a thicker, chewier cookie.
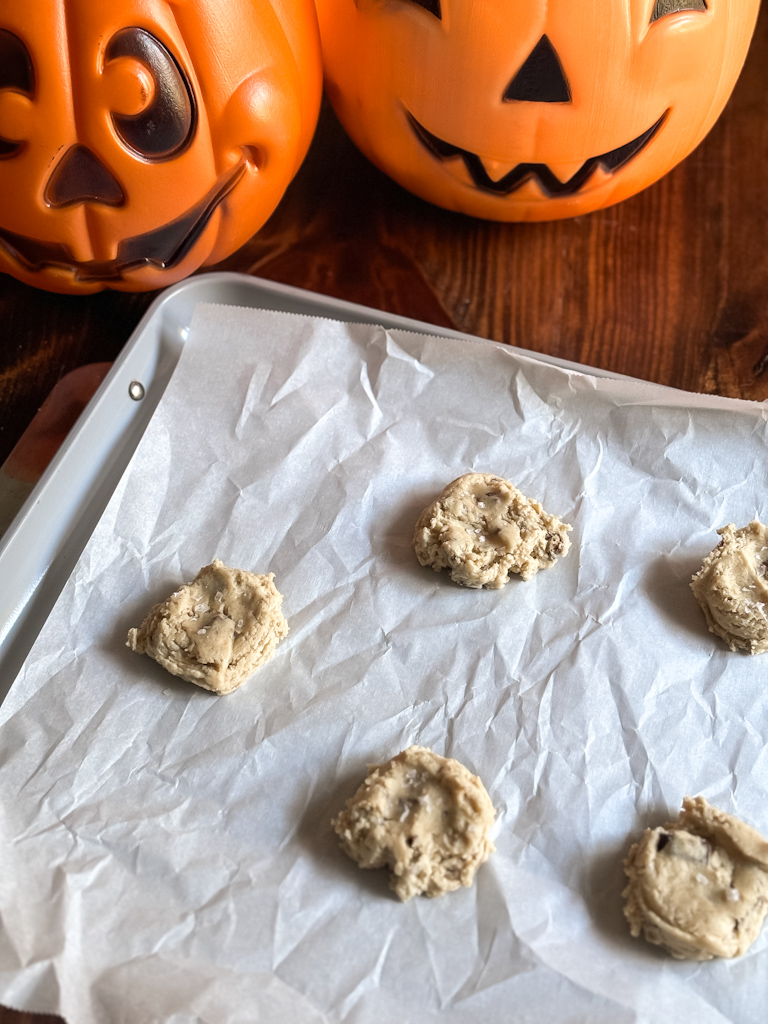
About 15 minutes before you’re ready to bake, preheat your oven to 350°F. Remove the dough from the refrigerator. Use a cookie scoop or tablespoon to portion out the dough, then roll each piece into a ball between your hands.
Place each ball on a parchment-lined baking sheet, ensuring there’s enough space between each cookie to allow for spreading. Gently press down on each dough ball to flatten slightly. If desired, sprinkle a small pinch of finishing salt on top of each cookie to enhance the flavor and balance the sweetness.
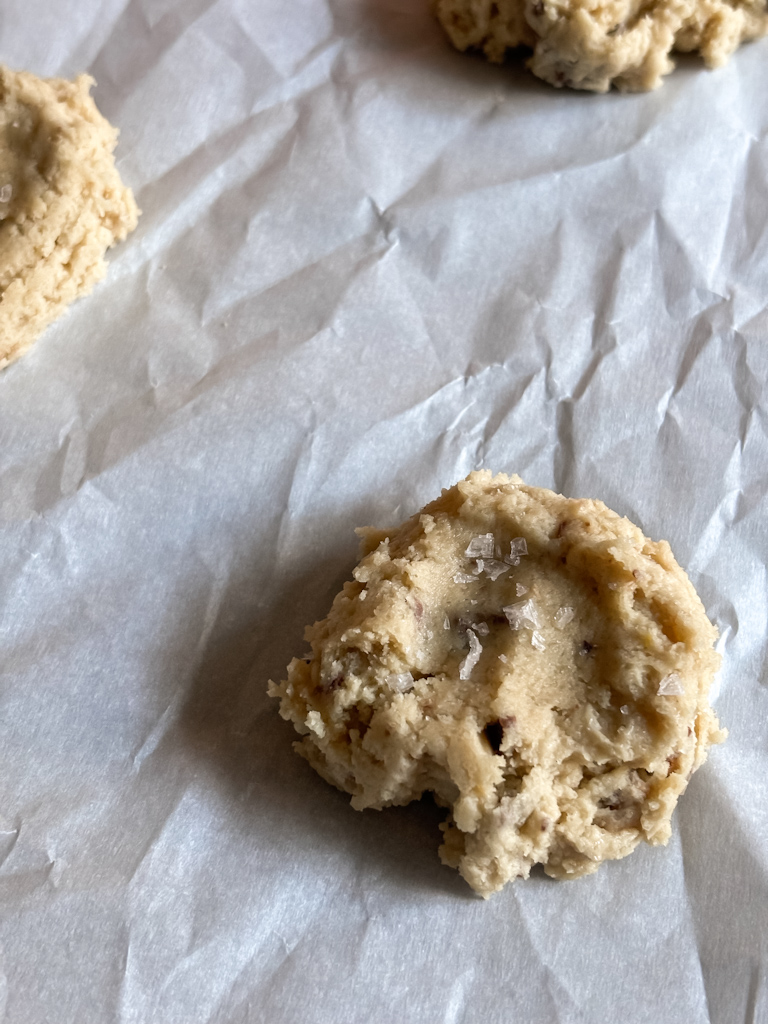
Place the cookie sheet in the preheated oven and bake for 8-10 minutes. Keep an eye on them, as baking times may vary based on your oven. The edges should be lightly golden, and the centers may look a bit soft—they will continue to firm up as they cool.
Once baked, remove the cookies from the oven and let them cool on the baking sheet for about 5 minutes before transferring them to a wire rack to cool completely.

Baking Tips
- You might be tempted to add all of the ingredients to the bowl at the same time but don’t. Whisking the dry ingredients separately will ensure that the leavening agents are evenly dispersed throughout the flour, leading to consistent baking results.
- Don’t overbake. The top of the cookies may look slightly doughy in the middle but they will continue to cook on the pan before you transfer them to a cooling rack.
Storage & Freezing Instructions
Once these cookies have cooled completely, you can store them in an airtight container for 2-3 days.
To freeze these delicious cookies, place cookie dough balls into a freezer bag and label. Keep frozen for up to 3 months. When you’re ready to bake, just pop the frozen cookie balls on a baking sheet lined with parchment and bake at 350°F for 10-15 minutes.

This recipe is a fun way to use extra Halloween candy and extra sourdough discard you may have in the fridge! If you make this leftover Halloween candy recipe and love it, I would love it if you gave it 5 stars! Tag me on Instagram @autumn.chasingoursimple with your bakes.
