Feeding and Maintaining a Sourdough Starter- Free Guide
It’s important to understand feeding and maintaining a sourdough starter once you’ve established your own. I’ve created a free step-by-step guide to help you maintain a thriving starter!
Grab my free guide for establishing your own sourdough starter here!

What Is a Sourdough Starter?
Simply put, a sourdough starter is a mixture of flour and water that acts as a leavening agent, replaces commercial yeast, and instead uses wild yeast from the air captured in the beginning process. The use of a sourdough starter in baking is an ancient process that enhances flavor and shelf life of breads.
Using a sourdough starter in baking can be beneficial due to the fermentation process. The fermentation process breaks down gluten and makes the bread easier to digest. This is especially beneficial to those with gluten sensitivity.
Key Terms
Understanding key terms is important when maintaining a nurturing a healthy starter. Together, these terms lay the foundation for a successful and flavorful sourdough journey.
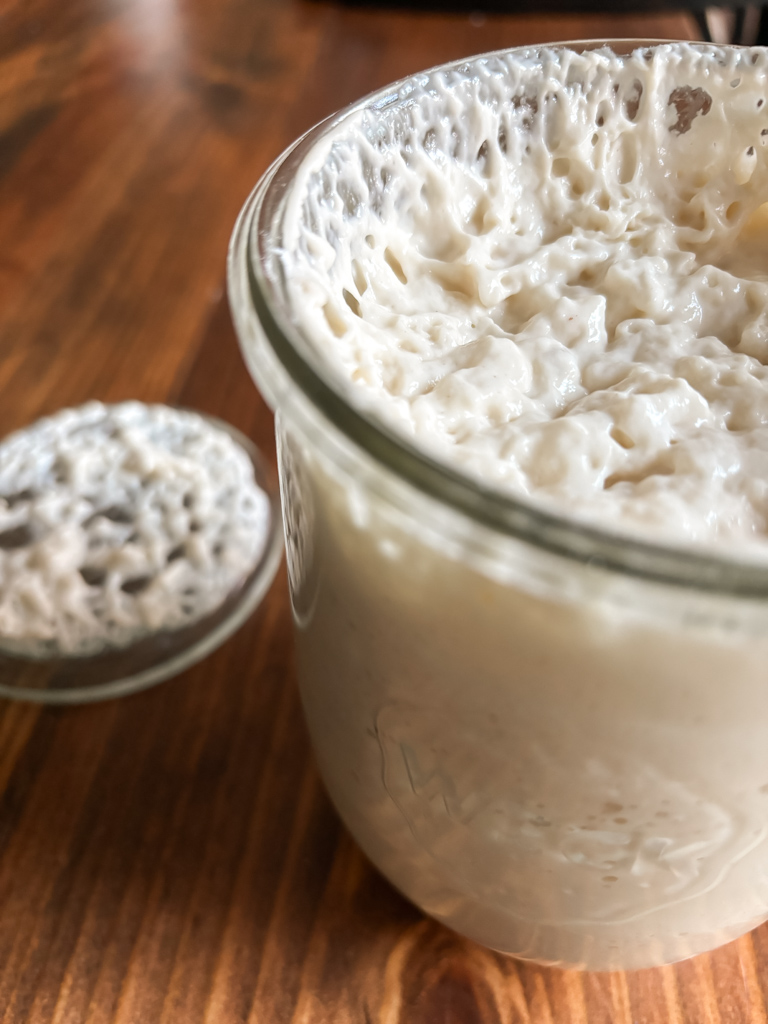
Feeding involves replenishing the starter with fresh flour and water.
Hydration refers to the ratio of water to flour in the mixture which impacts the starter’s consistency.
Discard is the practice of removing a portion of the starter before feeding so that it doesn’t outgrow the container.
Ingredients & Tools
Before we jump into the ins and outs of feeding a starter, let’s take a moment to discuss the importance of quality ingredients (even though there are only two) and the tools that are needed.
In my own sourdough journey, I’ve decidedly kept things simple. I don’t often use a kitchen scale in my baking and feeding process and I tend to stick with US Customary measurements.
I believe this simplifies the process and makes it accessible to ordinary moms who just want to make good bread. With that being said, you really only need…
Quality Flour: Opting for a high-quality four with an appropriate protein percentage is essential. The protein content, typically measured as a percentage, influences gluten development- the key to the structure and texture of the bread.
Flours with higher protein percentages promote gluten formation and yield a more chewy and well-structured crumb. King Arthur brand is a good choice and is readily available. I typically use all-purpose organic flour but bread flour does have a higher protein content.
Proper Jar: Opt for a glass jar with a wide mouth. This will make adding flour and string much easier during feedings. The transparency of glass jars allows you to observe the starter’s activity, noting the rise and fall.
Make sure that your jar is large enough to account for the expansion of your starter during fermentation. This will save you time and clean up by preventing messy overflows. I prefer Weck brand jars and recommend them to anyone who asks. While they can be a little pricy, I’ve found the best deal here.
*Note, this is an affiliate link and I may receive a small commission. Please know that I only share products I use and love.
Feeding A Starter
The basic sourdough feeding ratio is 1:1:1 meaning 1 part flour, 1 part water, and 1 part starter. For example, if you’re measuring by weight you could feed 30 grams of flour, 30 grams of water, and 30 grams of starter. As I said before, I don’t typically measure by weight so I might feed 1/4 cup of flour, 1/4 cup of water, and 1/4 cup of sourdough starter.
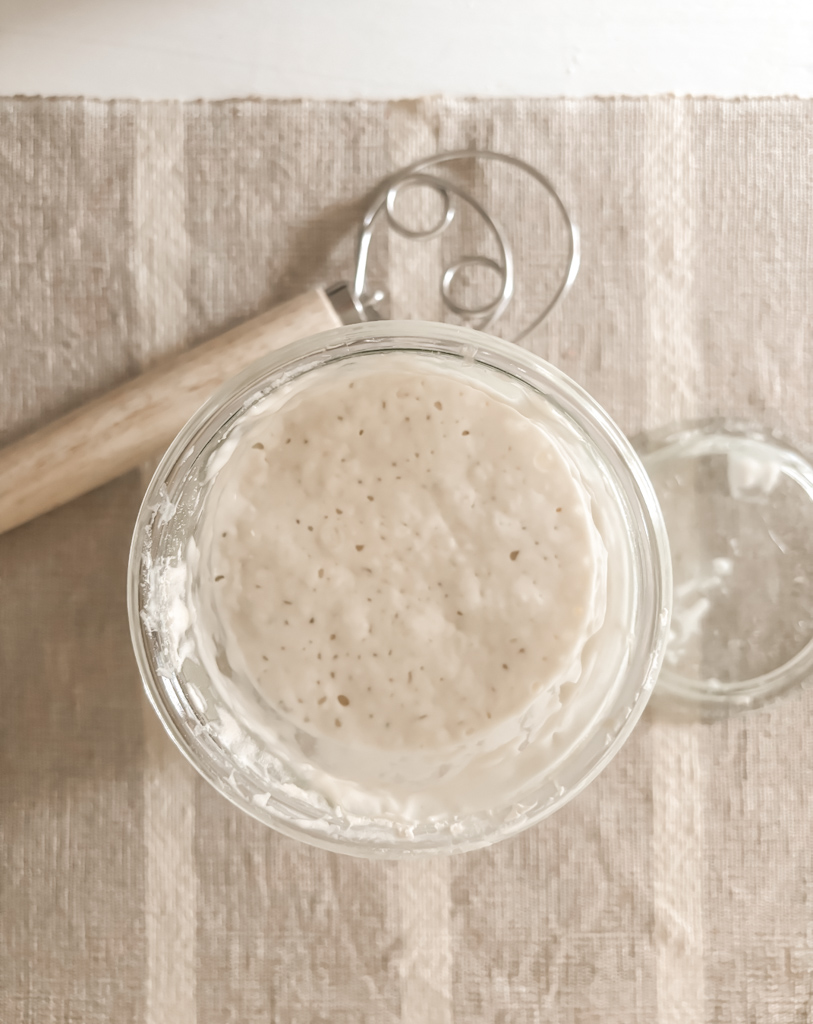
Using the 1:1:1 ratio, your starter should double in 4-6 hours depending on the temperature of your home. The “Goldilocks Rule” of sourdough is a temperature of anywhere between 72°F and 82°F. Not too hot, not too cold, but just right!
Using a rubber band around your jar is an easy way to measure how much your starter has risen after feeding. Simply mark the top of your starter on your jar with the rubber band. An active sourdough starter will be bubbly and will have doubled in size. This is considered the optimal time to use your starter for baking bread.
Discarding
Discard is the portion of a starter that is typically removed before feeding. While this may seem counter-intuitive, it’s necessary to prevent your jar from overflowing after a feeding and it also ensures correct ratios for getting the best fermentation results.
When it’s time to feed your sourdough, remove the portion that’s not needed as part of your feeding ratio before adding fresh flour and water. BUT DON’T THROW IT OUT! Discard can be stored in a separate jar and used in many sourdough discard recipes like sourdough pancakes and these easy sourdough discard biscuits.
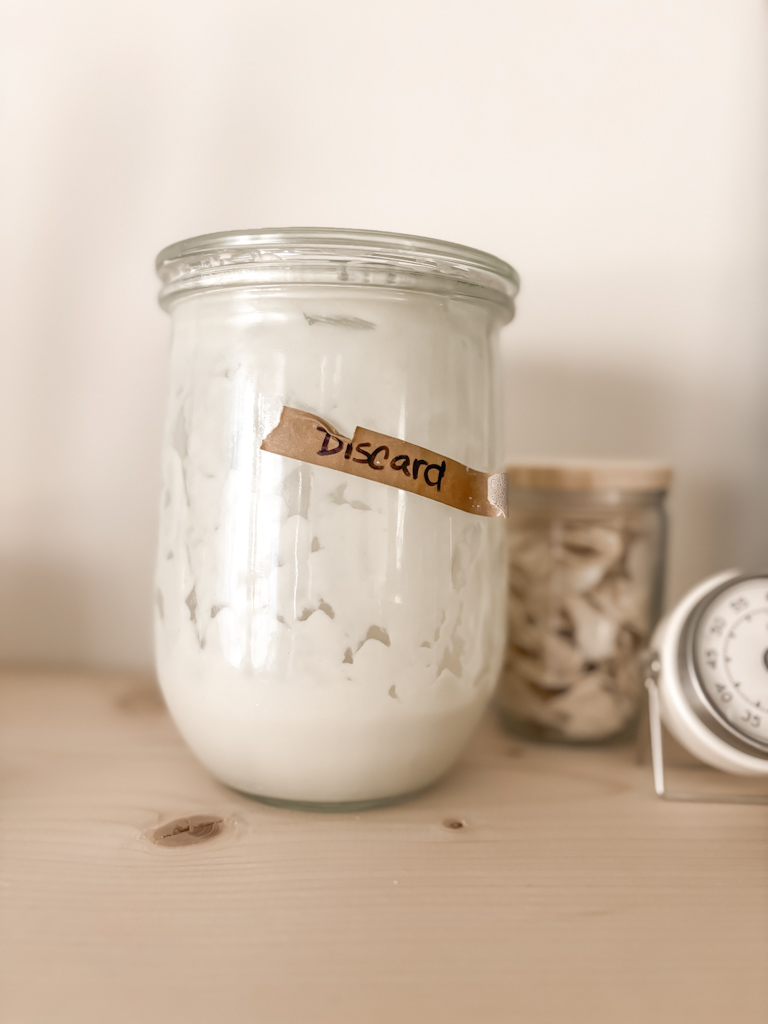
To store the discard, keep it in a jar with a lid inside your refrigerator. I label mine so that I don’t get it confused with my starter. Discard will keep for a long time in the fridge but know that the longer it sits the more sour it will become.
How to Maintain A Starter
In general, feeding your starter once a day or once a week is common practice. How often you should feed your starter depends on how regularly you plan on using it and where you will store your starter.
Would you like to save this?
Maintaining A Starter At Room Temperature
If you plan on using your starter daily, you’ll want to keep it at room temperature and feed it every 24 hours for best results. This will ensure that there’s a balance of microorganisms and proper fermentation.
If your starter is left out at room temperature and not fed daily, the health of your starter will decline potentially allowing mold and bacteria to grow. You may notice an offputting smell and it may develop a pink or orange tint. If this happens you’ll need to toss your starter and begin again. Frequent feedings are the best way to keep your starter healthy and active.
Maintaining a Starter in the Refrigerator
If you don’t plan to bake regularly or daily, you can keep your sourdough starter in the refrigerator alongside your discard. When it’s refrigerated, you’ll only need to take your starter out to feed it once a week or when you plan to use it for baking.
When you’re ready to feed your starter simply take it out of the fridge, discard all but the amount needed for a feeding then add fresh flour and water. Once it has doubled, it’s considered an active starter and you can use it to bake bread or wait for it to rise and begin to fall before placing it back into the fridge.
TIP: If your starter has been in the fridge for a week and you want to use it to bake bread, give it an extra feeding to give it a boost and ensure your refrigerated starter is in great health before baking a delicious loaf.
How Much Starter Do I Keep?
The amount of starter you want to keep after using it to make bread depends on the feeding method you use.
The 2-jar feeding method for baking: Take your starter jar out of the fridge. Place a portion of the starter (whatever you need for the recipe) into a clean jar and feed it according to the recipe you are using to make bread. Set this aside for bread making.
Now, discard some of what’s left in your starter jar into your discard jar, and then feed the rest using equal parts water and flour.
The 1-jar feeding method for baking: This is the method I use most often now that I’m familiar and confident with the sourdough process. Take your starter out of the fridge, discard some, and then feed it according to the recipe.
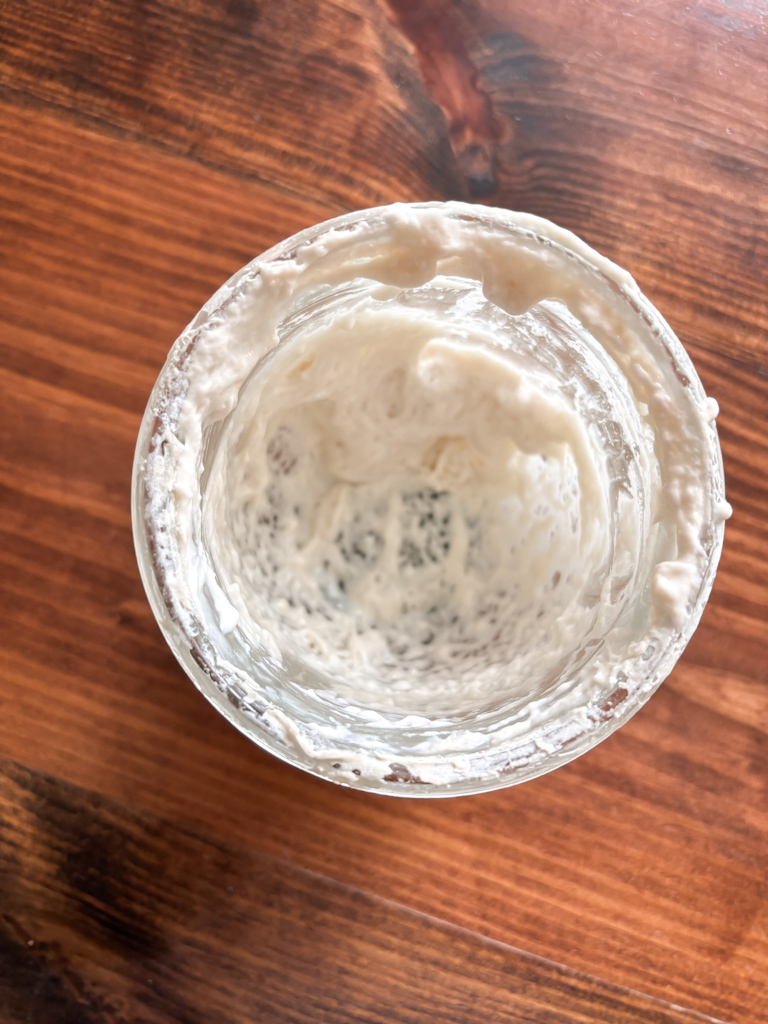
Once it’s active and ready to use in your bread recipe go ahead and use the starter to make your dough BUT make sure you have enough starter to keep some as your “mother starter.” Mother starter is just the term for the portion of starter you always have. But don’t fret, even the smallest amount of healthy sourdough starter can be used to build up a new starter.

How Do I Make A Backup Starter?
Keeping a backup starter is a good idea. You never know when an accident might happen, mold may occur, or you accidentally use all of your mother starter. There are a few different ways to ensure you have a backup.
- One way is to dehydrate a portion of your starter for safekeeping.
- You can also freeze it but placing a portion of the starter in an ice cube tray and then popping it out into a freezersafe bag.
- Discard can also be revived and used as a backup!
Having a sourdough starter maintenance routine is the most important thing you can do to ensure a healthy and mature sourdough starter. It can be a little confusing at first which is why I’ve created a guide to walk you through the process of how to feed and maintain a sourdough starter.
Following the steps in my infographic will ensure you keep a healthy, mature, and bubbly sourdough starter that can be used in delicious sourdough bread! If you would like to download your free guide, simply add your email and submit through the link below.
Want to dive into the world of sourdough but don’t know how to start? I’d love to offer you my Sourdough Basics Mini-Course! This course is packed with tutorials, videos, guides, and recipes to get you comfortable in the kitchen making bread and using discard. Grab it HERE!

Sourdough Starter Recipes You Might Like To Try
Country Loaf Sourdough Bread Recipe
Sourdough Bread Bowls for Soups
Pizza Dough
Same Day Sandwich Bread
