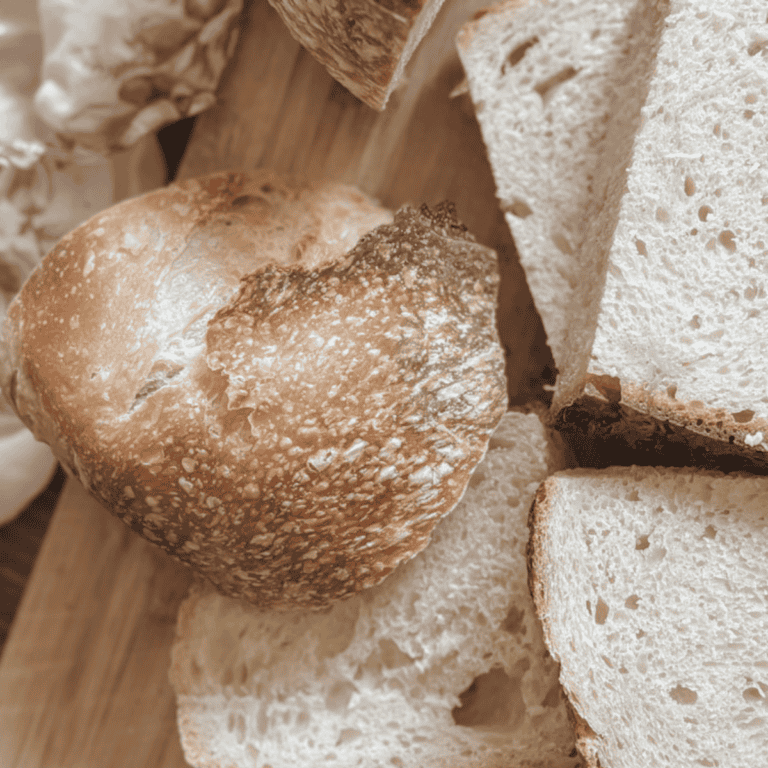
How To Make Bread: A Beginner’s Guide & Recipe
Master the art of homemade bread with our beginner’s guide including the ingredients you’ll need to make bread as well as a delicious recipe. Follow simple, step-by-step instructions to mix, knead, proof, and bake your perfect loaf at home.
Baking bread at home has sparked a renewed interest in ingredient quality, with many individuals opting for organic, local, or artisanal ingredients. And while sourdough bread has become especially popular, not everyone is interested in the lengthy process of maintaining a starter or waiting for extended fermentation times.
For those seeking a simpler approach, an easy yeast bread recipe provides a quick and accessible alternative that stilldelivers a delicious, homemade loaf with minimal fuss.
In this post, we will discuss key concepts for making bread as well as step-by-step instructions for making bread.
This post may contain affiliate links, which means I may earn a small commission at no extra cost to you if you make a purchase through these links. I only recommend products I personally use and trust. Your support helps keep this blog running—thank you!
Introduction to Bread Making
Breadmaking is a fundamental skill that combines both science and art. While I don’t want to overload you with the scientific details, I think it’s important to understand a few basics of bread making.
Every step in making bread has a precise purpose. When you mix ingredients like flour, water, yeast, and salt, you’re setting off a series of chemical reactions. Yeast, for instance, consumes sugars and produces carbon dioxide gas, which makes the dough rise. This process, called fermentation, is predictable and depends on factors like temperature, humidity, and precise measurements. In this way, following a recipe closely is like conducting a small experiment in your kitchen where you can see science at work.
At the same time, bread-making offers plenty of room for creativity. After mastering the basics, you can experiment with different flours, add herbs or spices, and shape your dough into various forms.
What are the Ingredients in Bread?
Great bread starts with quality ingredients. Ingredients noted with an * are optional and aren’t always required for bread. Here’s what you will need:
| Ingredient | Role | Tips |
|---|---|---|
| Warm Water | Activates yeast and forms dough | Use water between 105°F and 115°F for optimal yeast activation |
| Active Dry Yeast | Leavens the bread | Ensure your yeast is fresh for best results |
| *Sugar or Honey | Feeds the yeast and adds flavor | Can be adjusted or substituted with other sweeteners |
| Salt | Enhances flavor and controls yeast growth | Don’t skip this! It’s crucial for taste and texture |
| *Oil (I prefer Extra Virgin Olive Oil) | Adds moisture and softness | Can be substituted with melted butter for richer flavor |
| Flour (Bread or All-Purpose) | Forms the structure of the bread | Bread flour yields a chewier texture due to higher protein content, but I prefer All-purpose |
What Tools Do I Need to Make Bread?
Not every tool you see on the baking aisle is necessary for making bread but there are a few basic items that are essential to making bread.
- Mixing Bowls
- Measuring Cups
- Loaf Pan
- Stand Mixer (optional but saves time and muscle when kneading)
Watch How to Make Basic Homemade Bread
How to Make Bread Step by Step
Below you will find the basic process for making a simple bread recipe. The full homemade bread recipe can be found below along with a printable recipe card.
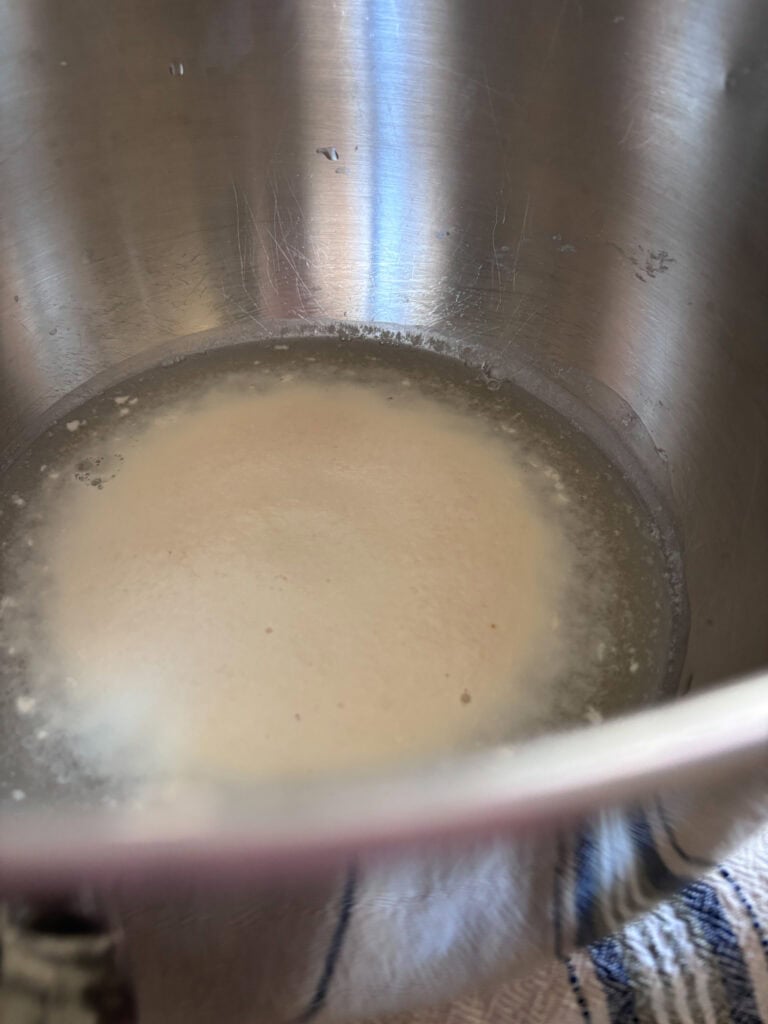
Proofing the Yeast
Start by activating your yeast in a bowl of warm water with just a pinch of sugar. Remember, you want the water to be very warm but not scalding hot or you will ruin your yeast. If your yeast isn’t foamy after 5-10 minutes, it’s dead and you will need to start again.
Mixing the Dough
Add additional bread ingredients to your proofed yeast and water mixture and combine. Stir it together until a shaggy dough forms. Don’t be afraid to get your hands messy.
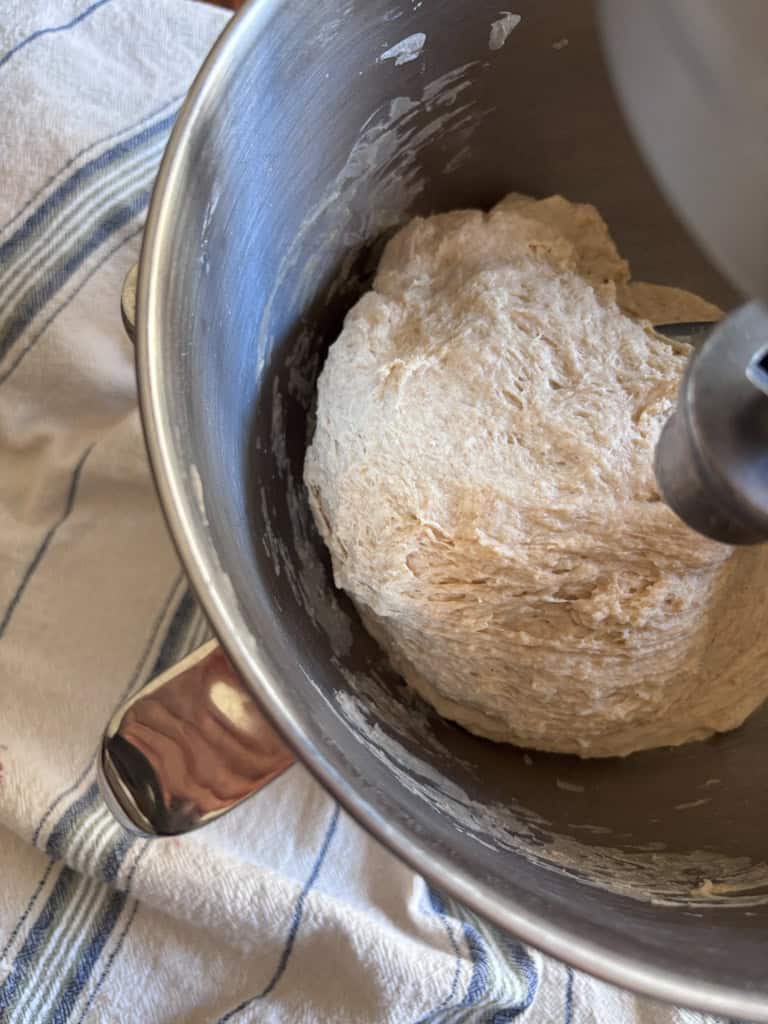
Kneading the Dough
Knead the dough for 8-10 minutes by hand on a lightly floured surface or speed things up by using a stand mixer with the dough hook attachment on low speed for 4-5 minutes. The dough should become smooth and elastic and pull away from the bowl if using a mixer.
Use the “windowpane test” to see if your bread dough is kneaded properly. To check, gently stretch a corner of the dough to see if it forms a translucent “windowpane” without tearing.
First Rise
Place the dough into a lightly oiled bowl covered with plastic wrap or beeswax wrap and let it rise in a warm spot until it doubles in size. This usually takes about 1-2 hours.
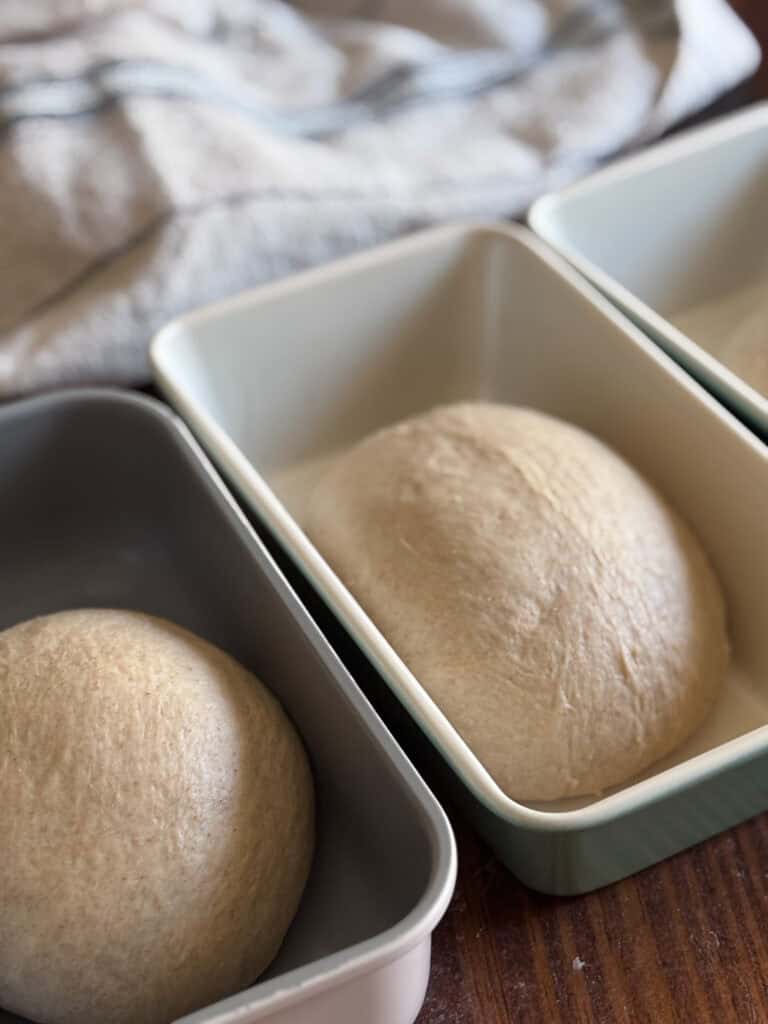
Shaping
Gently deflate the dough. You don’t actually have to punch it down like you might see in videos but deflating the dough removes some of the built-up gas and prevents the dough from expanding too much, which can lead to over-proofing. Over-proofed dough may collapse or yield a more dense loaf.

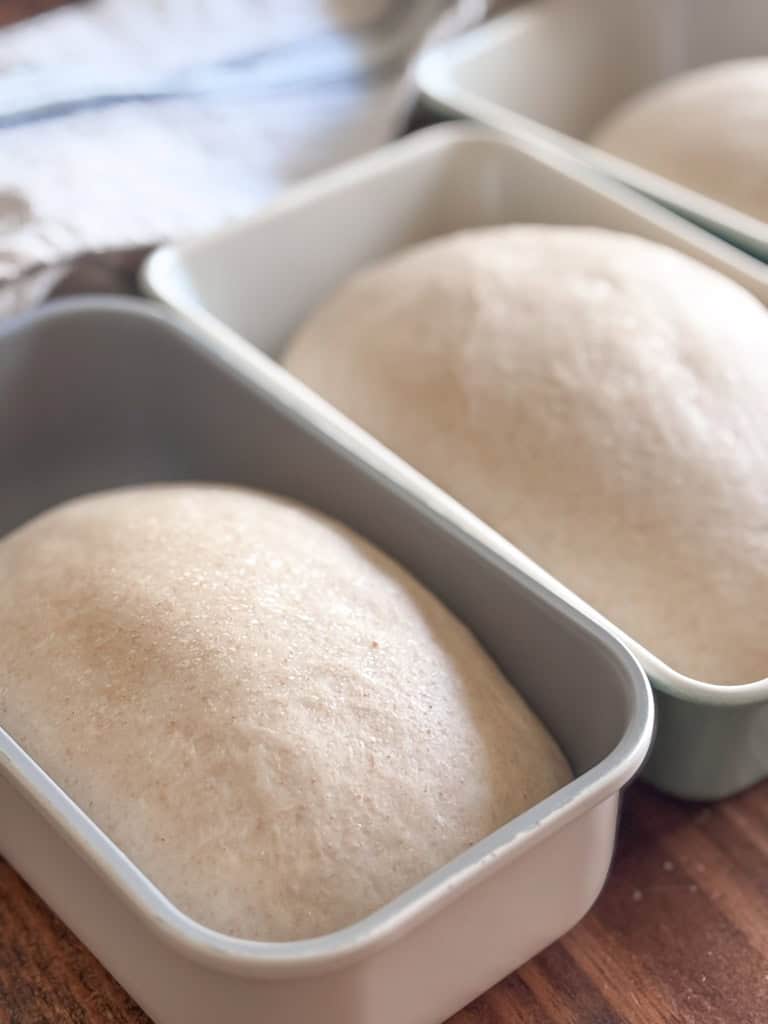
Shape the dough into loaves and place them into greased loaf pans. Cover once again. I like to spray a little oil on a piece of plastic wrap and cover. The oil prevents the loaves from sticking to the plastic wrap once they have risen again.
Would you like to save this?
Second Rise
Allow the shaped loaves to rise again until almost doubled. This may take 45 minutes to an hour depending on the temperature of your home.
Baking
Bake in a preheated oven (350°-375°F) for 25-30 minutes. The loves should be golden brown and sound hollow when tapped. If you like, you can check for an internal temperature of 190°F.
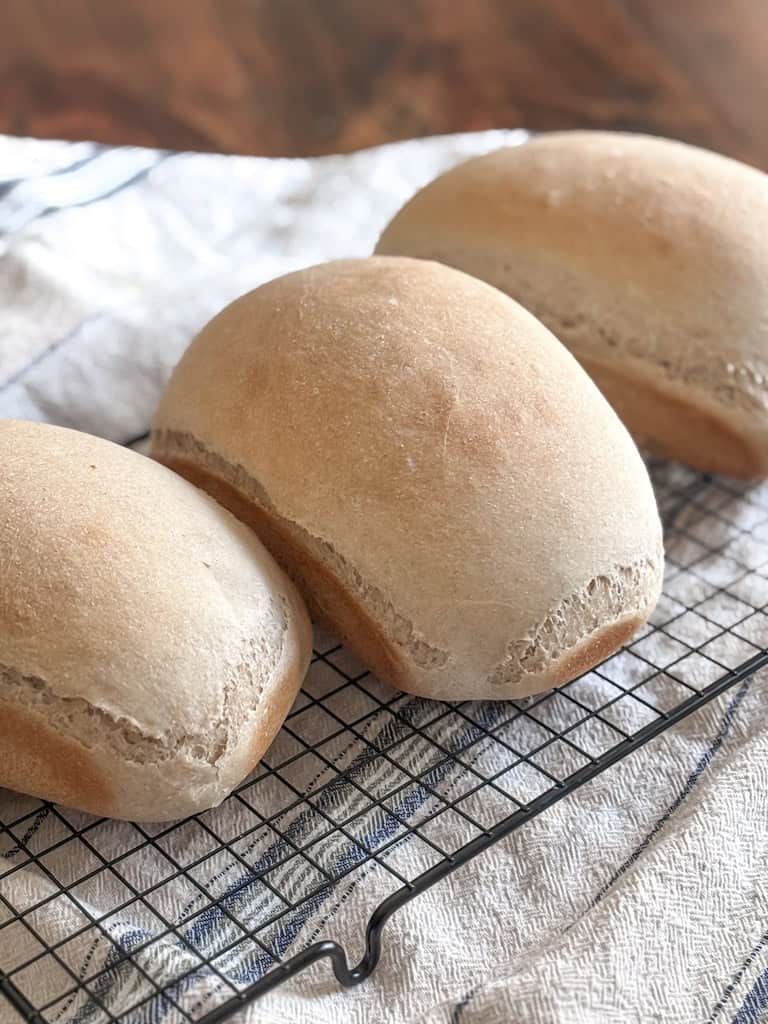
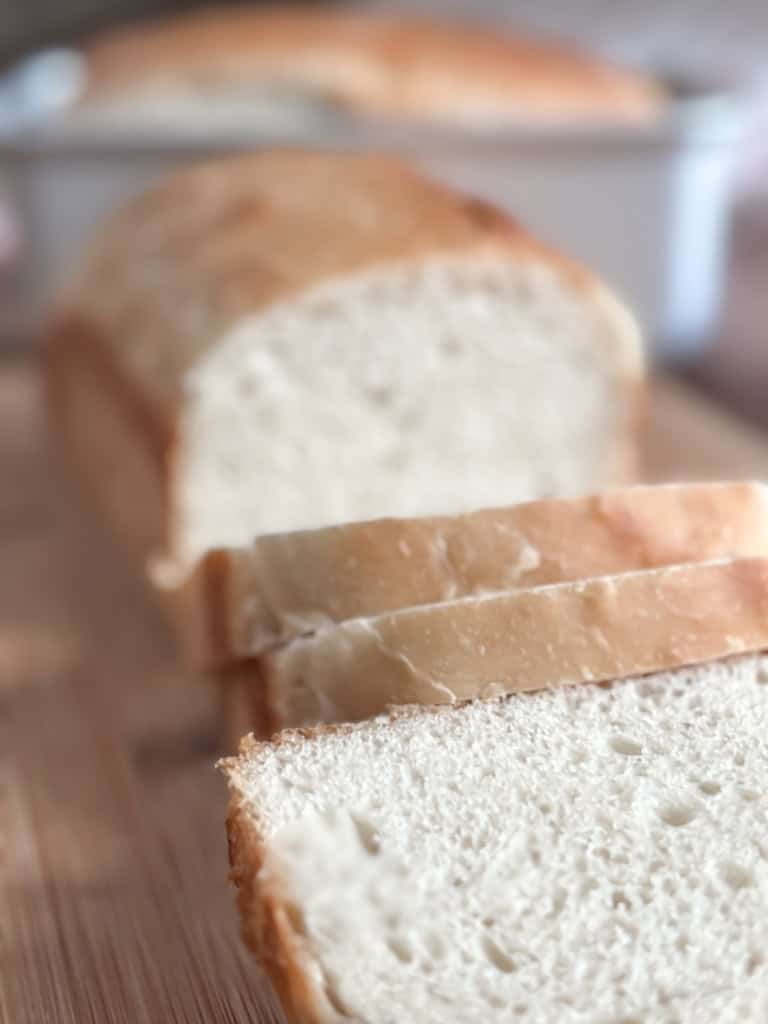
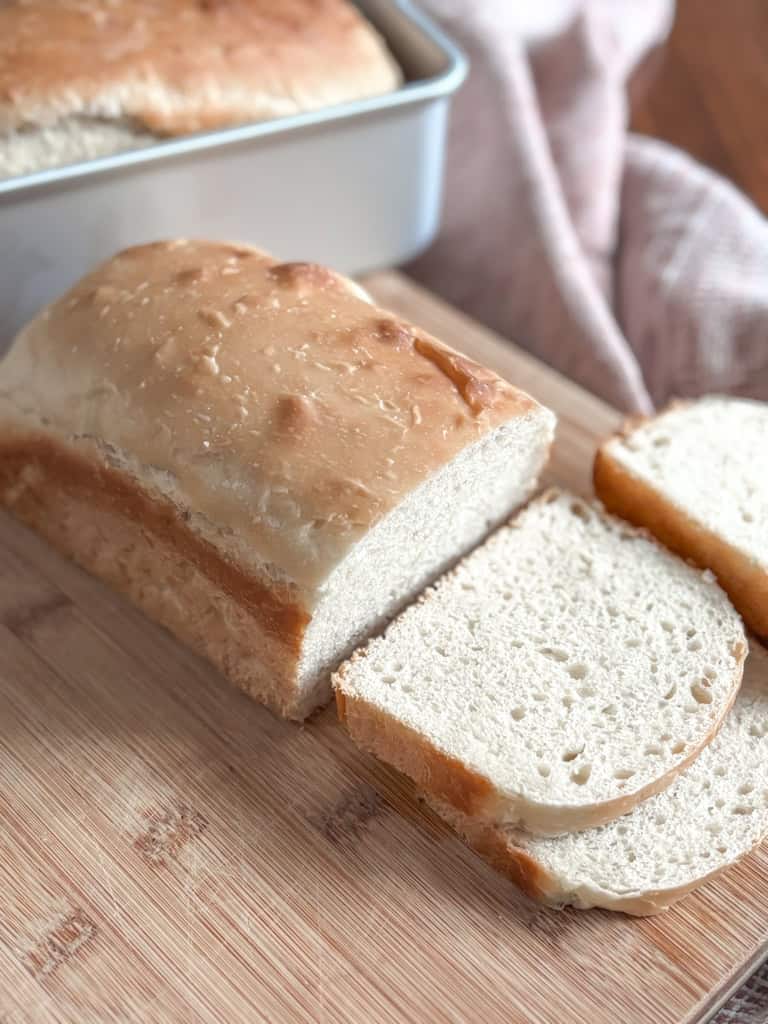
Cooling & Storing Bread
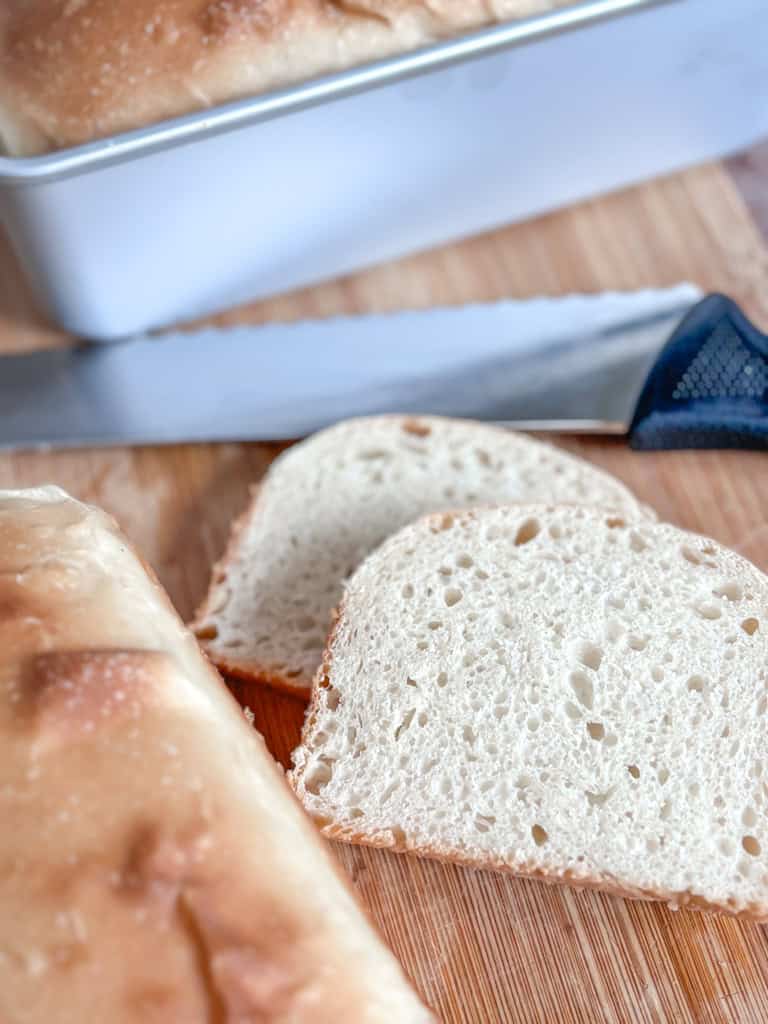
Once the loaves are out of the oven, give them a shake and turn them out of the pans. Allow the loaves to cool completely before slicing. Slicing the loaf of bread too soon can make the loaves gummy.
Store loaves at room temperature for 2-3 days or freeze for up to 3 months. You can find all the information you needon storing and keeping your bread fresh in this post.
Troubleshooting Your Bread: Common Issues & Solutions
Remember when I said bread making is both science and art? Below you’ll find common issues you may have when baking bread as well as possible solutions!
Why didn’t my dough rise?
- Dead or inactive yeast- be sure to check the date on the yeast package. Also note that once a jar of yeast is opened it should be thrown out after 6 months.
- Water was too hot or not hot enough- ideally, water should be between 105°F-115°F. The water should feel verywarm but not so hot that it’s burning you.
- Cold environment- if your kitchen is too cool, your dough will have a harder time rising because yeast thrives in warmer environments. Move your dough to a warmer area that’s draft-free.
Why is my bread dense or heavy?
- Underproofing- not enough rise time. Be sure to allow enough time for your loaf to double during the first rise. If your kitchen is on the cooler side, this may take longer than 1-2 hours.
- Under or Over kneading- only knead until the dough passes the windowpane test.
Why did my bread sink in the middle or collapse?
- Overproofing- it’s possible you left your dough to rise too long.
- Opening the oven door- as tempting as it is, opening the oven door while baking can cause your bread to fall.
Beyond the Basics: Variations to Try
Once you’ve mastered a basic bread recipe, it’s time to get creative and add some variations. Here are some ideas and tips to help you confidently try something new and take your bread baking to the next level:
Experiment with Different Flours
- Whole Wheat Bread: Substitute half of the all-purpose flour for whole wheat. This will give a new flavor and added nutrition.
- Gluten-Free Options: Experiment with a mix of gluten-free flours (like rice, tapioca, or almond flour) if you’re catering to dietary restrictions. Remember to adjust your recipe, as gluten-free flours behave differently.
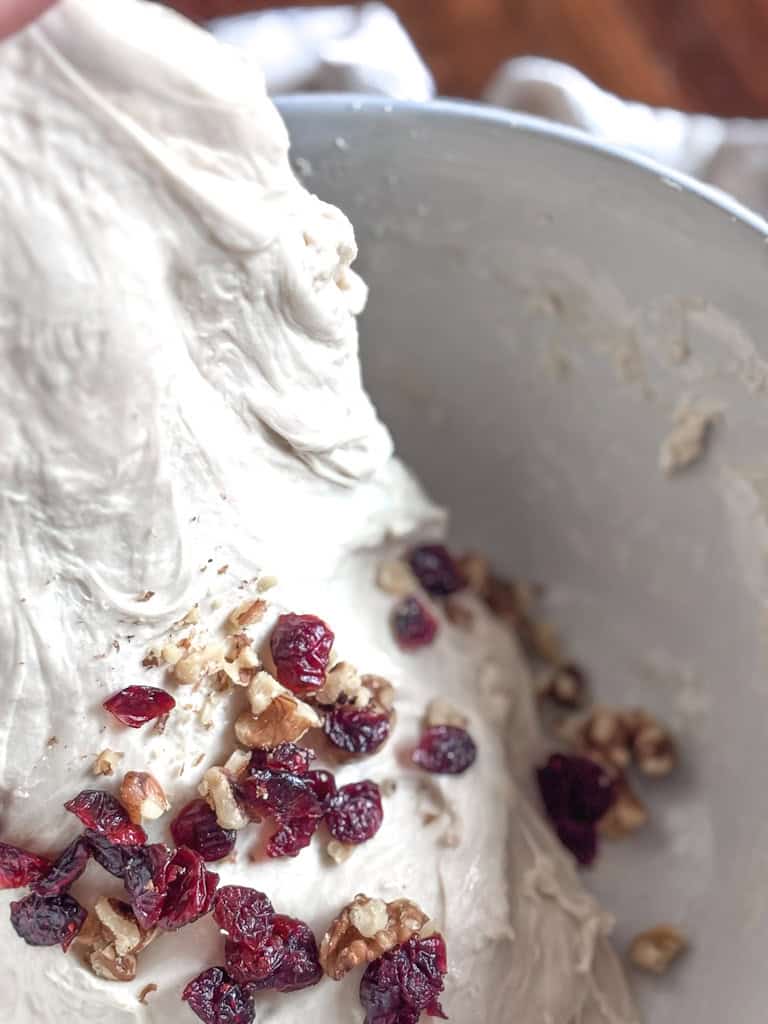
Incorporate Inclusions or Flavor Enhancing Ingredients
- Cinnamon Swirl: Before shaping your bread loaf, roll out the dough and sprinkle with a mixture of cinnamon and sugar. Roll up tightly and place in the loaf pan.
- Garlic and Herb: Add minced garlic and dried herbs like oregano or rosemary.
- Jalapeno Cheddar: Chop up a jalapeno and add shredded cheddar to your loaf.
Shaping Variations
- Rolls: Divide the dough after the first rise and shape it into dinner rolls. Remember to adjust bake times.
- Focaccia: Press the dough into a flat shape and dimple it with your fingers. Add olive oil and herbs.
Final Thoughts
Breadmaking is a rewarding journey that takes a few simple ingredients and transforms them into a delicious, homemade masterpiece.
Start by mixing flour, water, yeast, and salt to form a basic dough. Knead it until it becomes smooth and elastic, then let it rise as the yeast works its magic, creating airy pockets of flavor. Shape your dough, give it a second rise, and finally, bake it to golden perfection.
Each step not only builds your baking skills but also fills your home with warmth and the irresistible aroma of freshly baked bread. Give it a try—you might just discover your new favorite hobby and a fresh way to nourish yourself and those around you!
More Homemade Bread Recipes
Want more delicious recipes sent straight to your inbox? Subscribe to my newsletter to receive the latest!
If you make this recipe, please leave a rating on the recipe card below! I’d also love for you to tag me @autumn.chasingoursimple on Instagram so I can see what you’ve been baking!
Easy Homemade Sandwich Bread
Ingredients
- 2½ tbsp active dry yeast 1 packet
- 3 cups of very warm water
- 1 tbsp sugar helps your yeast activate
- ⅔ cup honey
- 3 1/2 tbsp extra virgin olive oil
- 1 tbsp salt
- 6 cups all purpose flour
- 1 cup whole wheat flour
Instructions
Activate the Yeast:
- In a bowl, combine your 3 cups of very warm water, 2½ tbsp active dry yeast, and 1 tbsp sugar. Stir the mixture well and let it sit for a few minutes until you see a frothy foam on the surface. This foam indicates that your yeast is active and ready to use. If no foam appears, discard the mixture and start over—do not move forward until you have a properly foamy liquid.
Mix the Dough:
- Once your yeast is activated, stir in ⅔ cup honey, 3 1/2 tbsp extra virgin olive oil, and 1 tbsp salt until everything is well blended.
- Add 6 cups all purpose flour flour gradually, mixing until the ingredients are just combined. Then, pour in 1 cup whole wheat flourwhole wheat flour and mix thoroughly.
Knead the Dough:
- Using a Mixer: Attach the dough hook and let the mixer work for about 4-5 minutes.
- By Hand: Knead the dough on a floured surface for 8-10 minutes until it becomes smooth and elastic.
First Rise:
- Cover the dough with a clean dish towel, plastic wrap or beeswax wrap while it rests in the bowl. Allow it to rise until it doubles in size, which should take roughly 30-45 minutes.
Shape the Loaves:
- Gently transfer the dough onto a floured surface and divide it into three equal parts. Shape each portion into a loaf and place them into greased bread pans. I use butter or olive oil to grease my pans.
Second Rise:
- Cover the loaves and let them rise again until nearly doubled, about 45 minutes to an hour.
Bake:
- Preheat your oven to 350°F. Bake the loaves for 25-30 minutes, or until the tops are a beautiful golden brown.
Cool:
- Remove loaves from pans and cool completely before slicing.