How To Cook Frozen Garlic Bread
Learn how to cook frozen garlic bread at home for a quick and delicious side dish. Discover tips for making, freezing, and reheating garlic bread with ease.
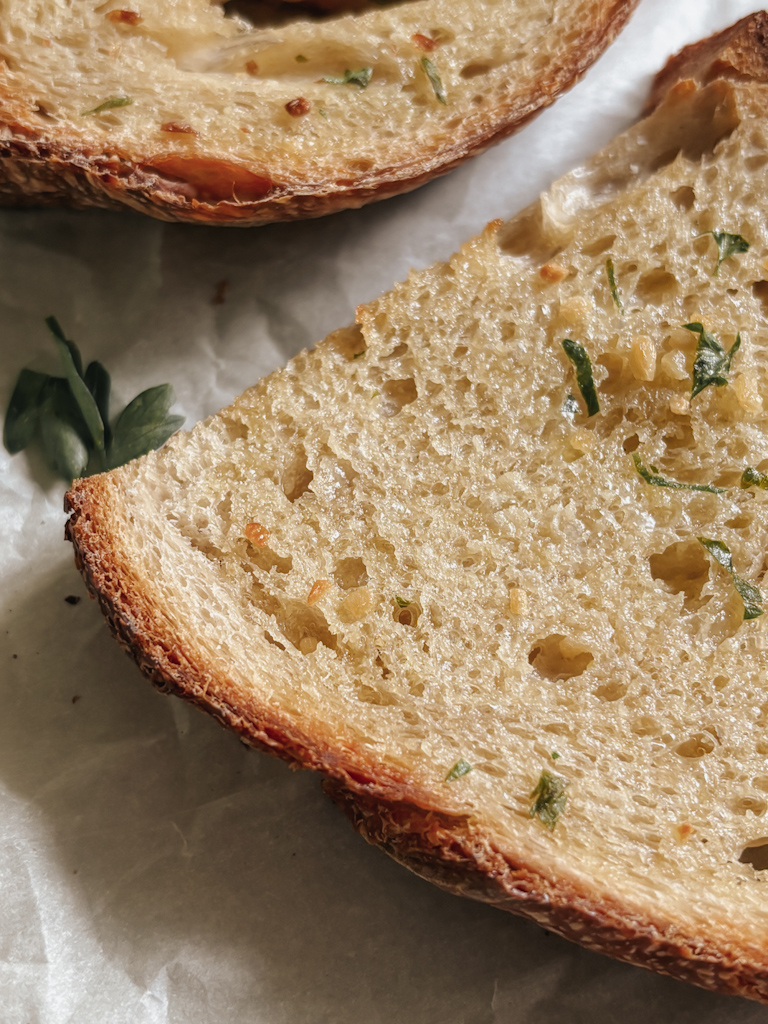
Frozen garlic bread is a game changer for busy weeknights, quick dinners, or last-minute gatherings. I like to keep some in the freezer to take out when I’m low on time or if I’m taking a meal to a friend.
While store-bought versions are convenient, making your own from scratch is not only easy but also gives you control over the ingredients. Plus, it’s a great way to save money and skip the preservatives.
Whether you like it extra garlicky, buttery, or with a hint of cheese, homemade frozen garlic bread lets you customize it to your liking. In this post, I’ll show you how simple it is to make your own freezer-friendly garlic bread that you can have on hand for any occasion!

What You’ll Need
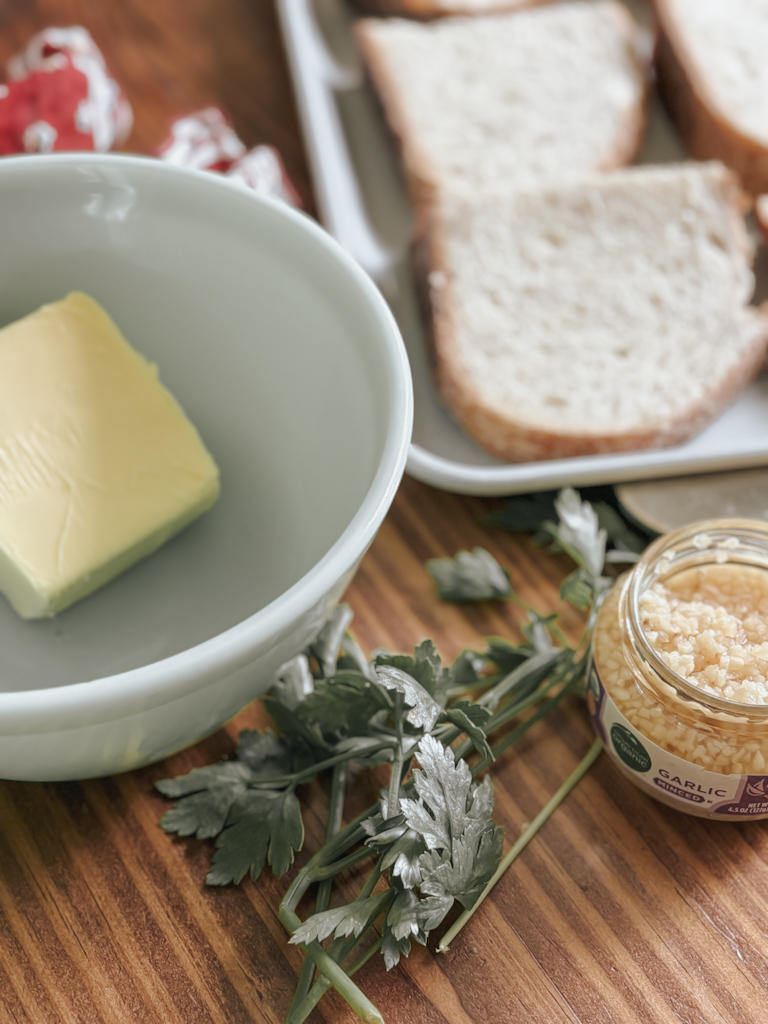
If you keep your pantry stocked with simple ingredients for homemade meals, it’s likely you have everything you need on hand. If you’re looking for a quick list to start keeping a stocked pantry, you can grab my free guide here. The list really is very simple…
- Bread
- Butter
- Garlic
- Herbs
Tools Needed
- Bread Knife
- Baking Sheet
- Freezer Bag
Frozen Garlic Bread Step-By-Step
Step 1: Choosing the right bread.
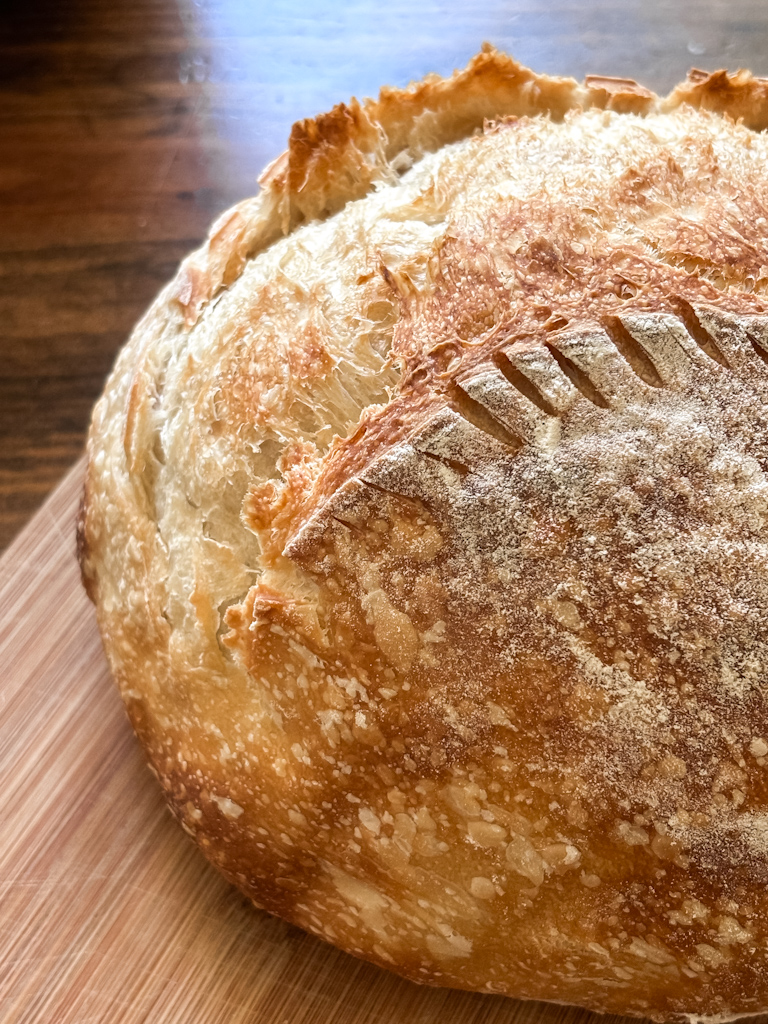
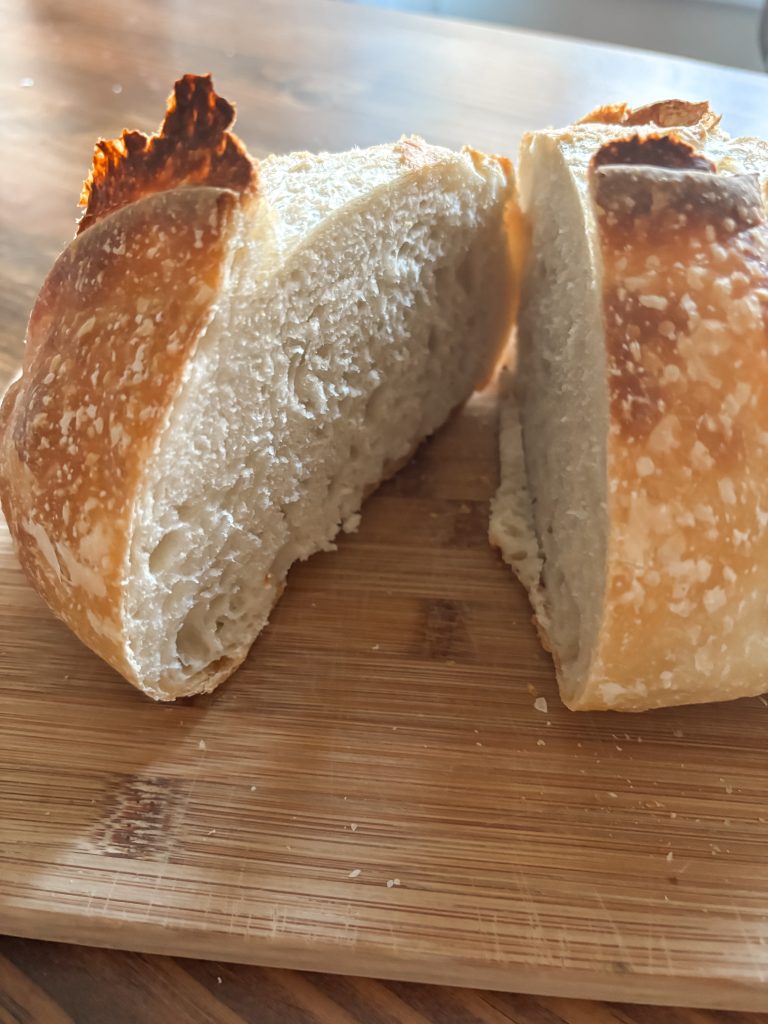
When it comes to making garlic bread, the type of bread you choose matters. Breads have different textures and flavors. The most popular choices are French baguette and Italian bread. However, sourdough, ciabatta, and Texas toast are popular choices as well.
Here’s a little breakdown of what you can expect from each type of bread:
- French Baguette – A classic choice with its crisp crust and soft interior, perfect for soaking up garlic butter.
- Italian Bread – Slightly softer than a baguette, but still has a chewy crust that holds up well to the garlic spread.
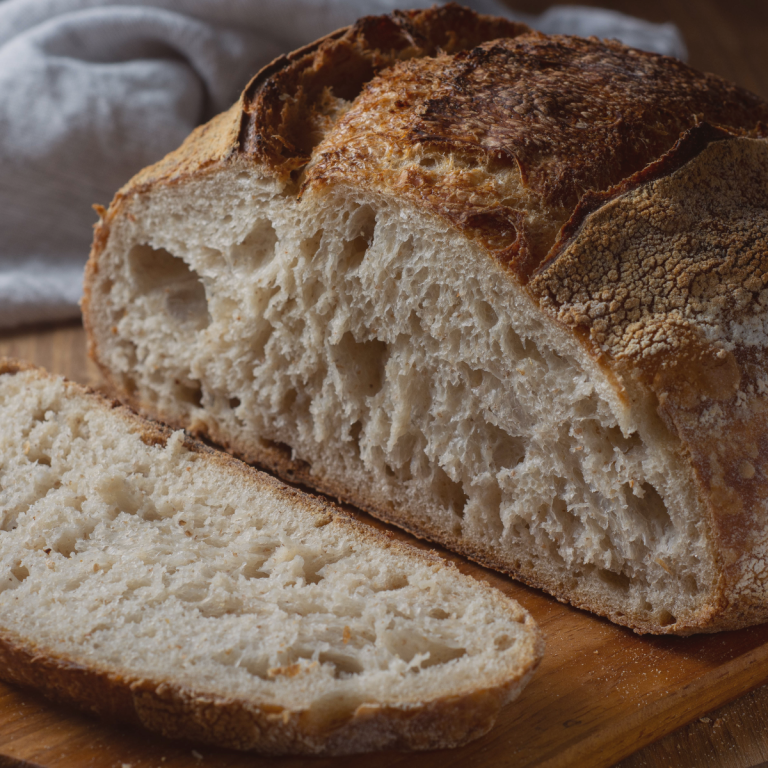
- Sourdough – Adds a tangy flavor and a hearty texture that complements the richness of the garlic and butter. My overnight sourdough and same-day sandwich bread recipes are both great for freezer garlic bread.
- Ciabatta – Known for its airy, open crumb and crispy crust, it toasts beautifully and gives a light, crunchy bite.
- Texas Toast – A thicker, softer bread that’s ideal for those who like a more buttery, soft garlic bread with lots of surface area for toppings.
Ultimately, the choice of bread depends on the type of garlic bread you are going for and your personal preference.
Step 2: Preparing the garlic butter spread.
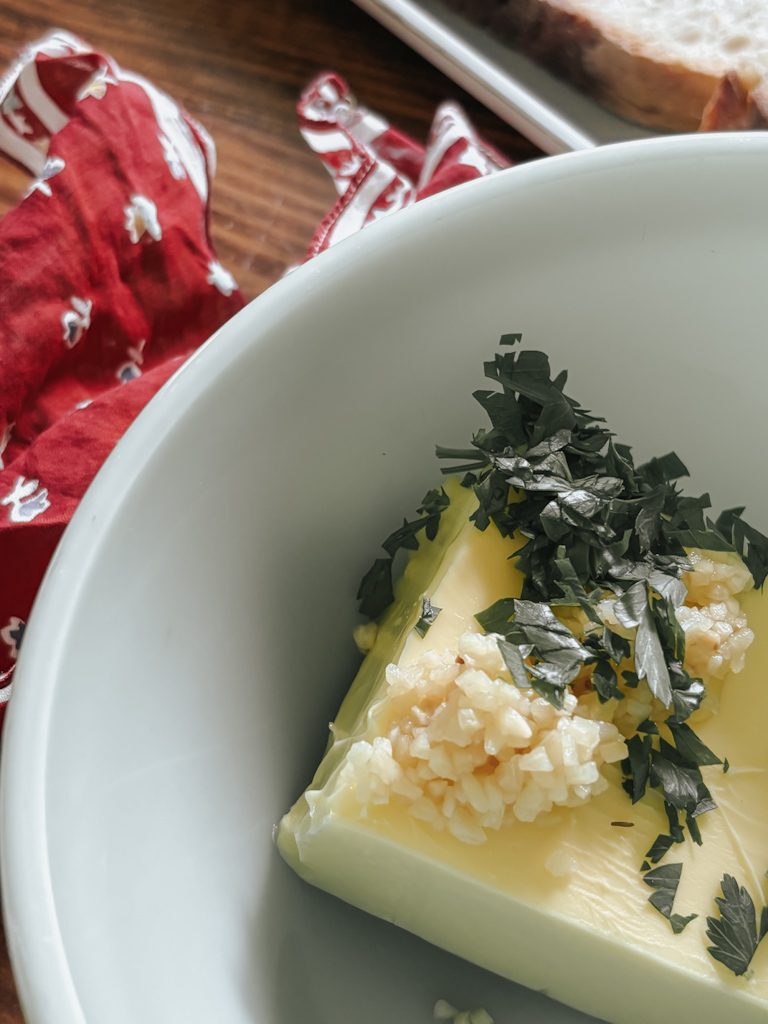
The absolute key to making the best frozen garlic bread is the garlic butter spread! No matter the bread you choose, use this recipe for delicious garlic bread every time.
- 1/2 cup softened butter salted or unsalted (real butter is best)
- 4 cloves garlic finely minced (add more if you’re a garlic lover)
- 1 tablespoon chopped fresh parsley
- Pinch or two of sea salt
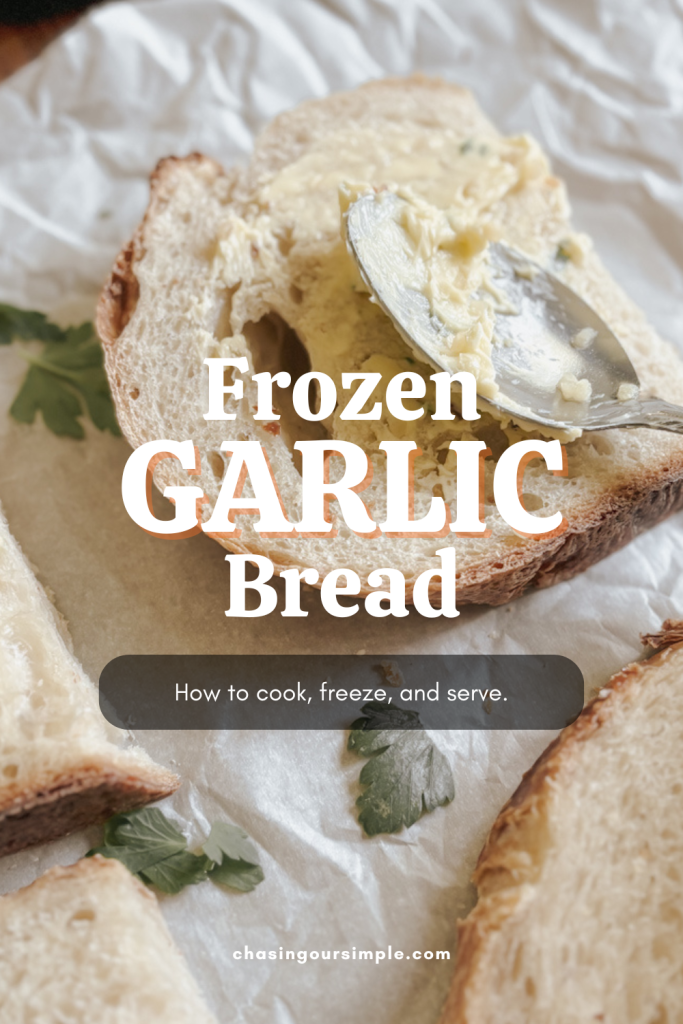
Place softened butter in a small bowl, then add the minced garlic cloves, fresh parsley, and salt. Mix it together and spread it evenly onto the bread.
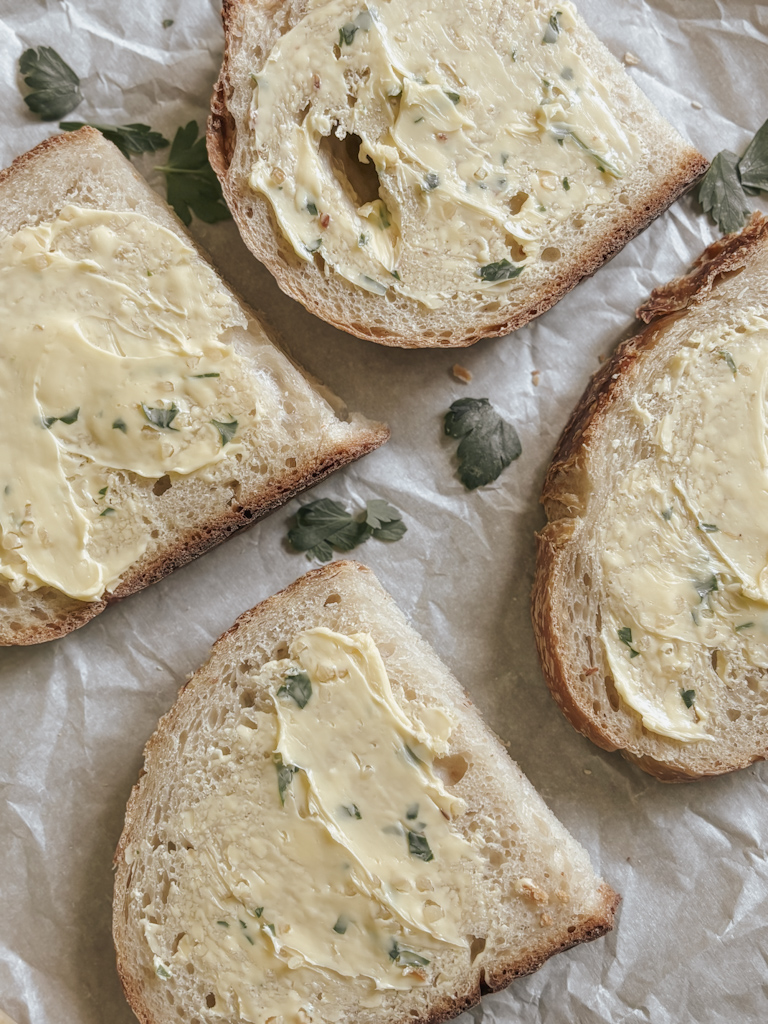
Step 3: Slicing Garlic Bread for Freezing
When slicing garlic bread for freezing, there are a few things I would suggest to make the process easier and make sure you’re getting the best results:
Would you like to save this?
- Slice Before Freezing: Slice the bread before freezing to make it easier to grab and bake individual portions. This is especially convenient for smaller servings or last-minute meals.
- Thickness Matters: Aim for slices about 1 inch thick. This thickness holds up well when freezing, toasting, and reheating without becoming too dry or soggy.
- Pre-slice the Loaf: If you’re freezing a whole loaf (like a baguette or ciabatta), slice it almost all the way through but leave the bottom intact, so it holds together. This makes it easy to wrap and freeze while still allowing you to break off individual slices.
- Use a Serrated Knife: A serrated bread knife is ideal for slicing garlic bread evenly and without crushing the loaf.
By pre-slicing, you ensure that the bread freezes and reheats evenly while making it more convenient for serving.
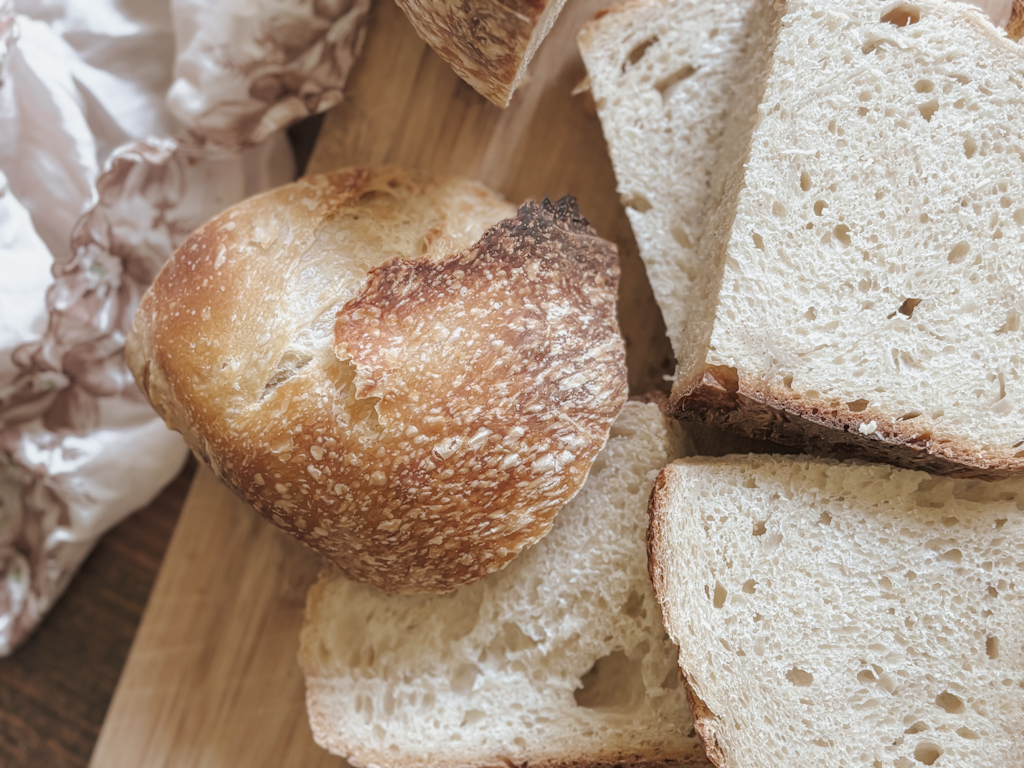
Step 4: Freezing for future use.
Your future self will thank you for prepping homemade garlic bread for later!
- Pre-freeze: Prepare a baking sheet lined with parchment paper. Place individual slices on the pan and place them in the freezer for about 30 minutes to an hour. This prevents the slices from sticking together when in the freezer bag.
- Place in a freezer bag: Once the bread is frozen, take it from the baking sheet and place the individual slices together in a gallon-size freezer-safe bag.
- Label and freeze: Label the bag with the date and contents. Frozen bread can be stored for up to 3 months.

Tips for Freezing and Storing Garlic Bread
- It’s a good idea to flash-freeze your garlic bread slices in a single layer to avoid sticking.
- Do not cook your garlic bread before freezing.
- As an additional protective step, you can wrap your slices individually in aluminum foil before adding them to the freezer bag.
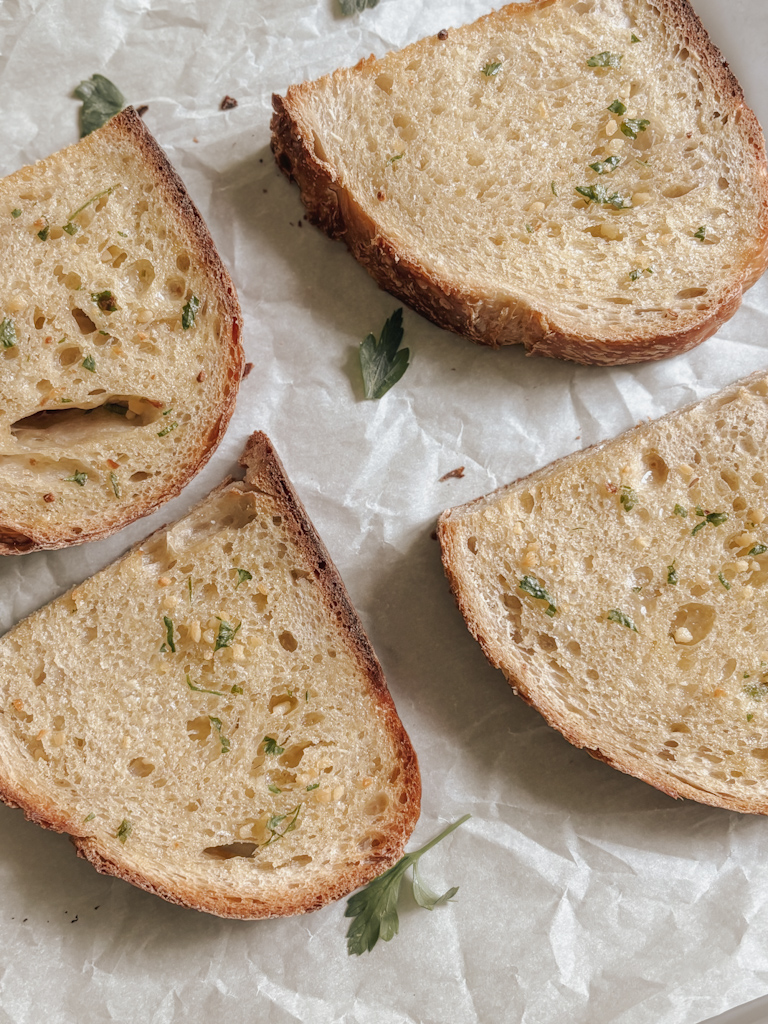
How To Cook Frozen Garlic Bread
When you’re ready to enjoy a slice or many slices, you can bake it from frozen. No need to thaw it, just pop it in the oven and enjoy!
- Preheat your oven to 400°F.
- Remove the number of slices you’d like and place them on a baking sheet.
- Bake for 10-15 minutes or until the edges are golden brown. Cooking time may vary slightly depending on your preference.
Variations
- If you love cheesy garlic bread, simply add shredded parmesan cheese to your garlic butter spread.
- Make garlic bread pizzas by adding mozzarella cheese and toppings before or after freezing and bake for an additional 2-3 minutes.
- Use other fresh herbs like basil, rosemary, thyme, or Italian seasoning.
Serving Suggestions
My family enjoys this easy garlic bread recipe with pretty much anything but it’s especially wonderful with pasta dishes, soups, and of course salads.
Have it as a quick snack by slicing it into smaller pieces and serving it with marinara.
Why Make It Yourself?
There are a few reasons to make your own garlic bread at home. Making garlic bread at home allows you to control the quality of ingredients like using fresh garlic and your personal choice of bread. Satisfy personal taste buds by adding your choice of ingredients or adding your own unique twist.
Homemade frozen garlic bread is often more affordable and healthier than most store-bought garlic bread.
In addition, minimal effort is needed to make this easy recipe, and having individual slices of garlic bread in your freezer is super convenient because there’s no need to make a run to the grocery store.
It’s my passion to encourage moms everywhere to discover the art of cooking with whole ingredients and creating meals that are both nourshing and convenient! Thank you for being part of our community.
How To Cook Frozen Garlic Bread
Instructions
- When you’re ready to enjoy a slice or many slices, you can bake it from frozen. No need to thaw it, just pop it in the oven and enjoy!
- Preheat your oven to 400°F.
- Remove the number of slices you’d like and place them on a baking sheet.
- Bake for 10-15 minutes or until the edges are golden brown. Cooking time may vary slightly depending on your preference.
