How To Shape Sourdough Bread for Baking
Learn how to shape sourdough bread for baking with this step-by-step guide. Learn techniques to improve your loaf’s texture, crumb, and rise for perfect homemade sourdough every time.

Shaping is a crucial step in the sourdough bread baking process, yet it is often overlooked by beginners. Proper shaping isn’t just about making your loaf look nice (although who doesn’t love a beautiful-looking loaf)—it plays a vital role in determining the texture, crumb, and rise of your bread.
By creating tension on the surface of the dough, shaping helps develop the strength and structure needed for a good oven spring. This means a taller, airier loaf with a beautiful crust and an open, well-formed crumb.
Whether you’re aiming for a rustic boule (round loaf) or a sleek batard (oval shape), mastering the art of shaping can make all the difference in your sourdough baking journey.
Please note that I do make a small commission from affiliate links. However, I only share links for items I use and love.
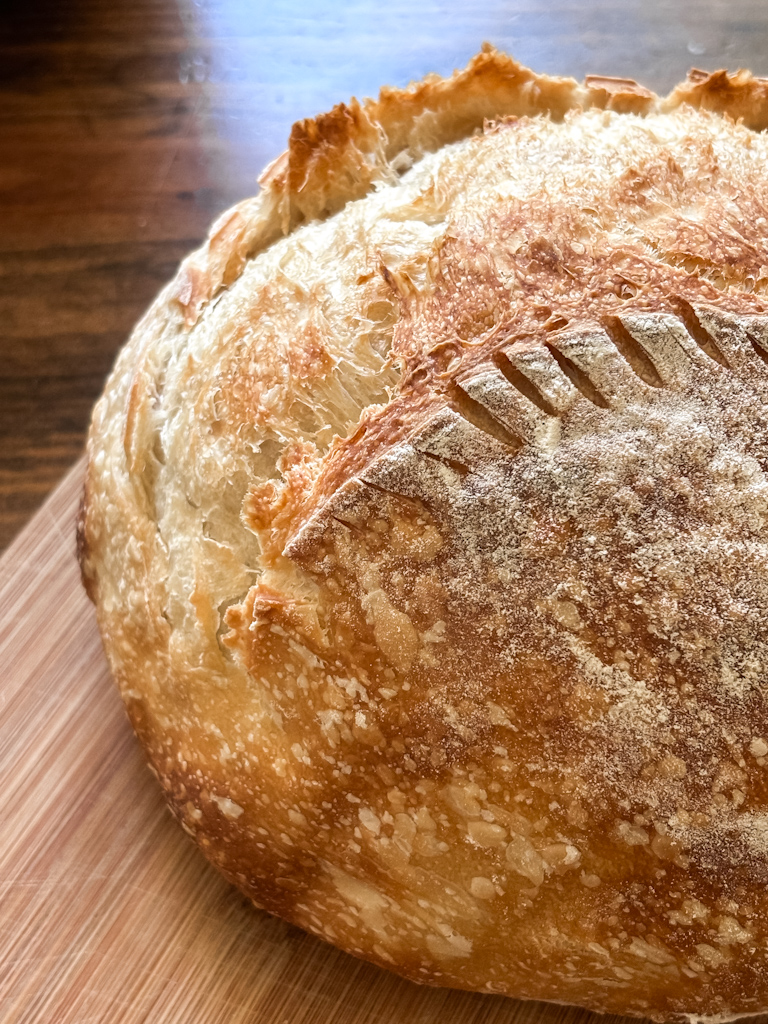
What Does the Term Crumb Mean?
Before we move on, let’s get a little vocabulary out of the way. In sourdough baking, the term crumb refers to the interior texture and structure of the bread once it has been baked and sliced open. It describes the pattern of holes, or air pockets, within the loaf.
The crumb can vary from dense and tight, with small, uniform holes, to open and airy, with large, irregular holes. The desired crumb structure often depends on the type of bread being made and the baker’s preference.

In sourdough, a more open crumb with larger holes is usually sought after, as it indicates proper fermentation, hydration, and handling of the dough. However, I much prefer taste over beauty when it comes to bread, don’t you?
What is Oven Spring?
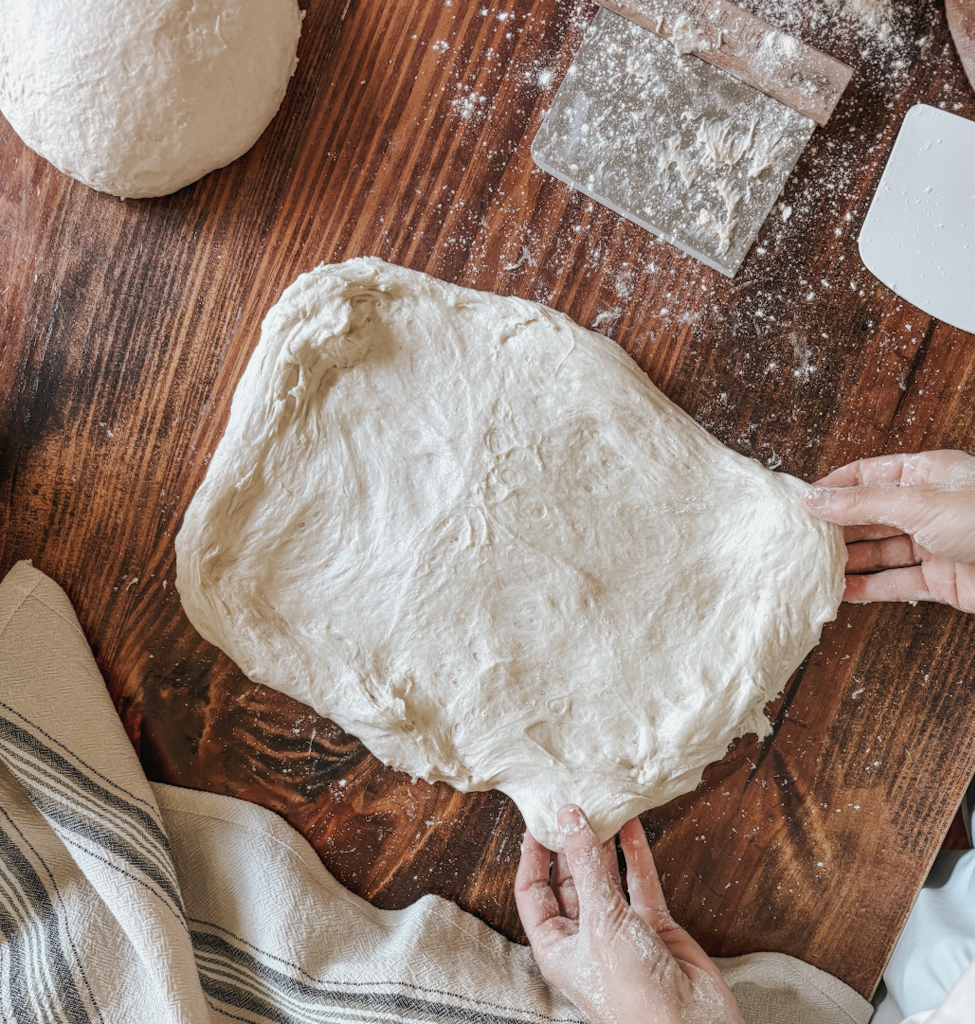
Oven spring in sourdough baking refers to the rapid rise of the dough during the first few minutes of baking in the oven. This sudden expansion occurs as the heat causes the gases trapped inside the dough to expand and the yeast to produce a final burst of activity before dying off due to the high temperature.
Properly shaping your sourdough dough is key to getting a good rise, or “oven spring,” when you bake it. When you shape the dough, you’re creating a tight surface that helps trap the gases inside.
This is important because those gases need to push the dough up in the oven, giving you a nice, tall loaf instead of a flat one. Good shaping also helps organize the dough’s structure, making it strong enough to hold its shape as it bakes. If the dough isn’t shaped well, it won’t rise as much, leading to a dense, flat loaf. So, taking the time to shape your dough correctly can really make a difference in how your bread turns out.
Tools & Equipment Needed for Shaping Sourdough
Depending on where you are in your sourdough journey and how much money you want to spend, there are many tools and equipment that can be used to shape sourdough. Honestly, you can get by with the basics of a medium-sized bowl, and a kitchen towel but I’ll list several items below that can be helpful in shaping bread dough.
Dutch Oven– A Dutch oven helps shape sourdough by providing a steamy, enclosed environment that allows the dough to expand and rise fully during baking.
Bench Scraper– A bench scraper is a useful tool in shaping sourdough because it allows you to easily lift, turn, and manipulate the dough without sticking to your hands.
Proofing Basket– A proofing basket, also known as a banneton, is helpful in shaping sourdough because it supports the dough during the final proof, helping it maintain its shape and creating a beautiful pattern on the crust.
A round basket is ideal for shaping round boules, which are perfect for even baking and a high oven spring. An oval basket is used for shaping a longer oval loaf, also known as a sourdough batard. Choosing between them depends on the desired shape of the final sourdough loaf.
Hot Oven– Of course a hot oven is needed to bake bread, but having the temperature hot enough also helps with shaping because the initial high heat causes the dough to expand rapidly, allowing it to rise fully and form a beautiful crust.
Step-By-Step Guide to Shaping Dough
Pre-Shape
Pre-shaping dough involves gently forming the dough into loose rounds after the bulk fermentation but before the final shaping. This step is important because it helps organize the gluten structure, creating surface tension and strength in the dough.
Would you like to save this?
This is actually my favorite part of the shaping process. I love the simple process and relaxing process of building tension in the dough with my hands.
Step 1: Gently remove the dough from the bowl onto a very lightly floured surface. Too much flour and you wouldn’t be able to build the tension you need in shaping the dough.
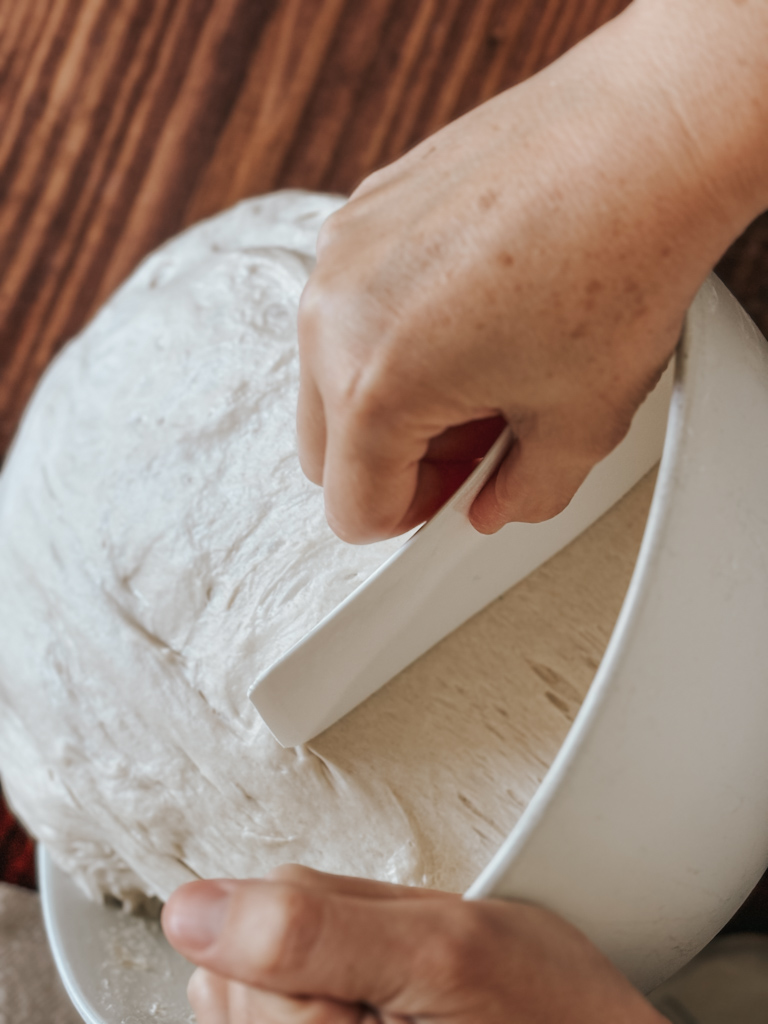
Step 2: Starting on the right side (or left side), gently stretch the dough outward and fold it back towards the center.
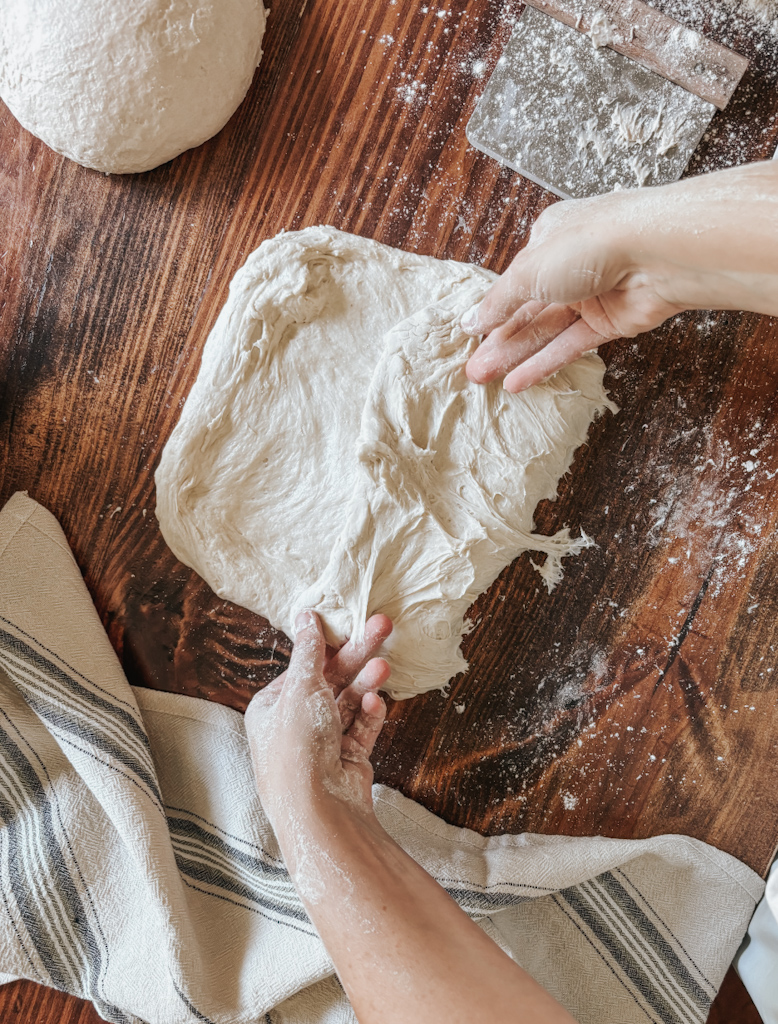
Step 3: Repeat on the opposite side of the dough.
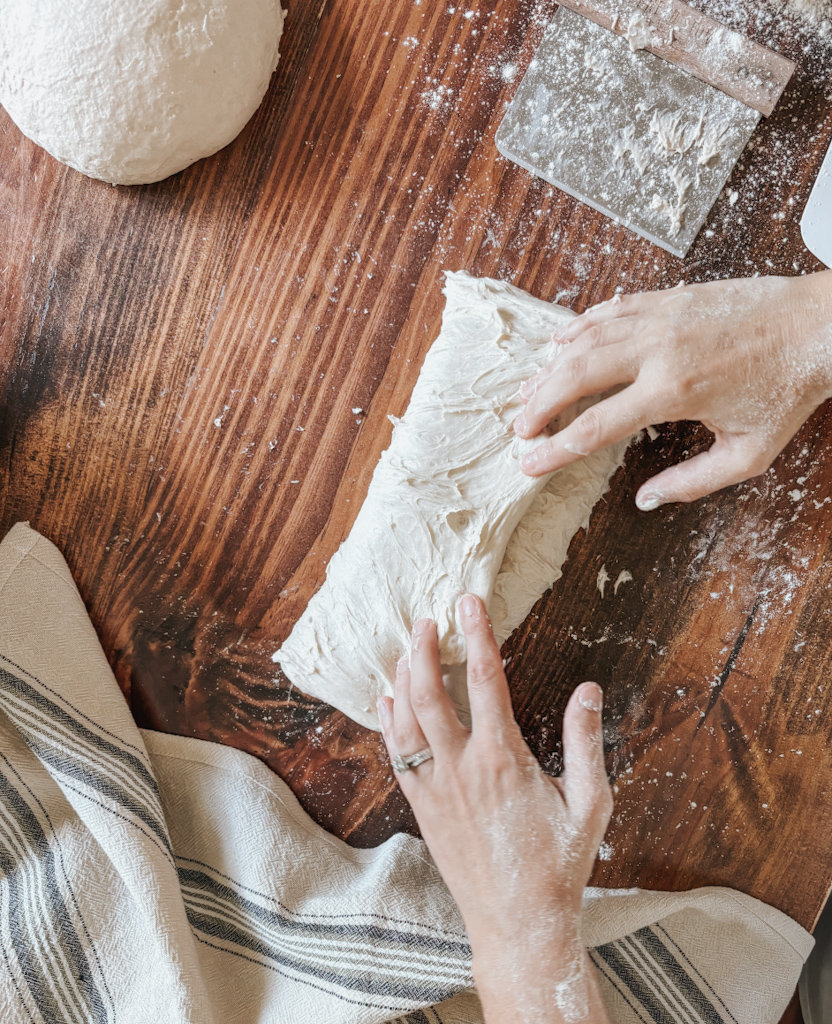
Step 4: Stretch the dough from the bottom to the center as well as from the top to the center.
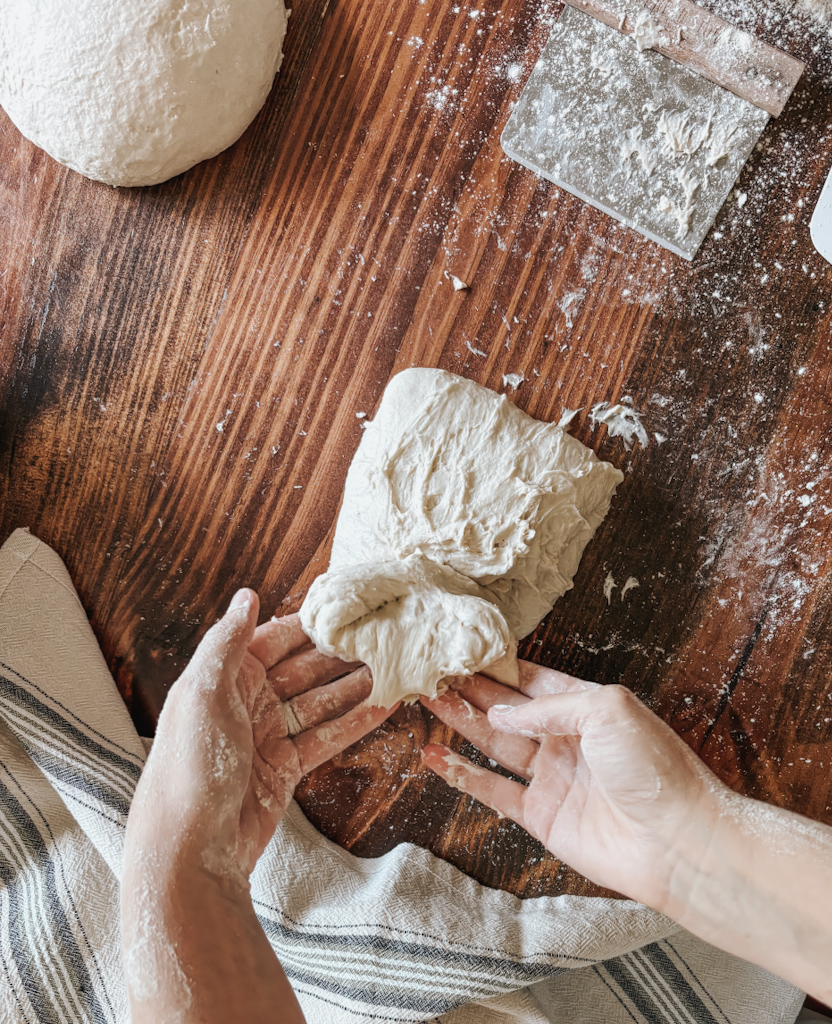
Step 5: Using your dough scraper, flip it over and let your dough rest on your work surface for about 10 minutes increasing the gluten development.
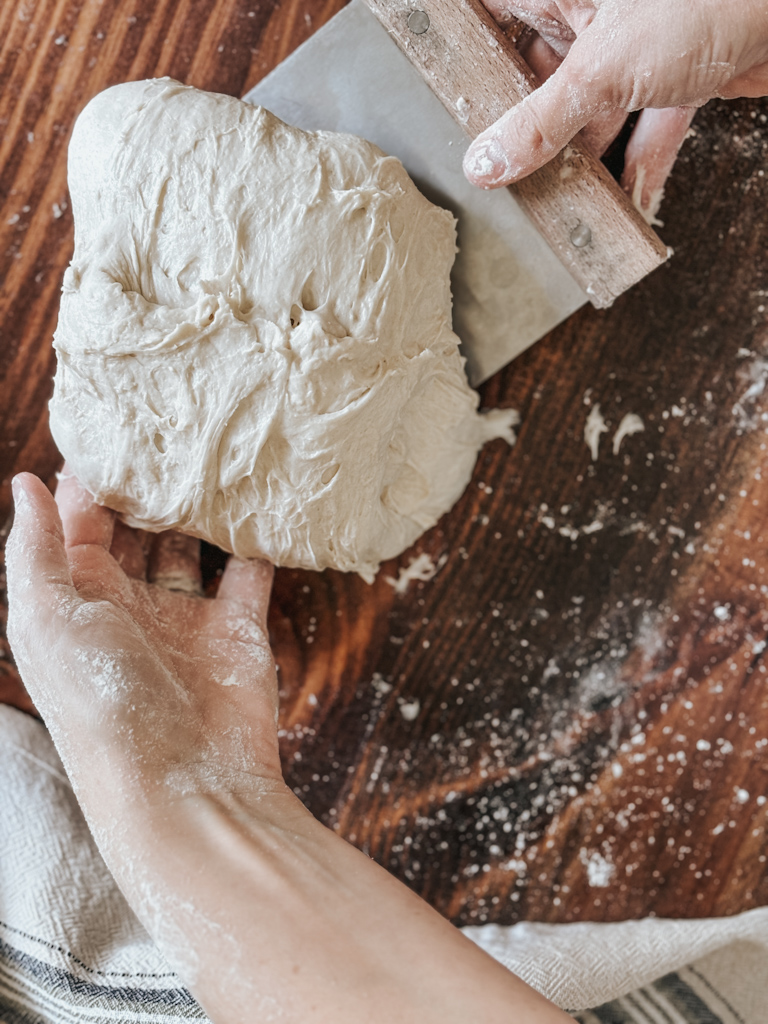
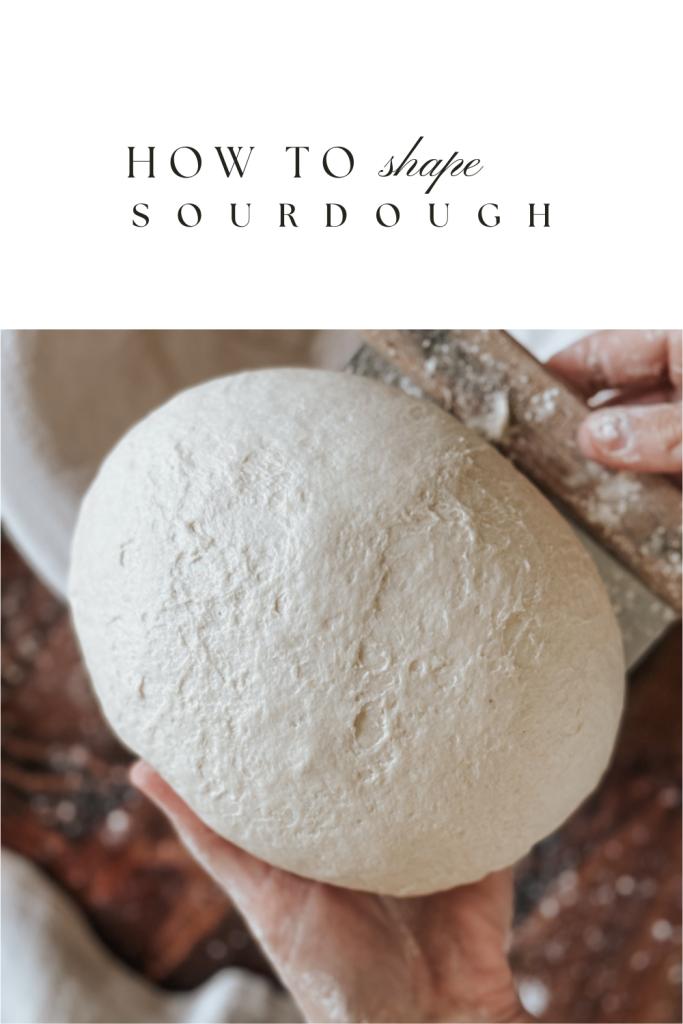
Step 6: Time to tighten and shape the dough. Lightly flour your hands and gently cup the dough moving it around in a circular motion and then gently pulling it back towards you building tension. Do this until a nice tight round shape forms.
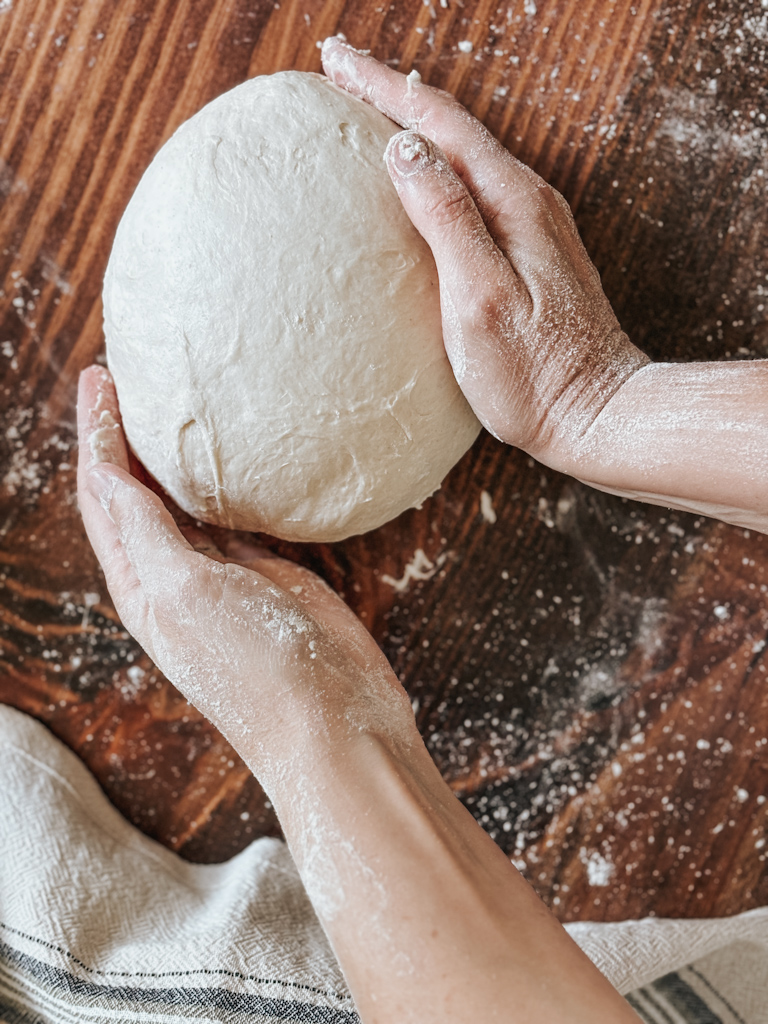
Be careful not to intentionally pop any beautiful bubble that may appear on the surface of the taut skin.
Final Shaping
Now it’s time to prepare your loaf for the final rise or fermentation which typically takes place inside the refrigerator rather than at room temperature.
Step 7: After your dough has had time to rest. Give it a few more tension turns by cupping the dough, gently turning and pulling the dough towards you.
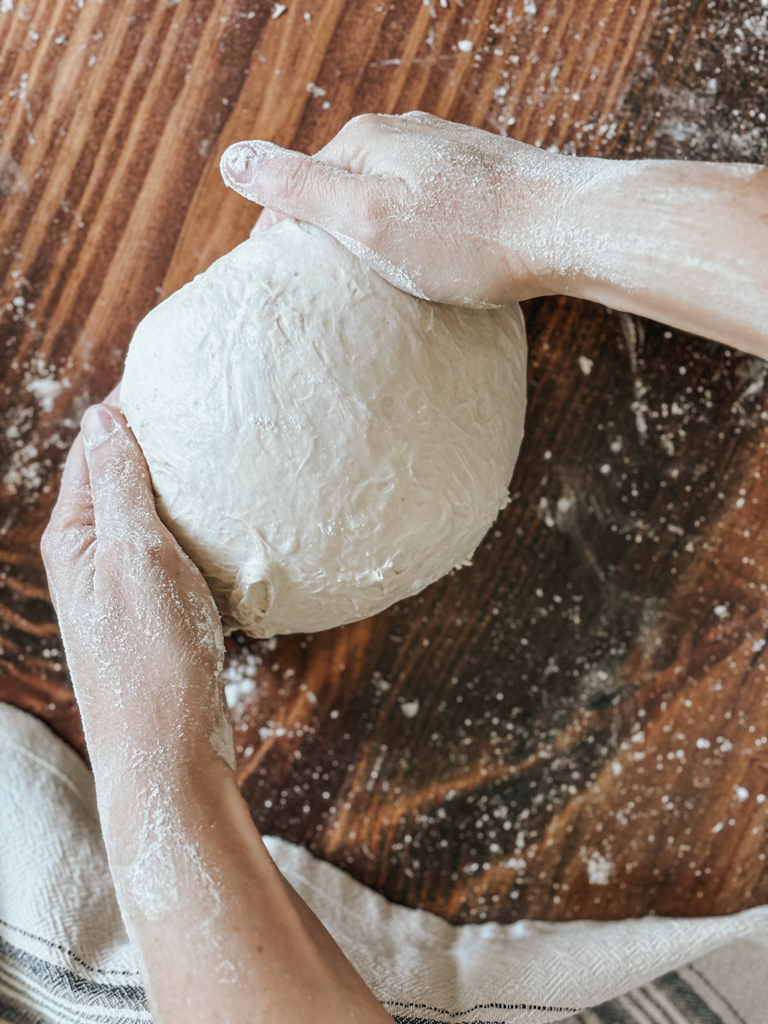
Step 8: Using your bench knife, gently place your shaped dough inside your preferred baneton basket. Be sure that the top of the dough is facing downwards into the basket. Do some last-minute pinching along the bottom of the dough to bring the middle seam together.
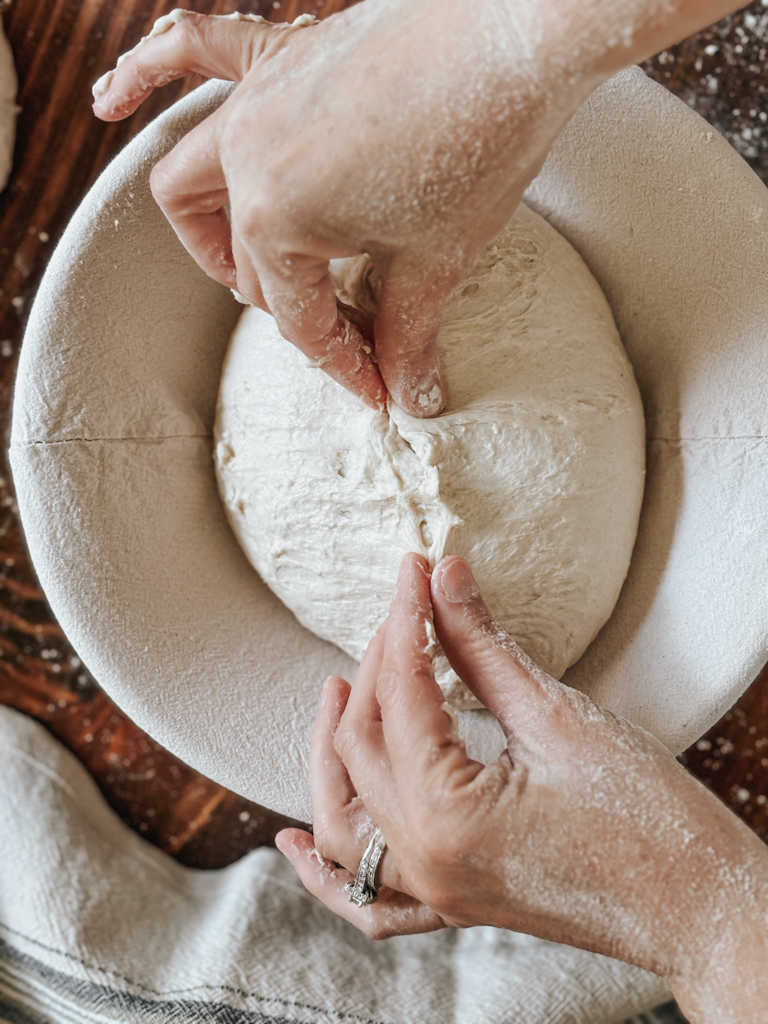
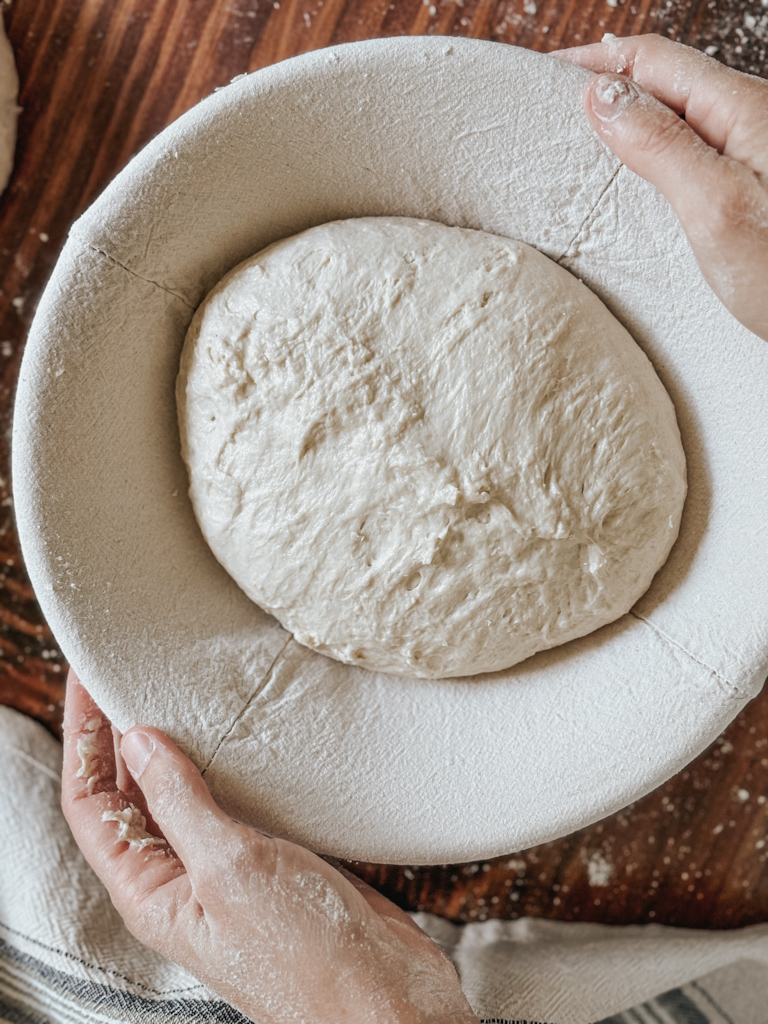
Your dough is now ready for the final proof and then into the oven it will go!
Mastering the art of shaping sourdough bread takes time and practice, but it’s a rewarding skill that transforms your loaves from good to great. Don’t be discouraged if your first few attempts aren’t perfect—every bake is a learning opportunity. As you continue to practice, you’ll develop a better feel for the dough and improve your technique, resulting in beautifully shaped loaves with a perfect crumb and crust.
If you’re looking for more tips and tricks on sourdough baking, be sure to check out my favorite homemade sourdough bread recipe and sign up for my newsletter to stay inspired on your baking journey.
