Is It Ready? How To Test Sourdough Starter
Learn how to test if your sourdough starter is ready for baking with easy methods like the float test and double volume test. Ensure your starter is active and healthy for perfect sourdough bread every time.

Imagine…you’ve begun your sourdough journey and you’ve been diligently following my step-by-step guide on establishing your own sourdough starter for just over a week and you’re excited to make your first loaf BUT you have no idea if your starter is ready to use in baking bread.
If this is you, you’ve come to the right place because I’m going to walk you through the process of testing your new sourdough starter so you can decide if it’s active and ready to use, or if you need to continue the process of getting it established and healthy.
Why It’s Important to Test Your Starter
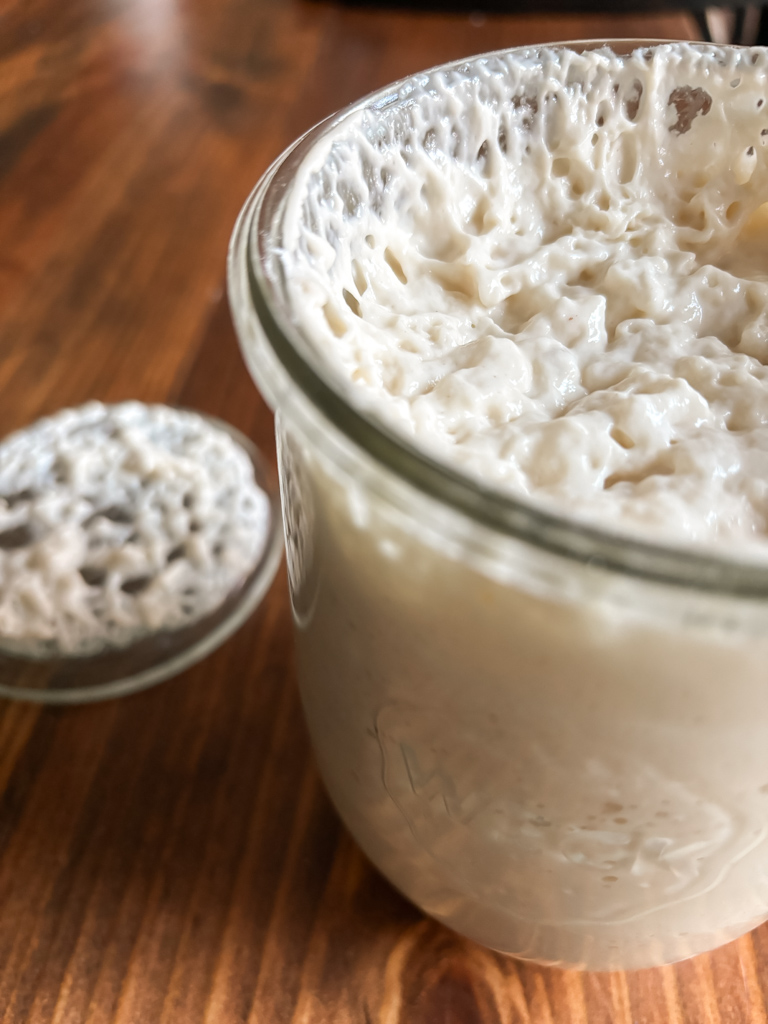
Knowing when your sourdough starter is ready to bake is crucial for achieving the perfect loaf. A fully active starter provides the natural yeast and fermentation needed to give your bread the ideal rise, oven spring, texture, and flavor.
A sourdough starter is a mixture of flour and water that captures wild yeast and beneficial bacteria from the environment. Over time, these microorganisms ferment the mixture, creating a bubbly, active culture that helps the dough rise.
When you feed your starter with fresh flour and water, it becomes stronger and more vibrant. An active, healthy sourdough starter is essential for successful baking because it provides the natural yeast needed for fermentation and leavening.
If the starter isn’t active, the dough won’t rise properly, leading to dense, heavy bread instead of the light, airy texture you want.
Common mistakes include using a new starter that hasn’t fully matured or hasn’t been fed recently, both of which can lead to poor fermentation and disappointing results. Patience and testing are key to success!

Signs Your Starter is Ready
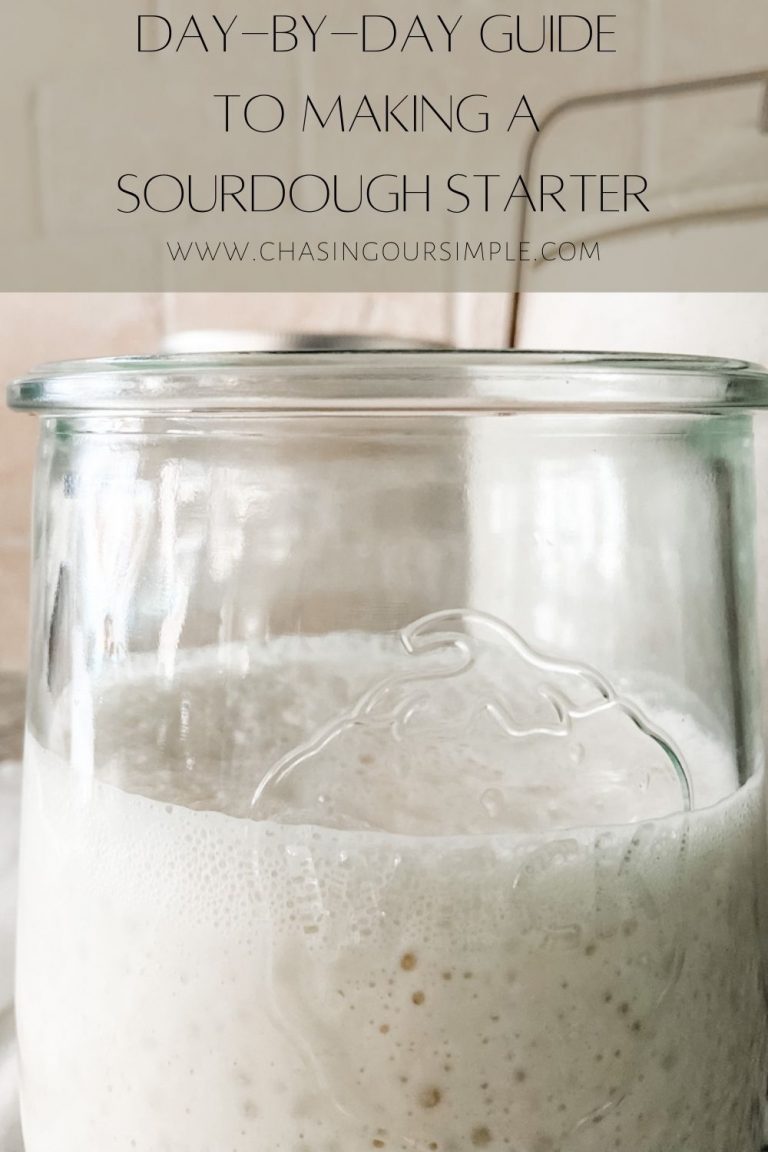
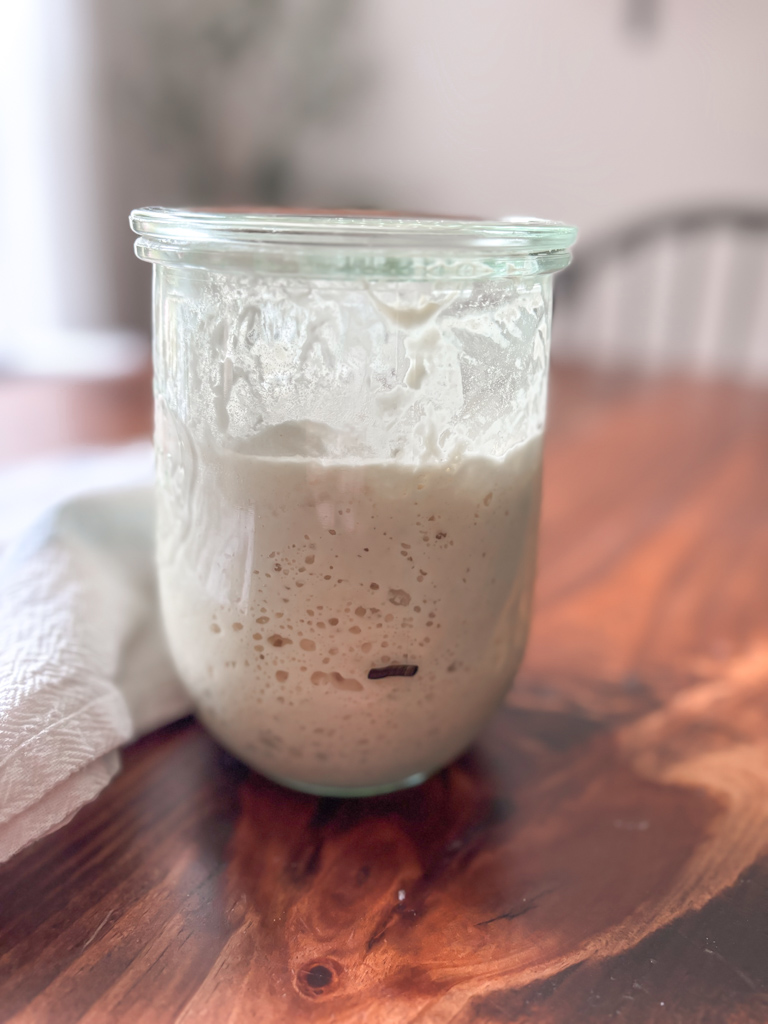
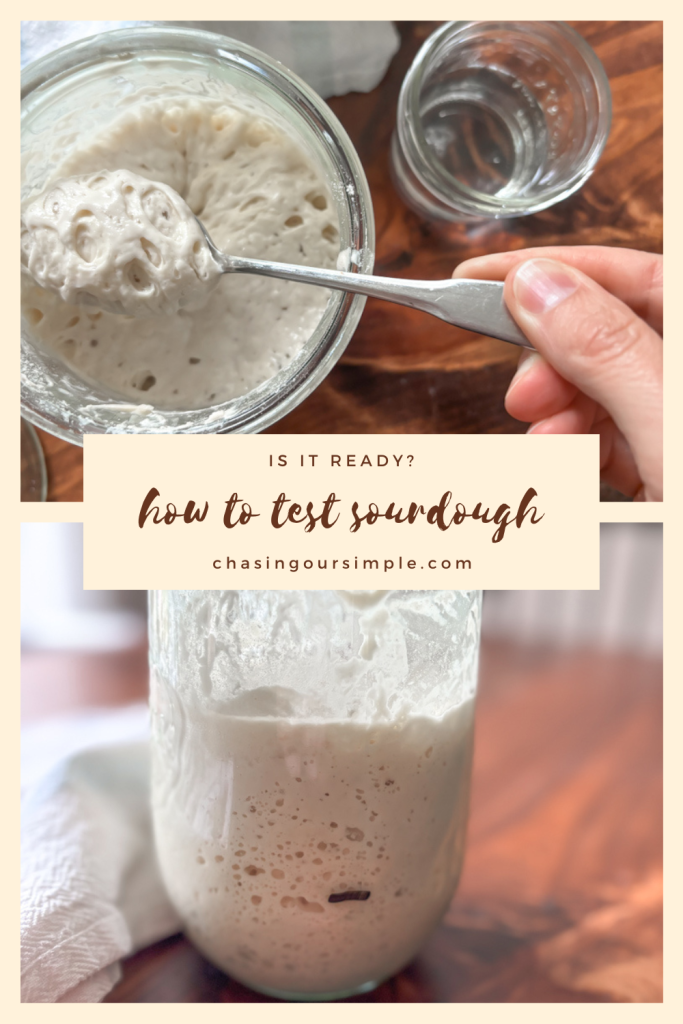
- Doubles in size within 4-6 hours of feeding. Once you’ve fed your starter, you should watch to see if it doubles in size within 4-6 hours. An active and healthy starter shouldn’t have trouble rising unless the room temperature is below 65°F. I recommend placing a rubber band around your jar after feeding so that you can easily measure how much your starter has risen.
- Bubbly and active. A healthy starter will have plenty of bubbles within and on the surface of the starter. These bubbles are part of the fermentation process. If your starter is not bubbly, I recommend you increase the temperature and feed more regularly.
- Tangy but pleasant smell. Your starter will have an aroma that may be tangy and acidic. If you notice more of an alcohol smell or similar to nail polish remover, you may want to feed your starter more often.

The Sourdough Float Test
A float test is the best way to decide if your starter is active enough to use in baking bread. This test helps ensure that your starter has enough gas and activity to properly rise and ferment your sourdough bread.
However, it’s just one indicator—look for consistent bubbles and rising after feeding too!
Would you like to save this?
Here’s How To Perform A Float Test:
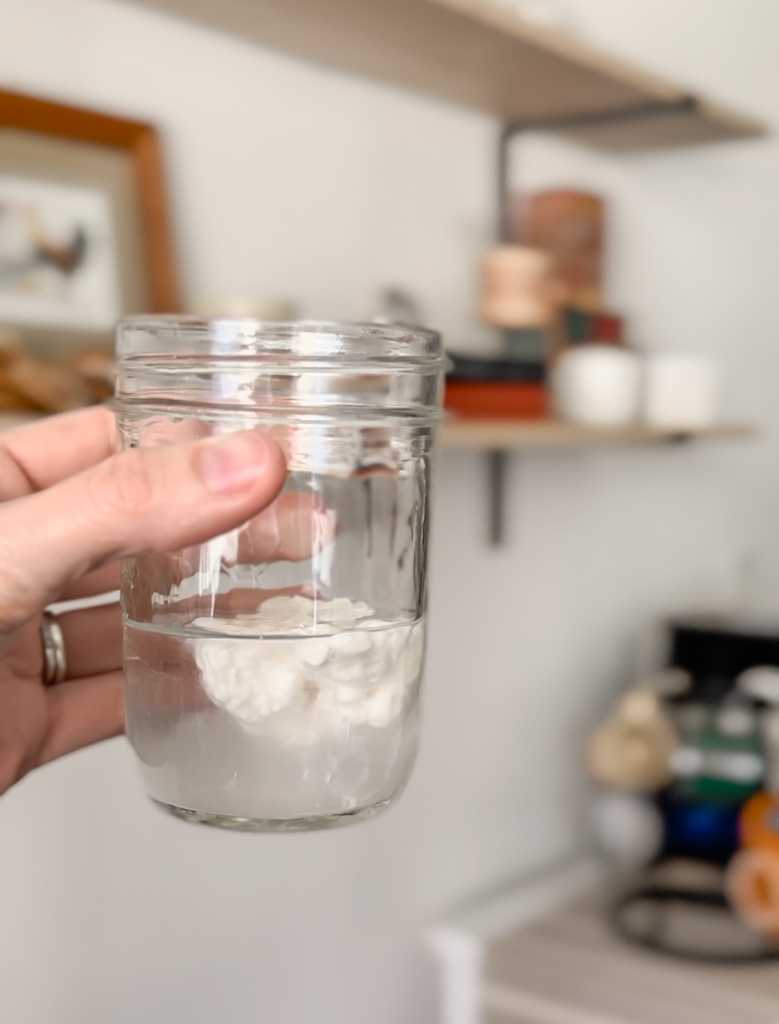
- After your starter has been fed and has reached its peak activity (ideally within 4-6 hours after feeding) take a small amount of starter (about a spoonful) and drop it into a clean jar or glass of water.
- If the starter floats, it’s ready to use in making homemade sourdough bread.
- If the sourdough starter sinks, it may need more time and feedings to build strength.
The Double Volume Test
A float test isn’t the only way to see if you have a mature starter. The double volume test is another method for checking if your sourdough starter is ready to bake with. It focuses on how much the starter rises after feeding. Here’s how it works:
- After feeding your starter, mark the level with a rubber band or a marker on the jar.
- Allow the starter to sit at room temperature for several hours.
- If the starter doubles in volume (or even more), it’s a good sign that it’s active, well-fed, and ready to use.
If your starter doesn’t double, it may need more time to ferment or additional feedings to strengthen. This test is particularly useful for tracking the growth and activity of your starter over time, making it a reliable indicator that your starter has enough strength to properly ferment the dough.
What If My Starter Isn’t Ready?
If your sourdough starter isn’t ready, don’t worry! It just needs a bit more time and attention to become fully active. Here’s what you can do to help it along:
- Feed it regularly: Keep feeding your starter with equal parts flour and water at room temperature. This could be once or even twice a day.
- Check your flour: It’s important to note that the type of flour you use is important. For best results, you want a high-quality all purpose flour with at least an 11.5% protein content. I recommend King Arthur Organic. If your starter isn’t ready, it may be time to try a different flour.
- Check for warmth: Starters thrive in warmer environments, ideally between 70-75°F. If your kitchen is cooler, try placing your starter in a slightly warmer spot, like near a window or the oven with the light on. BE CAREFUL NOT TO PREHEAT YOUR STARTER.
- Be patient: Sometimes it just takes time for the starter to build strength. Watch for signs of activity like bubbling, rising, and a tangy aroma before using it in baking.
By giving your starter these boosts, it should become strong enough to leaven your bread properly, resulting in a great bake!
My Starter is Ready! Now What?
Now that your sourdough starter is ready, it’s time to bake! Here’s what you can do next:
- Choose a Recipe: Start with a simple sourdough bread recipe or branch out into other sourdough recipes such as sourdough pancakes, pizza dough, or even pastries like sourdough cinnamon rolls.
- Feed Before Baking: If your recipe calls for an active starter, make sure your starter has been recently fed, is bubbly, and is doubled in size. You can use a portion directly from your starter jar.
- Use Discard: If the recipe requires sourdough discard, you can use the unfed portion. It works well in non-yeast recipes like crackers, pancakes, or biscuits.
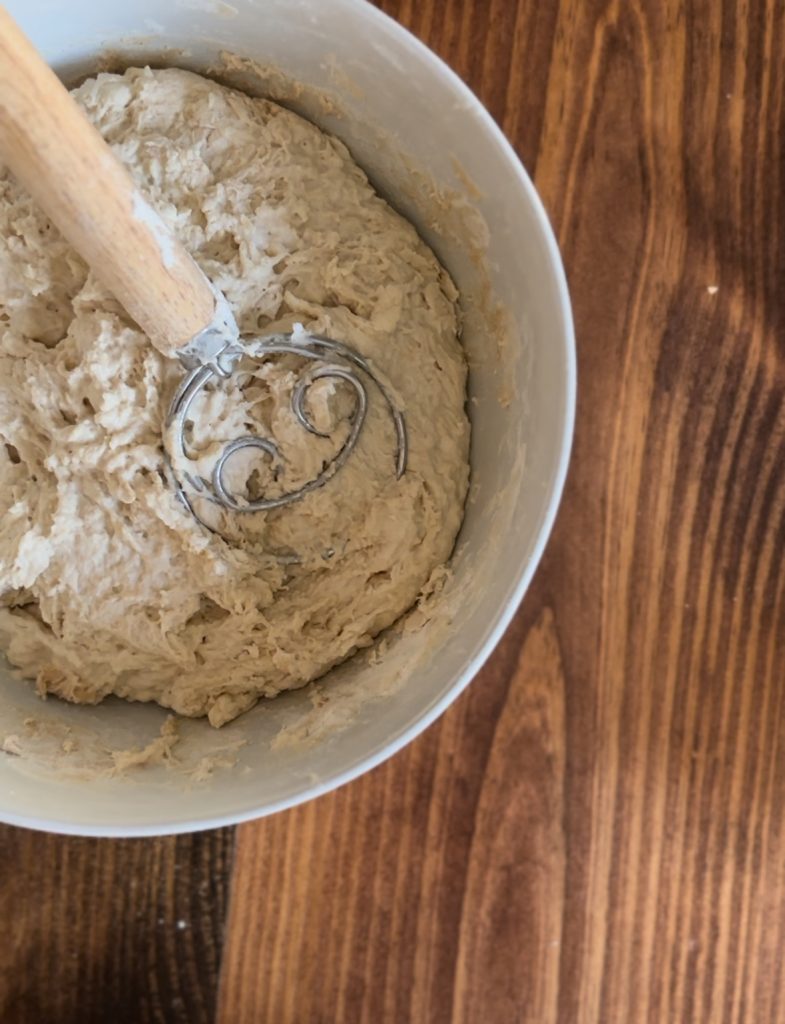
- Mix the Dough: Follow your recipe’s instructions to mix your dough. Let it rise according to the timing given. Sourdough may take longer to ferment than commercial yeast recipes.
- Shape and Bake: Once your dough has been proofed, shape it as needed (loaf, rolls, etc.) and bake in a preheated oven.
- Store or Feed Again: After baking, you can feed your starter again and store it for future use.
Grab my FREE guide for step-by-step guidance on how to maintain, feed, and discard. Or take my Discard Crash Course for just $7!

